Assisted Braking Devices have been a part of American climbing for a long time. By 1992, American climbers and belayers were alternately condemning and commending the new tools, and most of those perceptions persist today. In many cases, the GriGri is unfairly given credit for securing belays in an unprecedented way. In other cases, the GriGri is maligned as symbolic of complacency, poor belaying, and laziness. Over the years, American belayers have over-heard epithets like:
“The GriGri promotes lazy belaying.”
“The GriGri has an automatic brake. You can’t mess it up.”
“GriGris might be great for toproping or sport climbing, but it’s unsafe to use them for trad.”
“GriGris are the industry standard for belaying a toprope.”
These statements and the reductive thinking behind them have inhibited Assisted Braking Devices from taking their logical place in American climbing. This article will seek to unpack and explain some of the historical and cultural underpinnings of assisted braking devices like the GriGri in order to explore how these devices have gotten to the point that they are neither appreciated for their contributions to climbing nor adequately respected for their complexity and intricacy.
To get there, we will need to clarify the current and historic role of backups in any technical system related to climbing. We will need to explain how these tactics long preceded the invention of the GriGri, because they are still just as important in the era of assisted braking devices as they were before GriGris hit the scene in the early ’90s. Then, every climber will be better equipped to discover what Assisted Braking Devices offer to the overall security of a belay or rappelling system.
This article will qualify the use of Assistant Braking Devices according to the following principles:
Assisted Braking Devices, when used correctly, provide a reliable backup to any belayer.
Assisted Braking Devices, when used correctly, offer the greatest movement economy when delivering slack to a lead climber.
Unlike Manual Braking Devices (like any tube style device), ABDs have widely variable performance characteristics from one model to the next.
Backups
In climbing, we use backups all the time. We use them as an integral part of our systems and we often use words like redundancy and security when we’re talking about backups. In every case, the basic concept is the same: a climber relies on one system to stay safe, and there is another system that acts as a back-up in case the primary system fails or malfunctions.
Let’s look at some of the most common examples:
Climbing

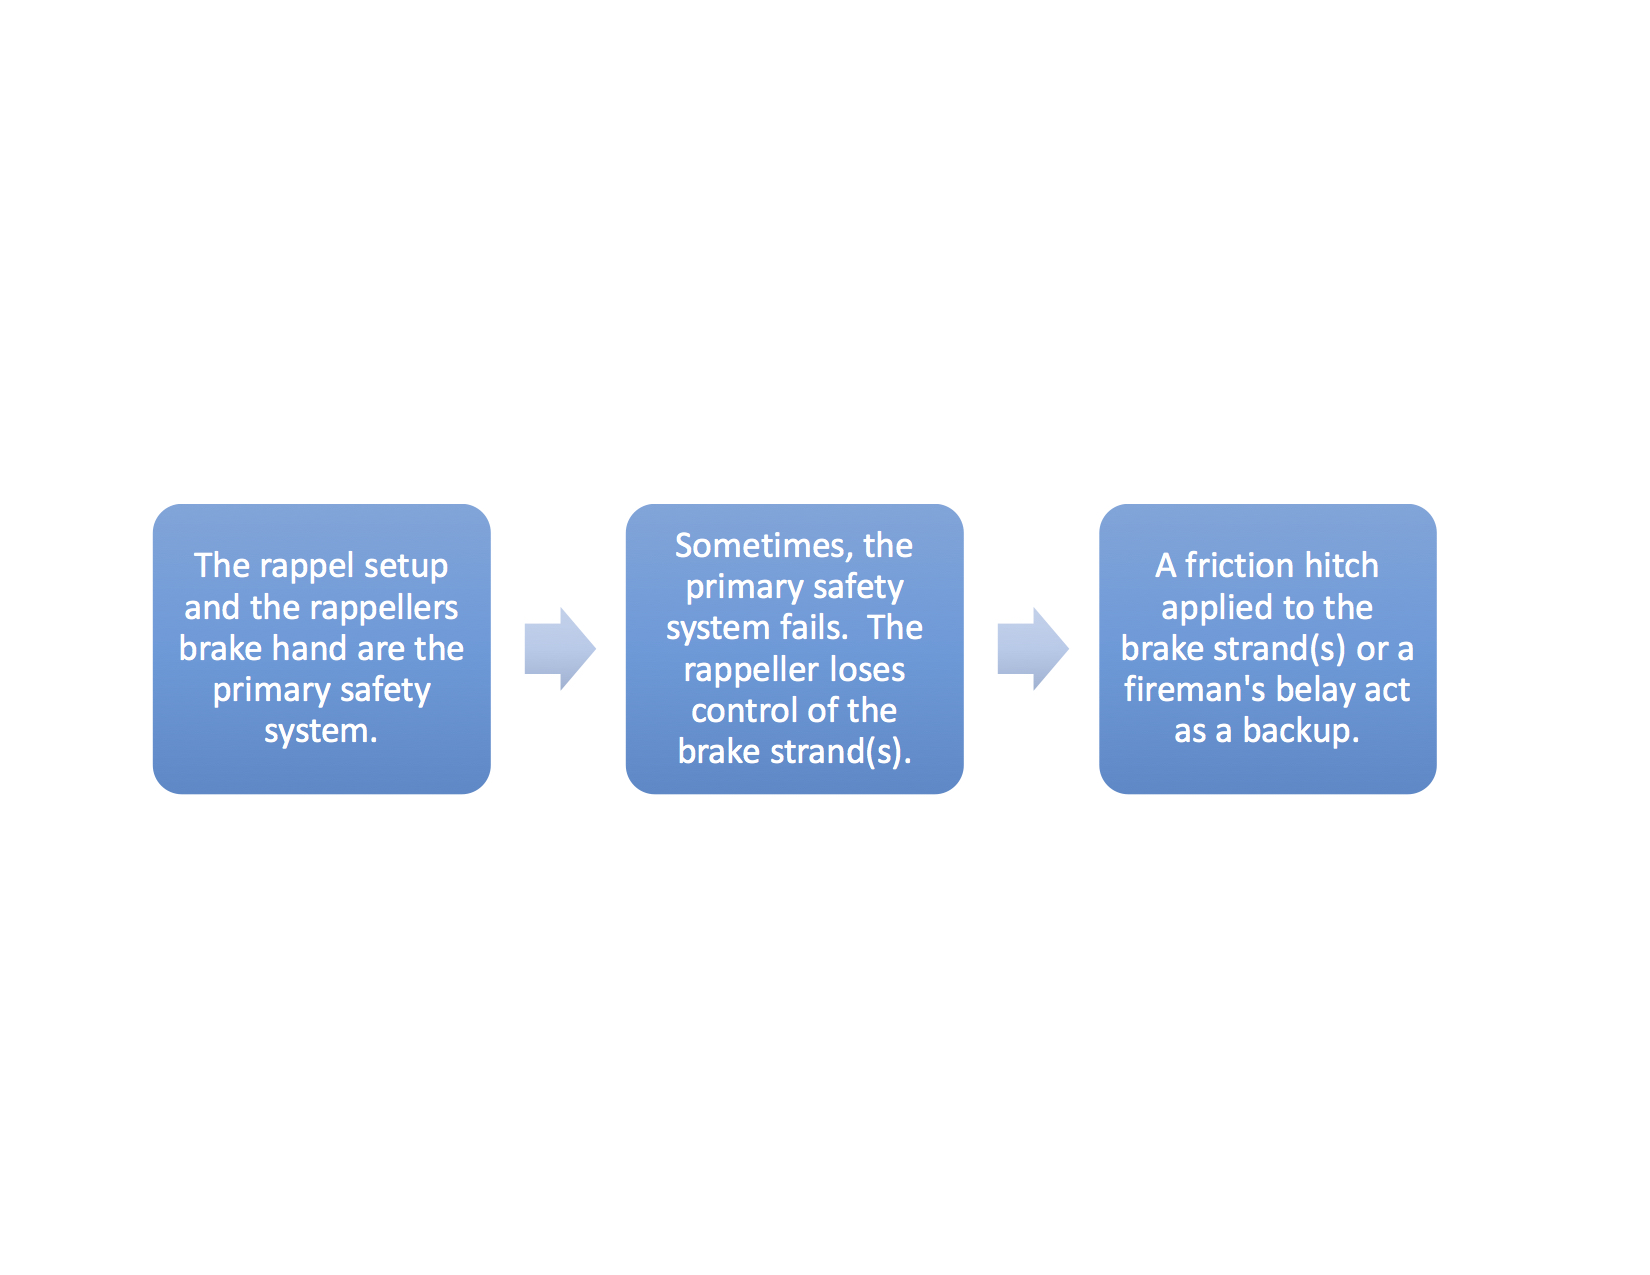
Rappelling
Anchoring

Backups are a great idea, and they help us have a lot more confidence that we’re going to survive an error, a slip, an oversight, or a freak occurrence. When we choose not to use a backup, we’re often flirting with unnecessary risks.
Let’s look at some examples:
Free Soloing

Lowering with an MBD without a backup

It is not common to think of backups in this way. However, when a climber analyzes the role of backups and looks at all climbing practices through that lens, it is difficult to escape the conclusion that holding a climber’s weight with a manual braking device and lowering a climber with that same device is tantamount to free-soloing. Unlike free-soloing, though, belaying usually involves two people; they are both complicit in this arrangement.
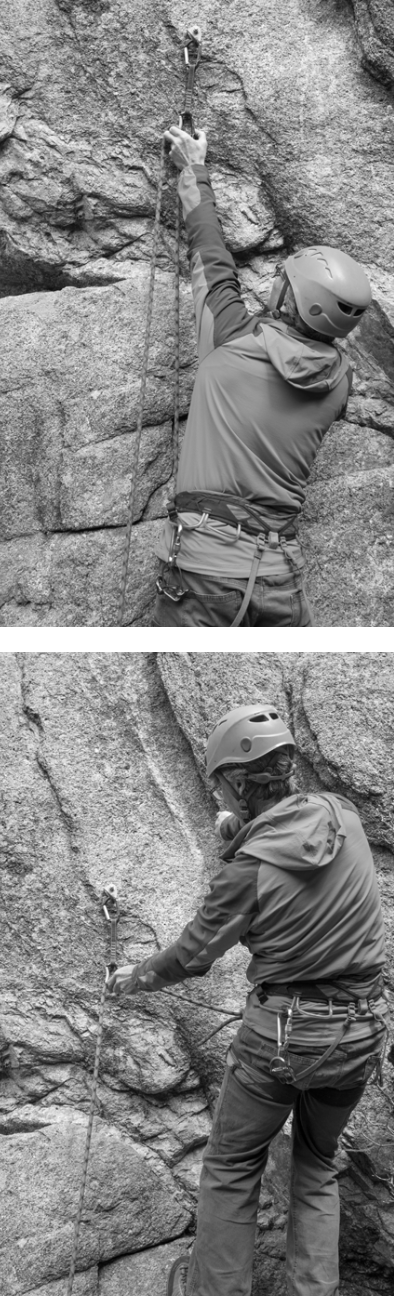
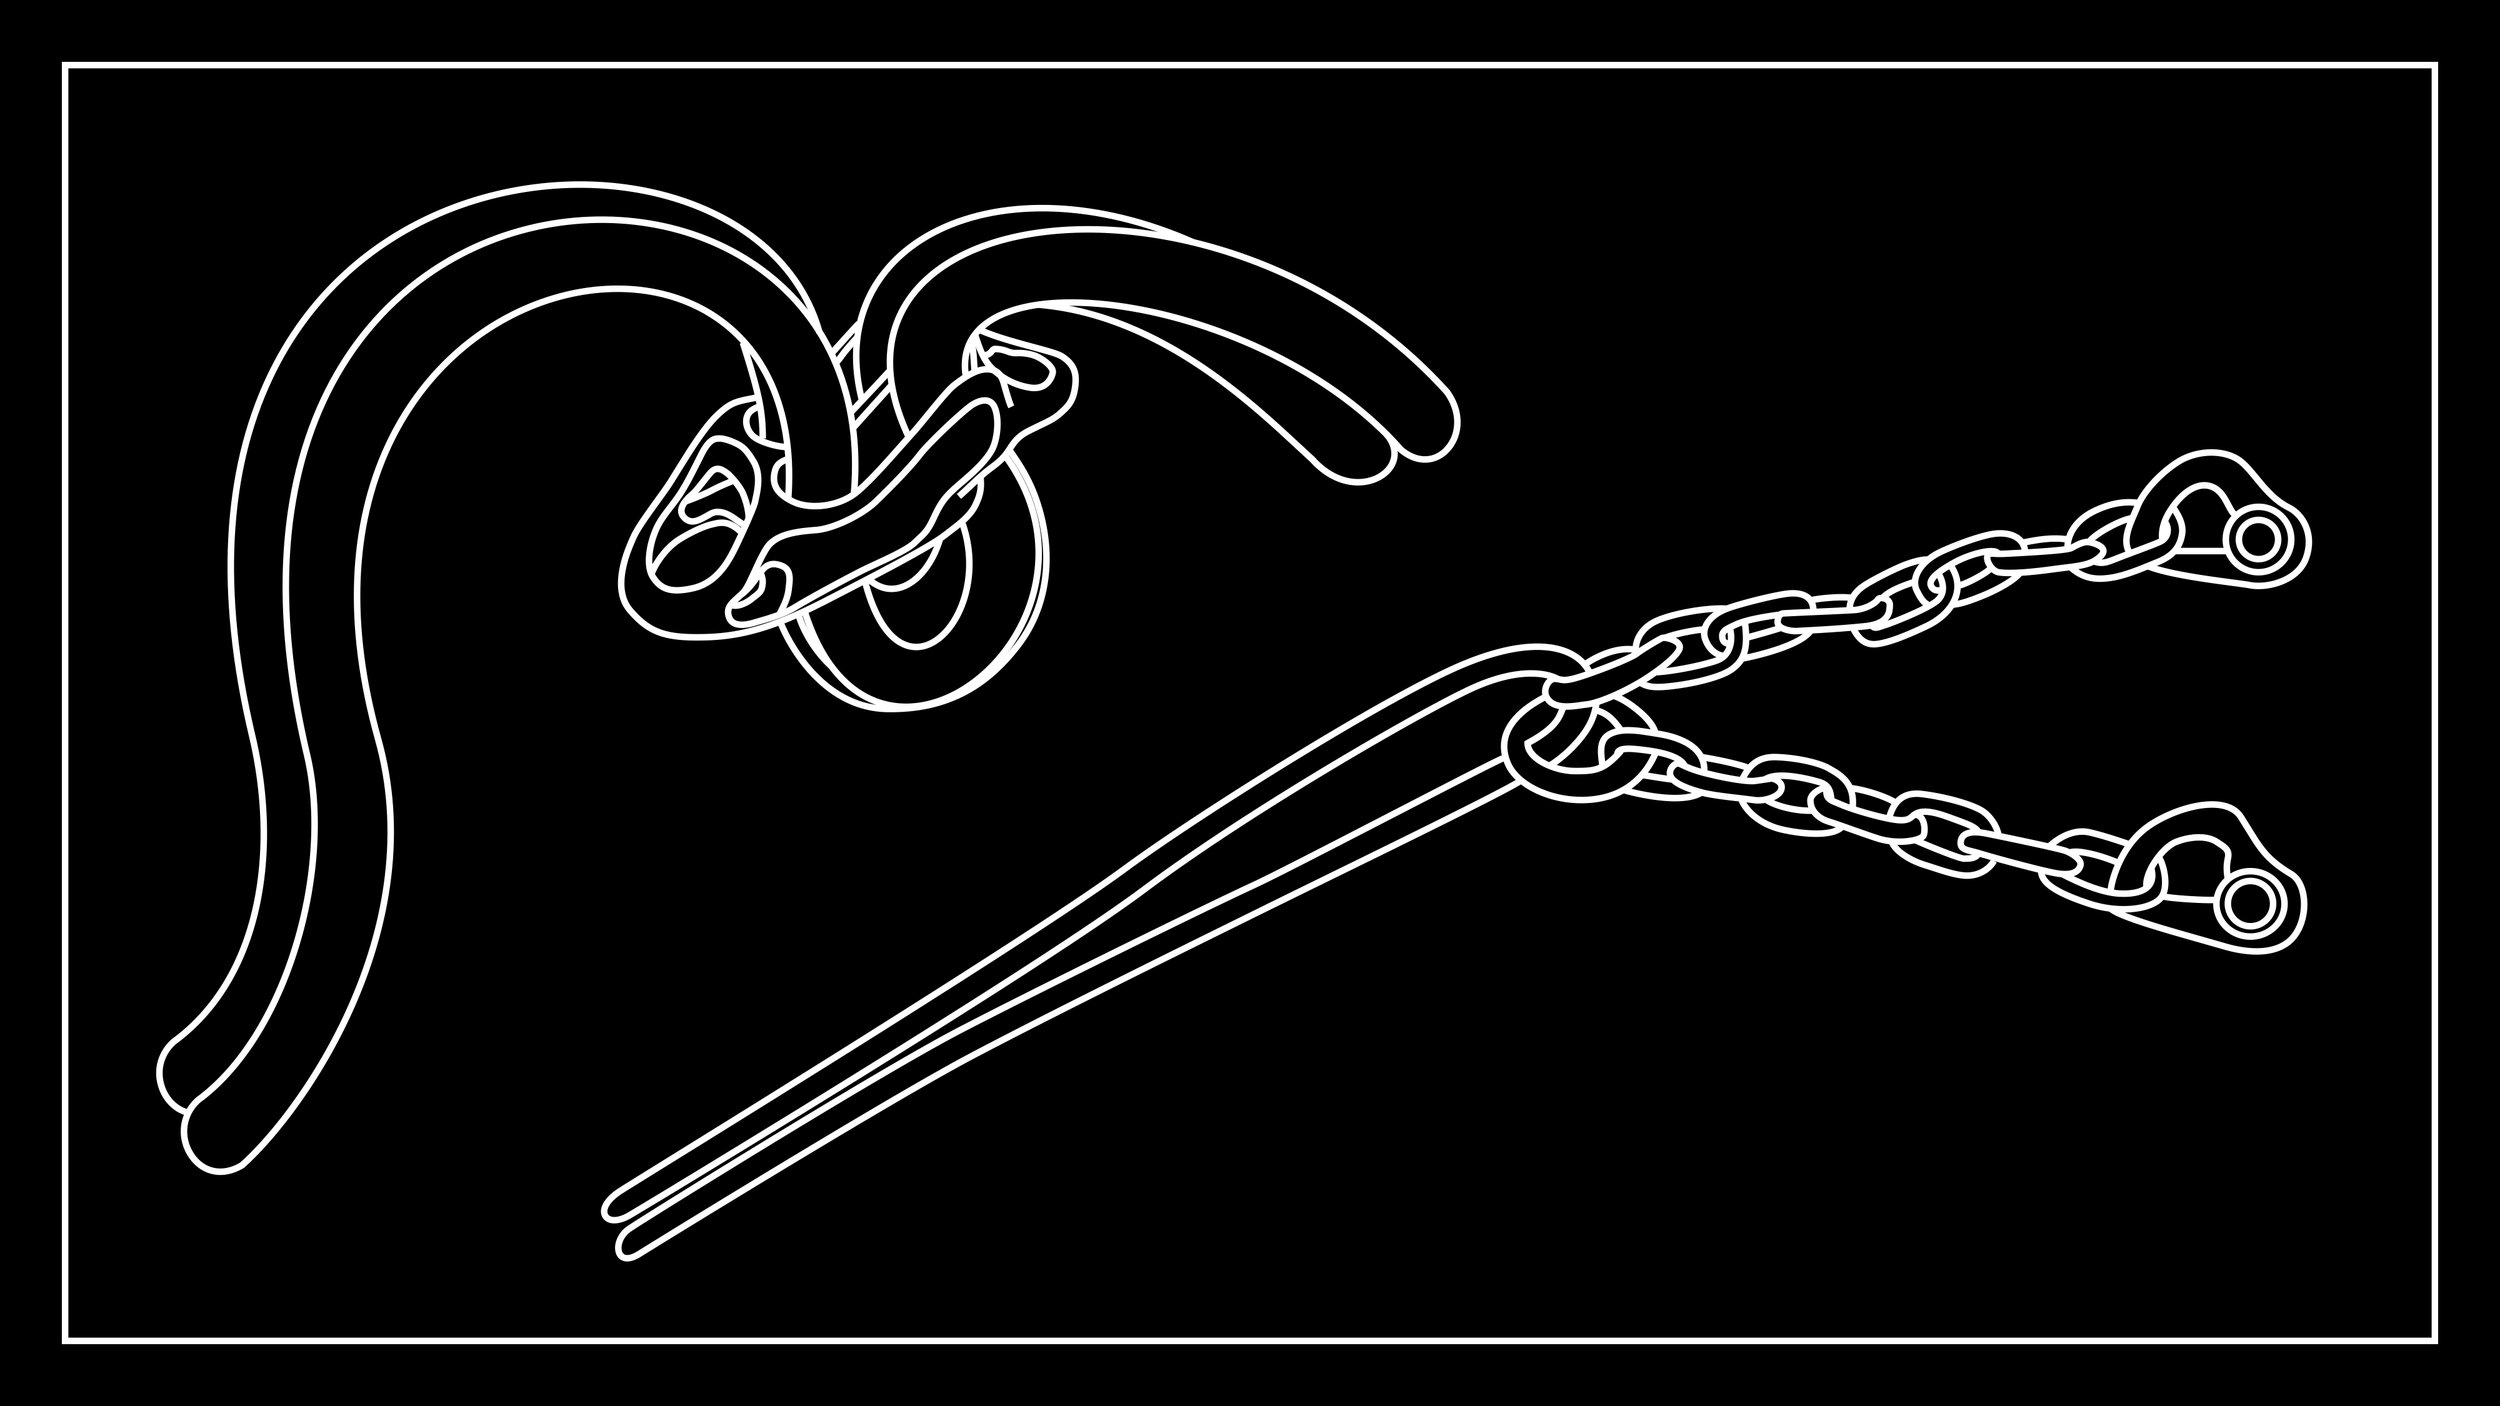
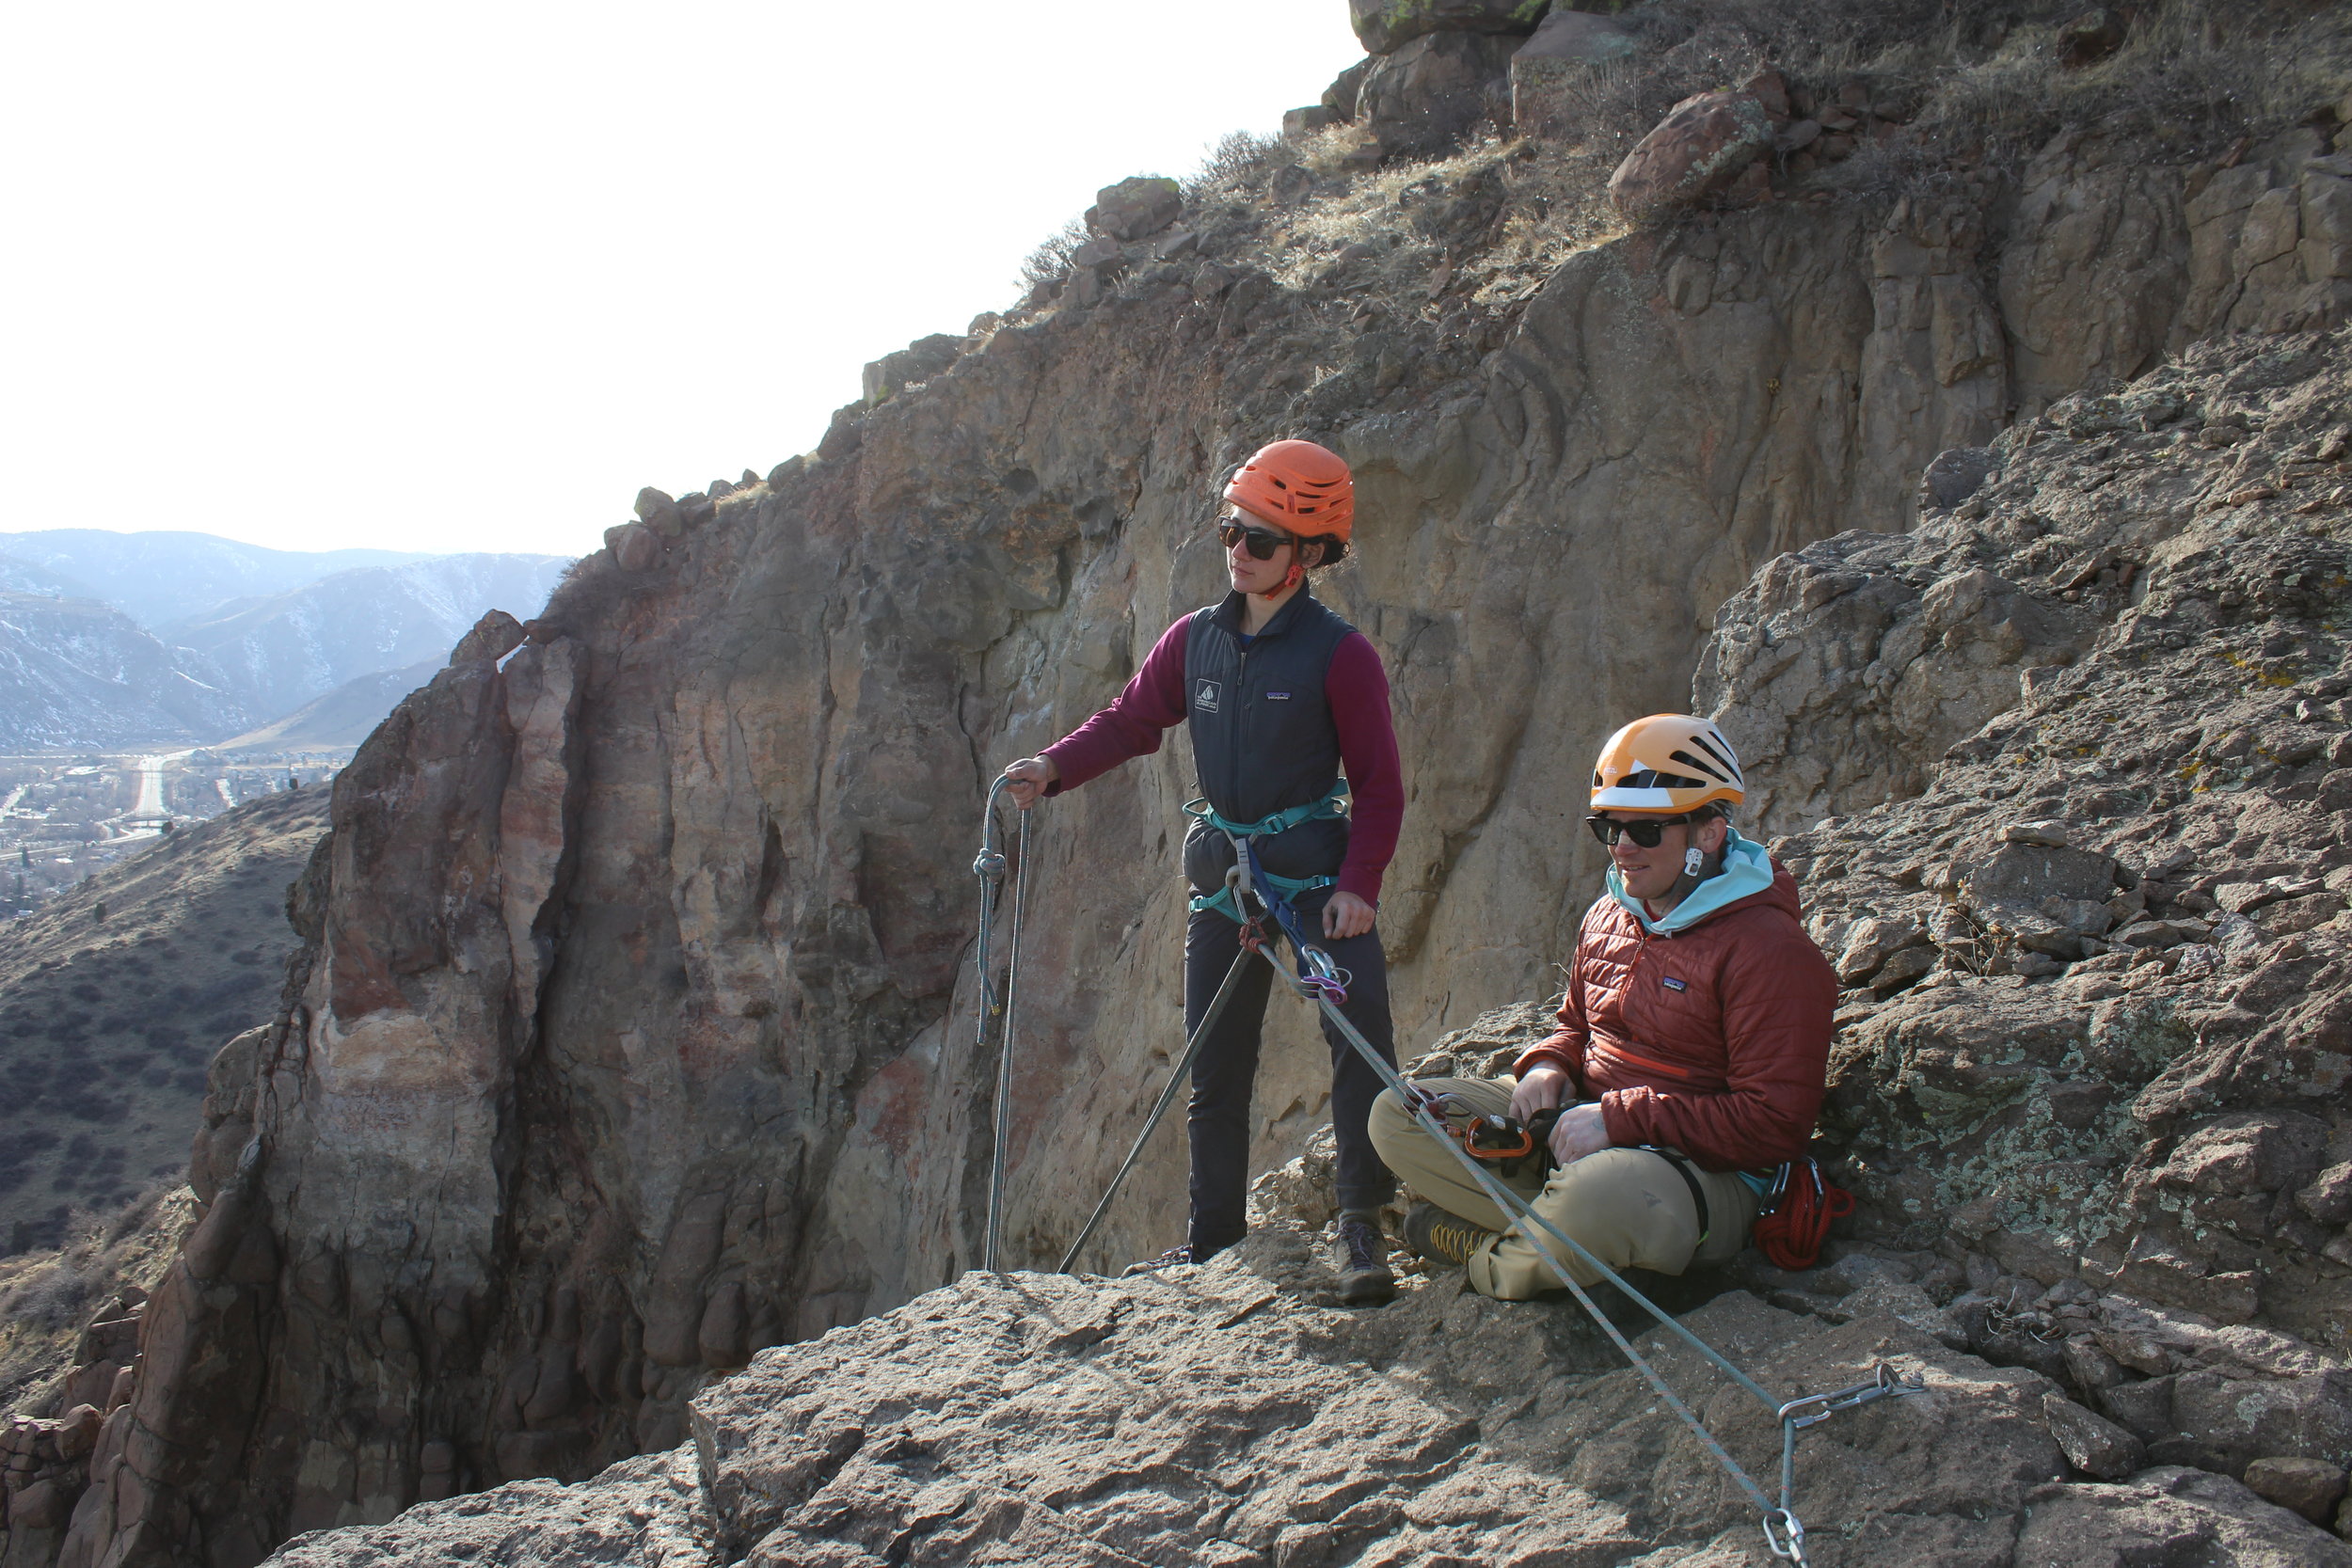
Before Assisted Braking Devices were an option, conservative belay teams relied on backups that are still options today.

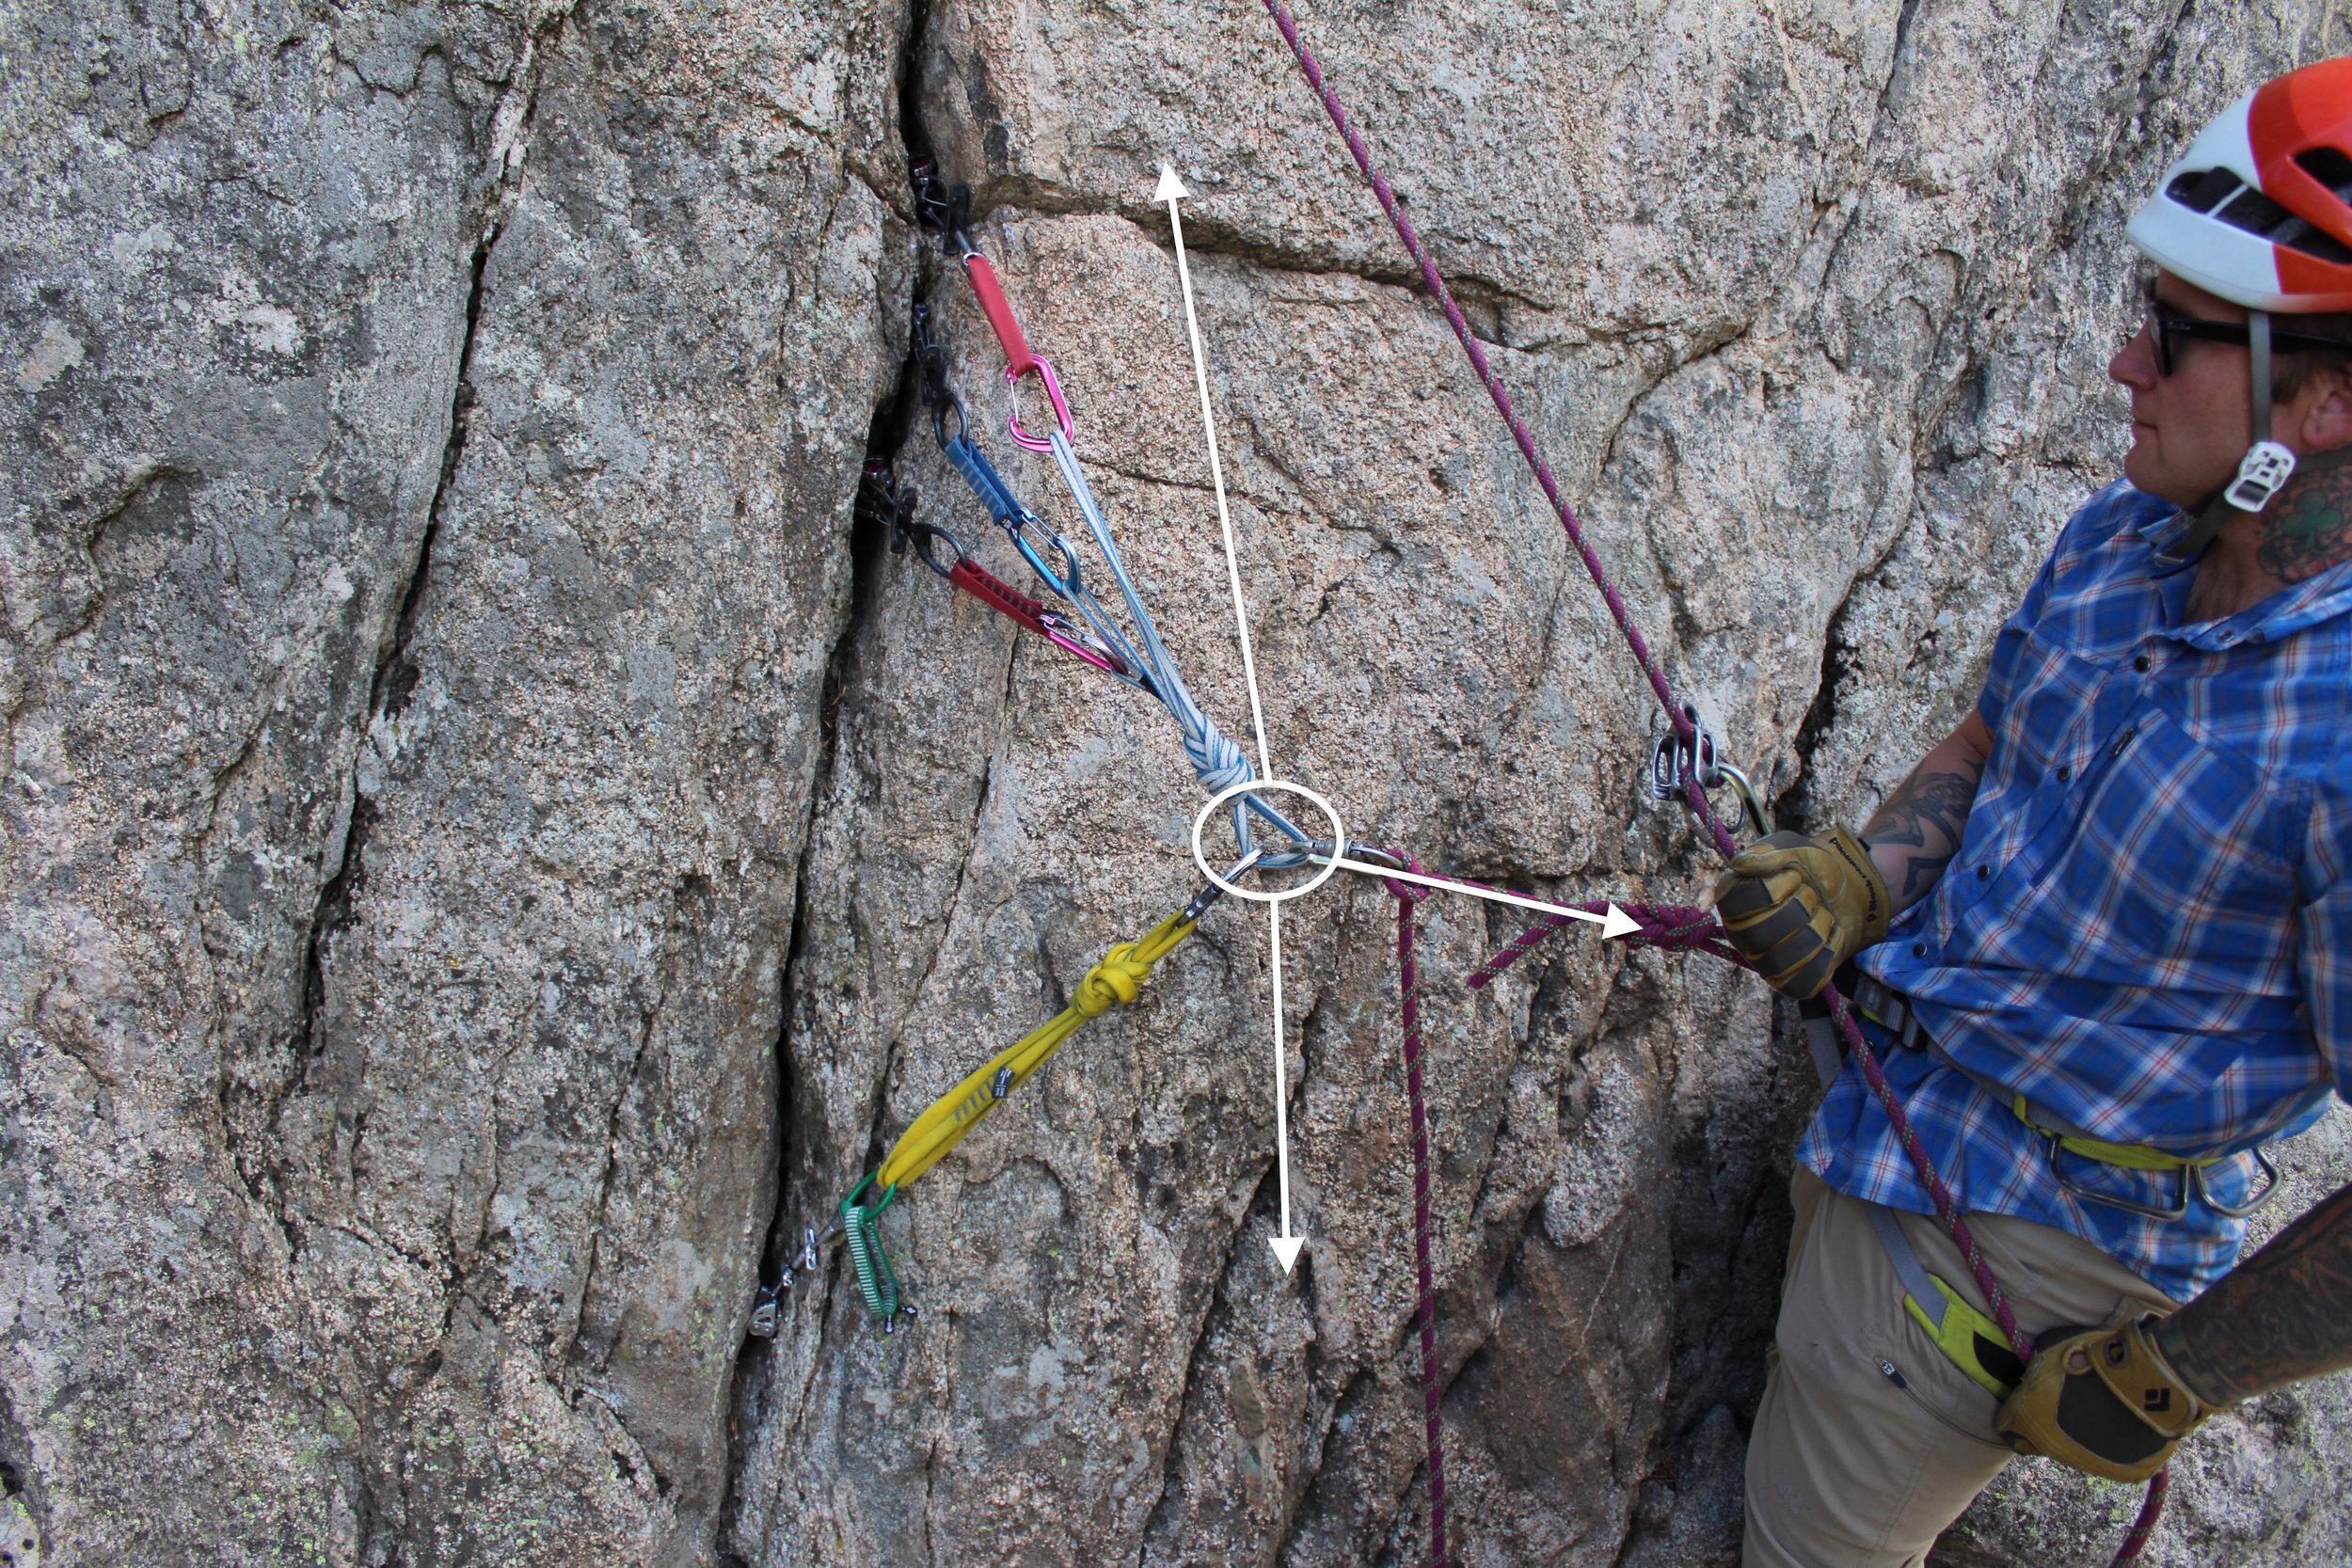
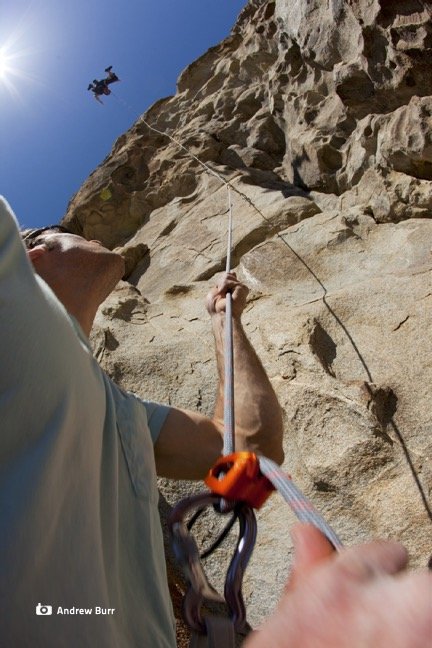
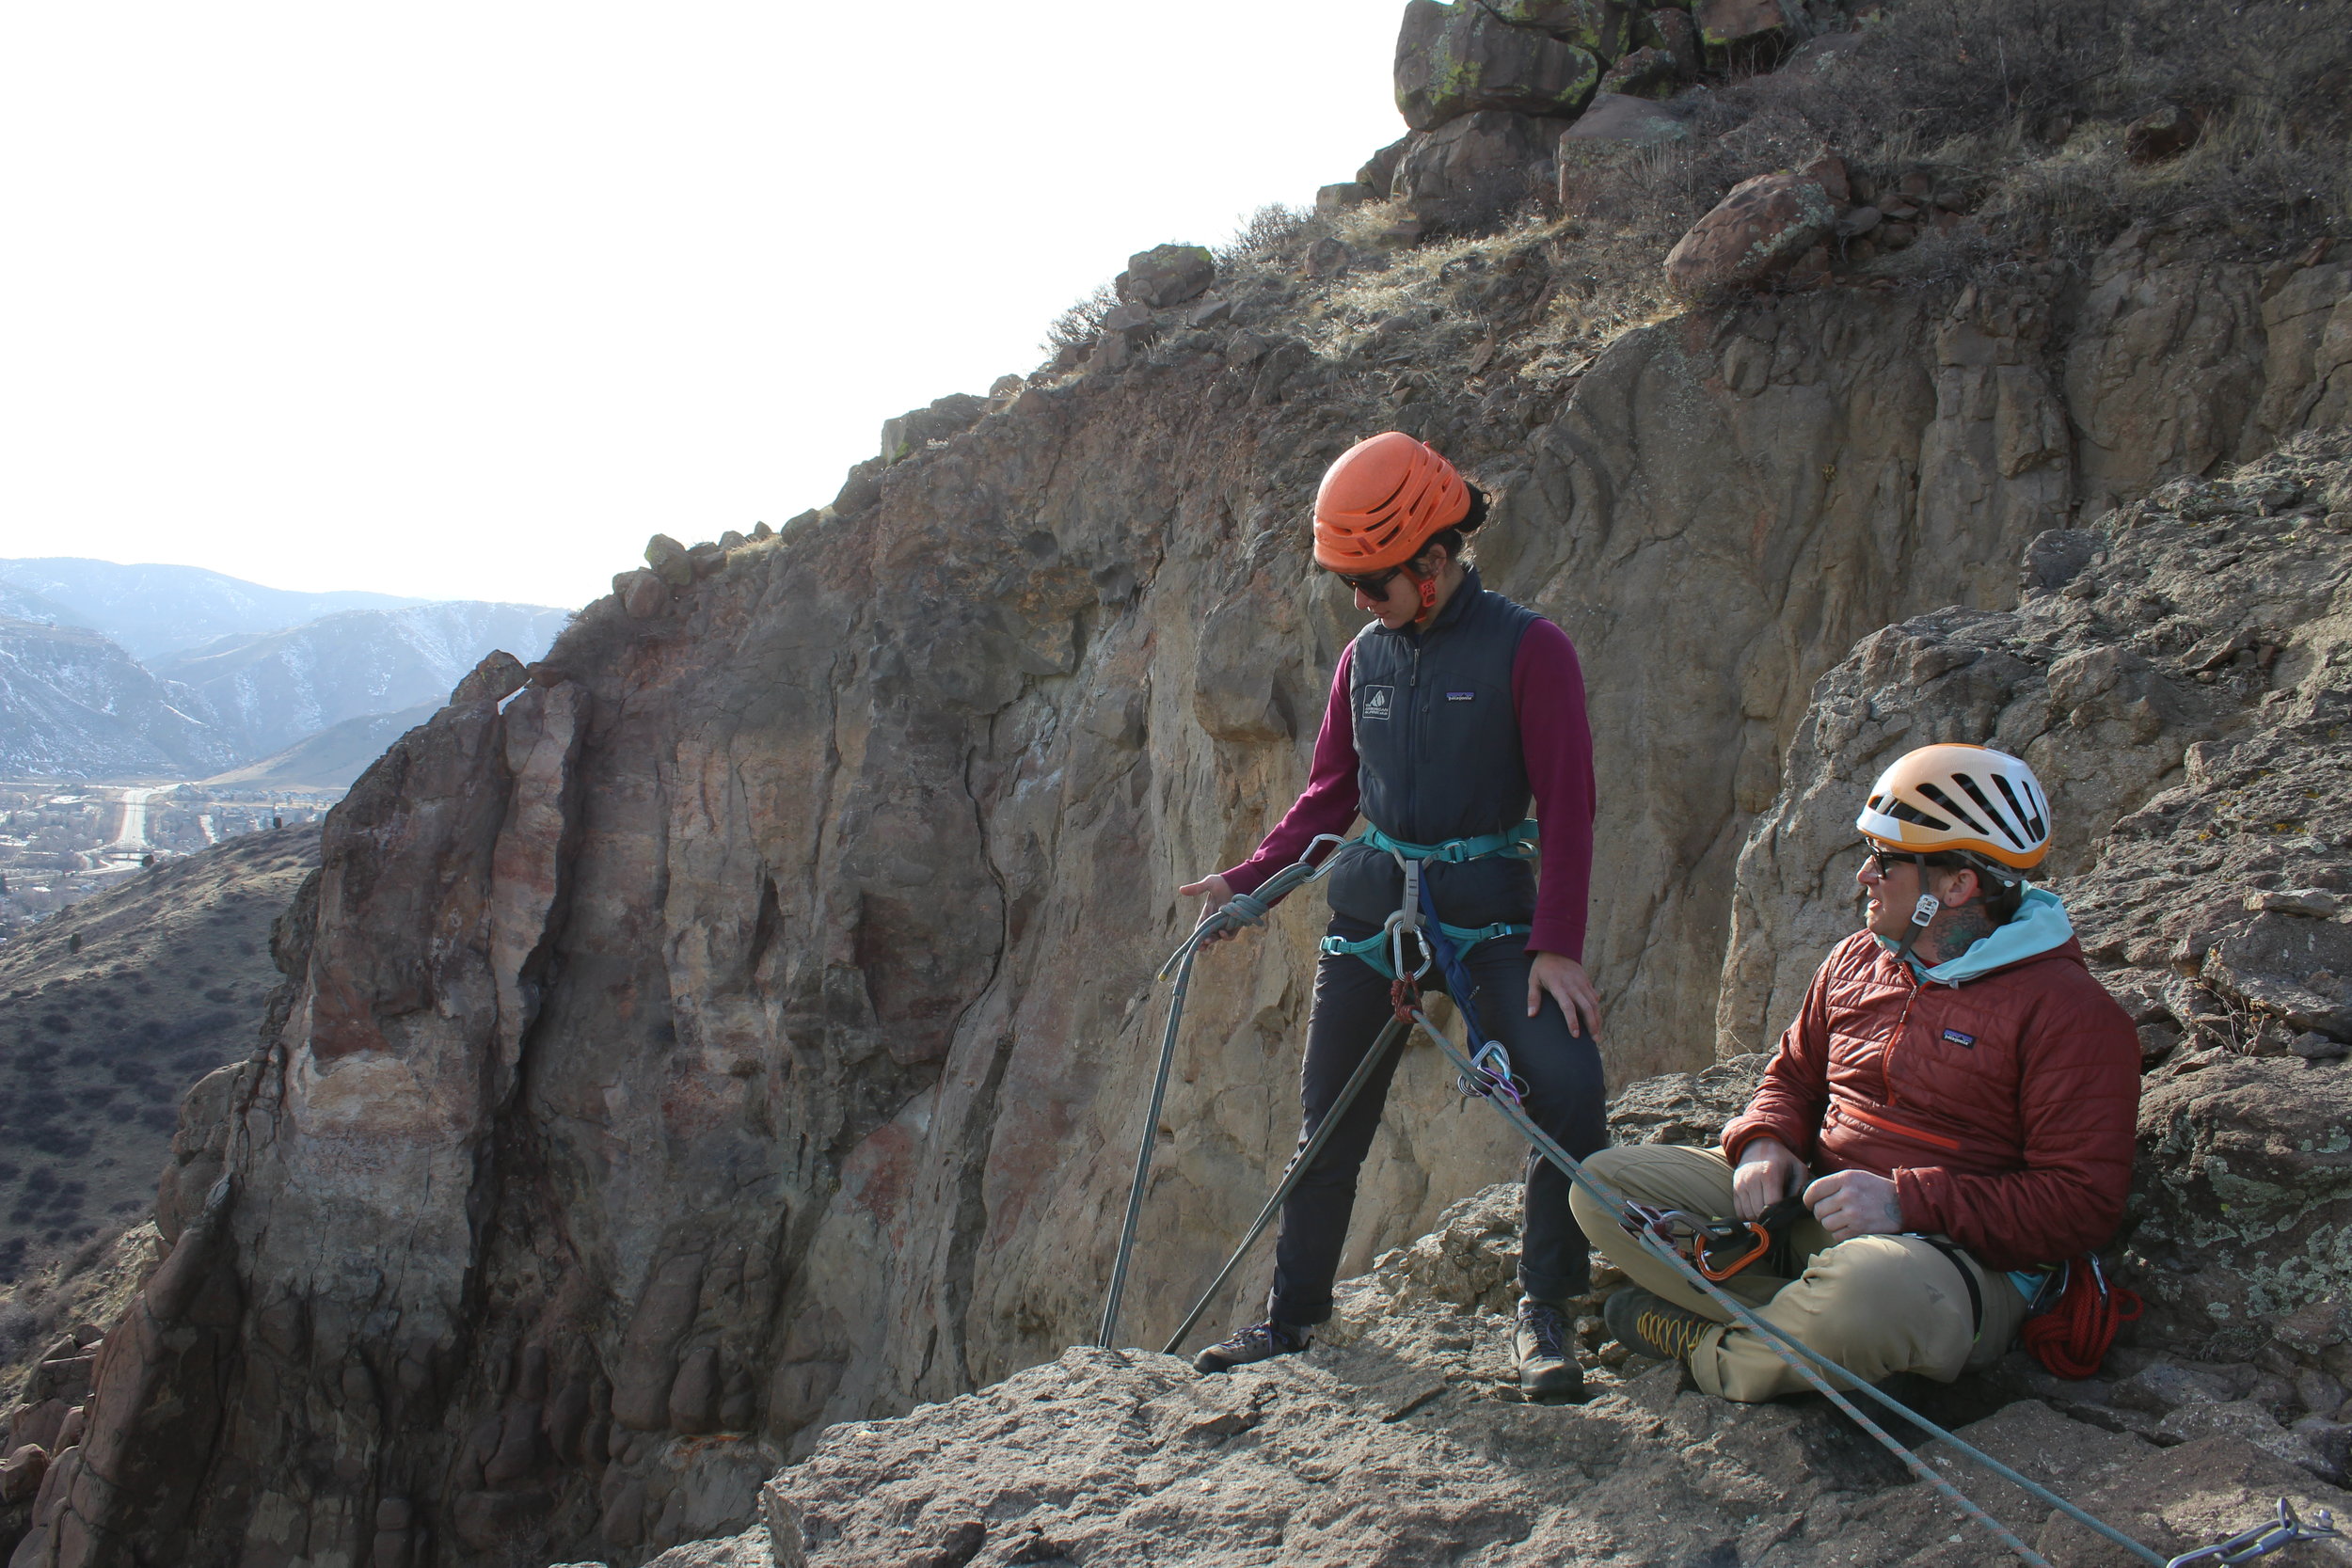
Since climbers are often standing around in groups of three or four, it's easy to offer a backup belay.

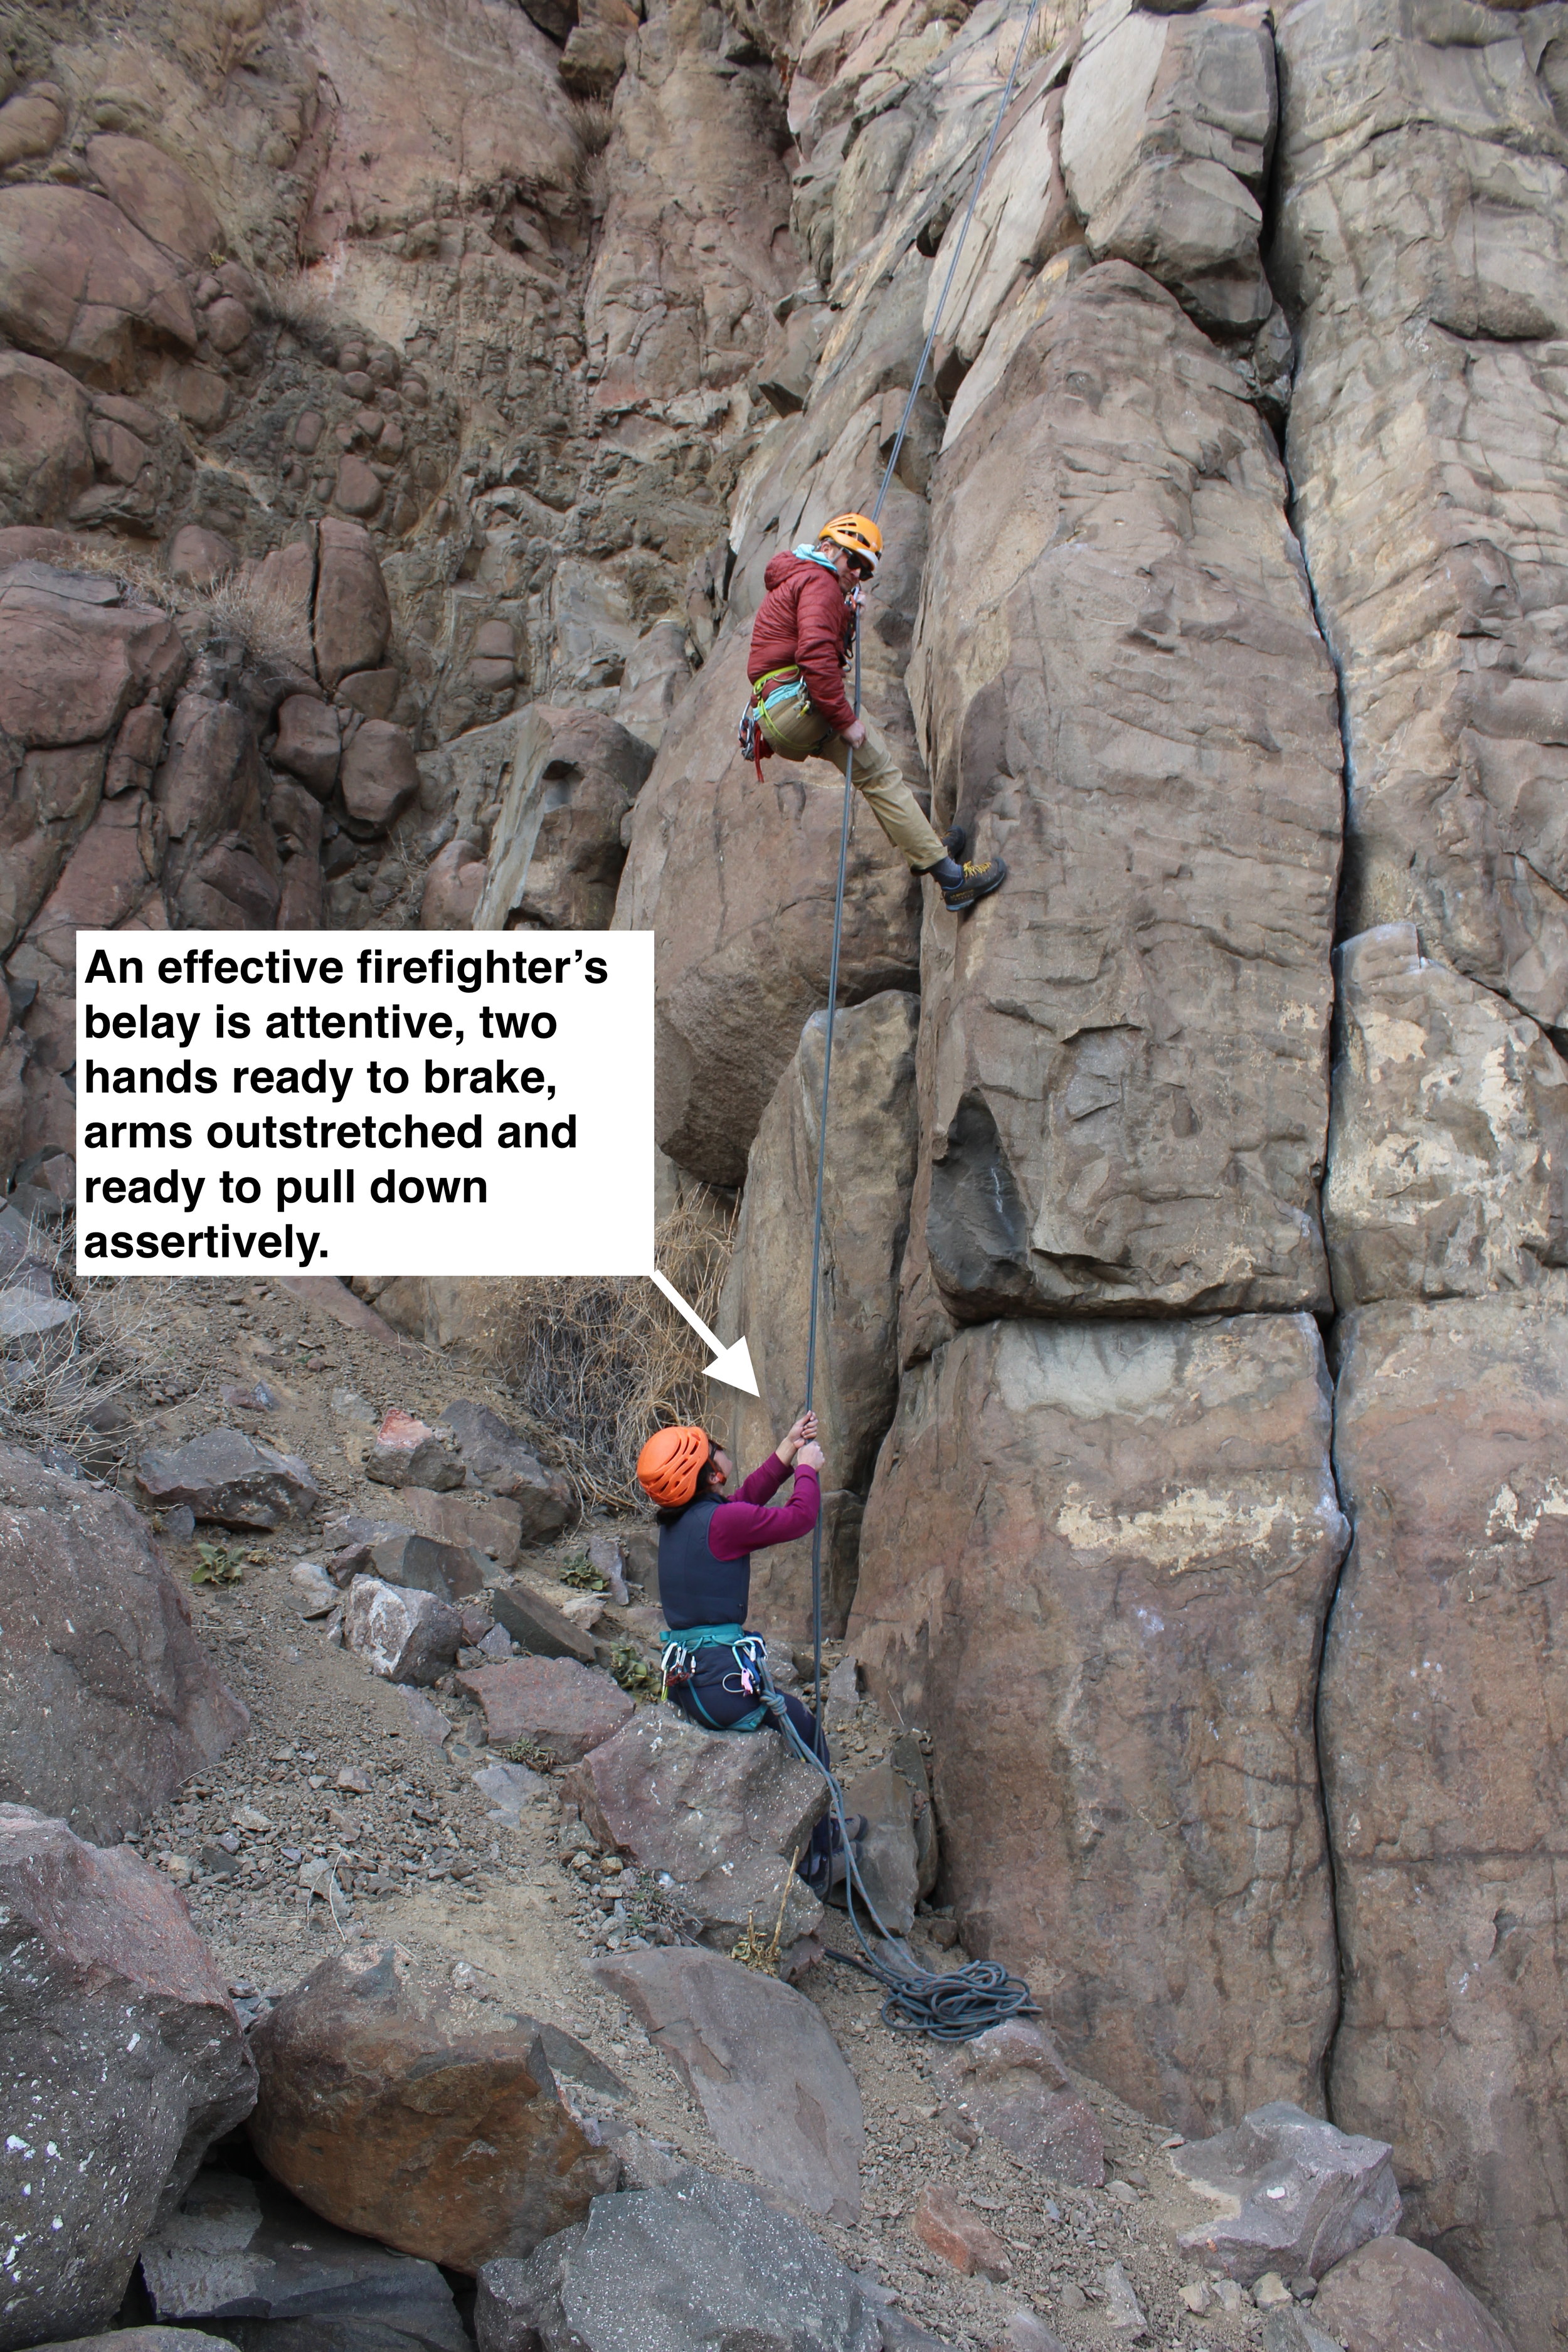
If a backup belayer is not standing behind the belay device, in the braking plane of the device, the value of the backup might be nominal.

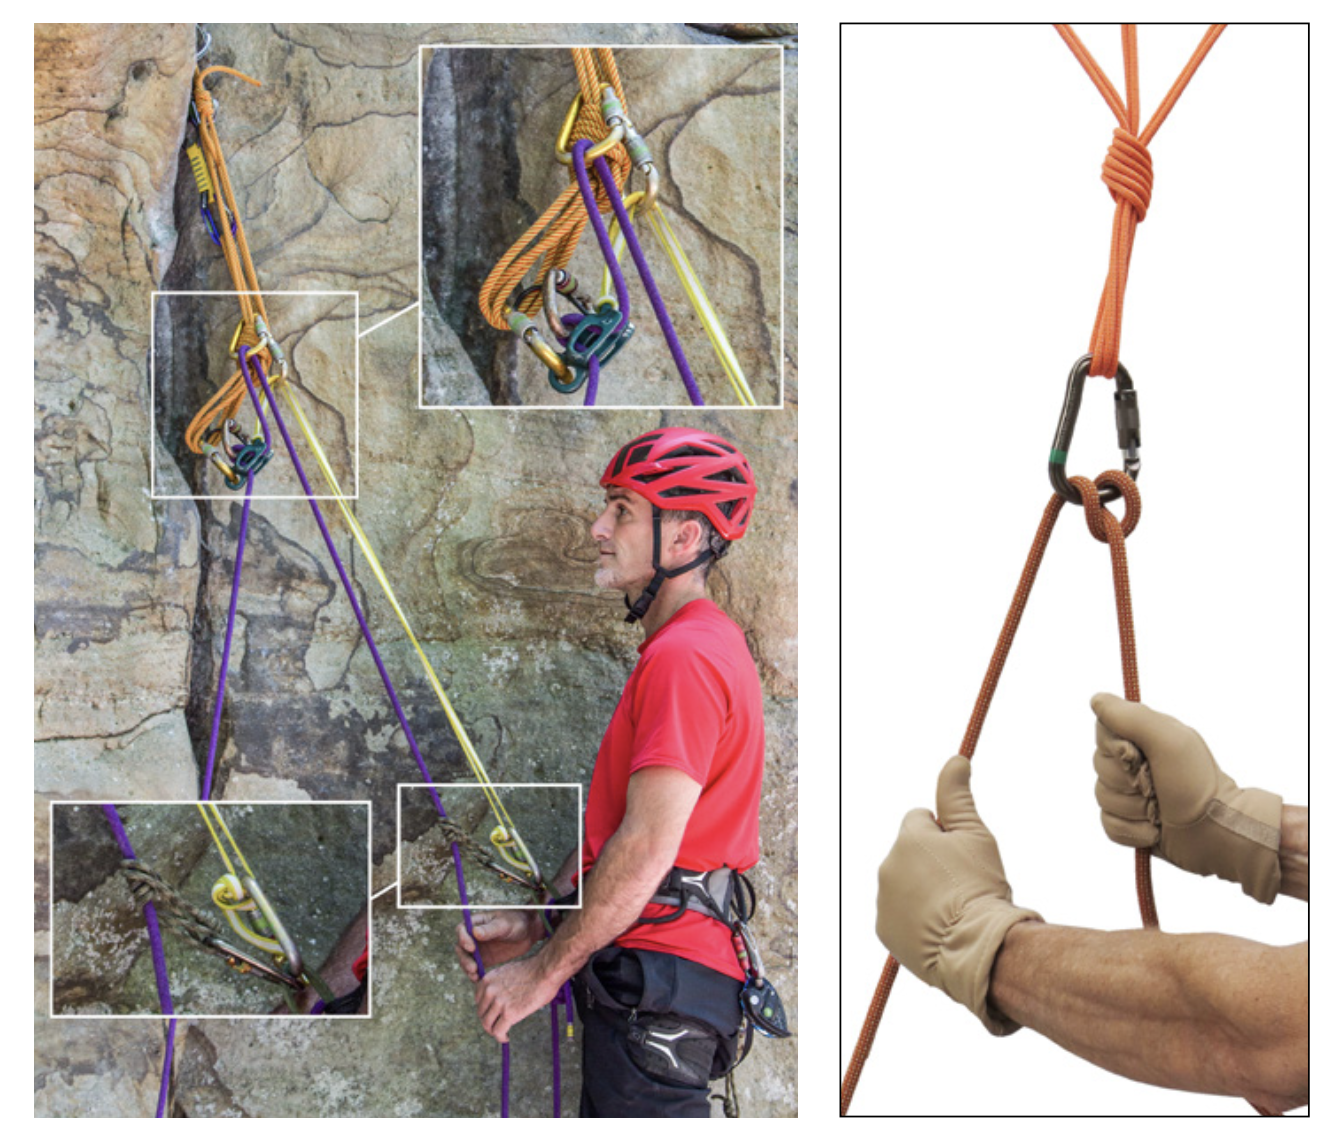
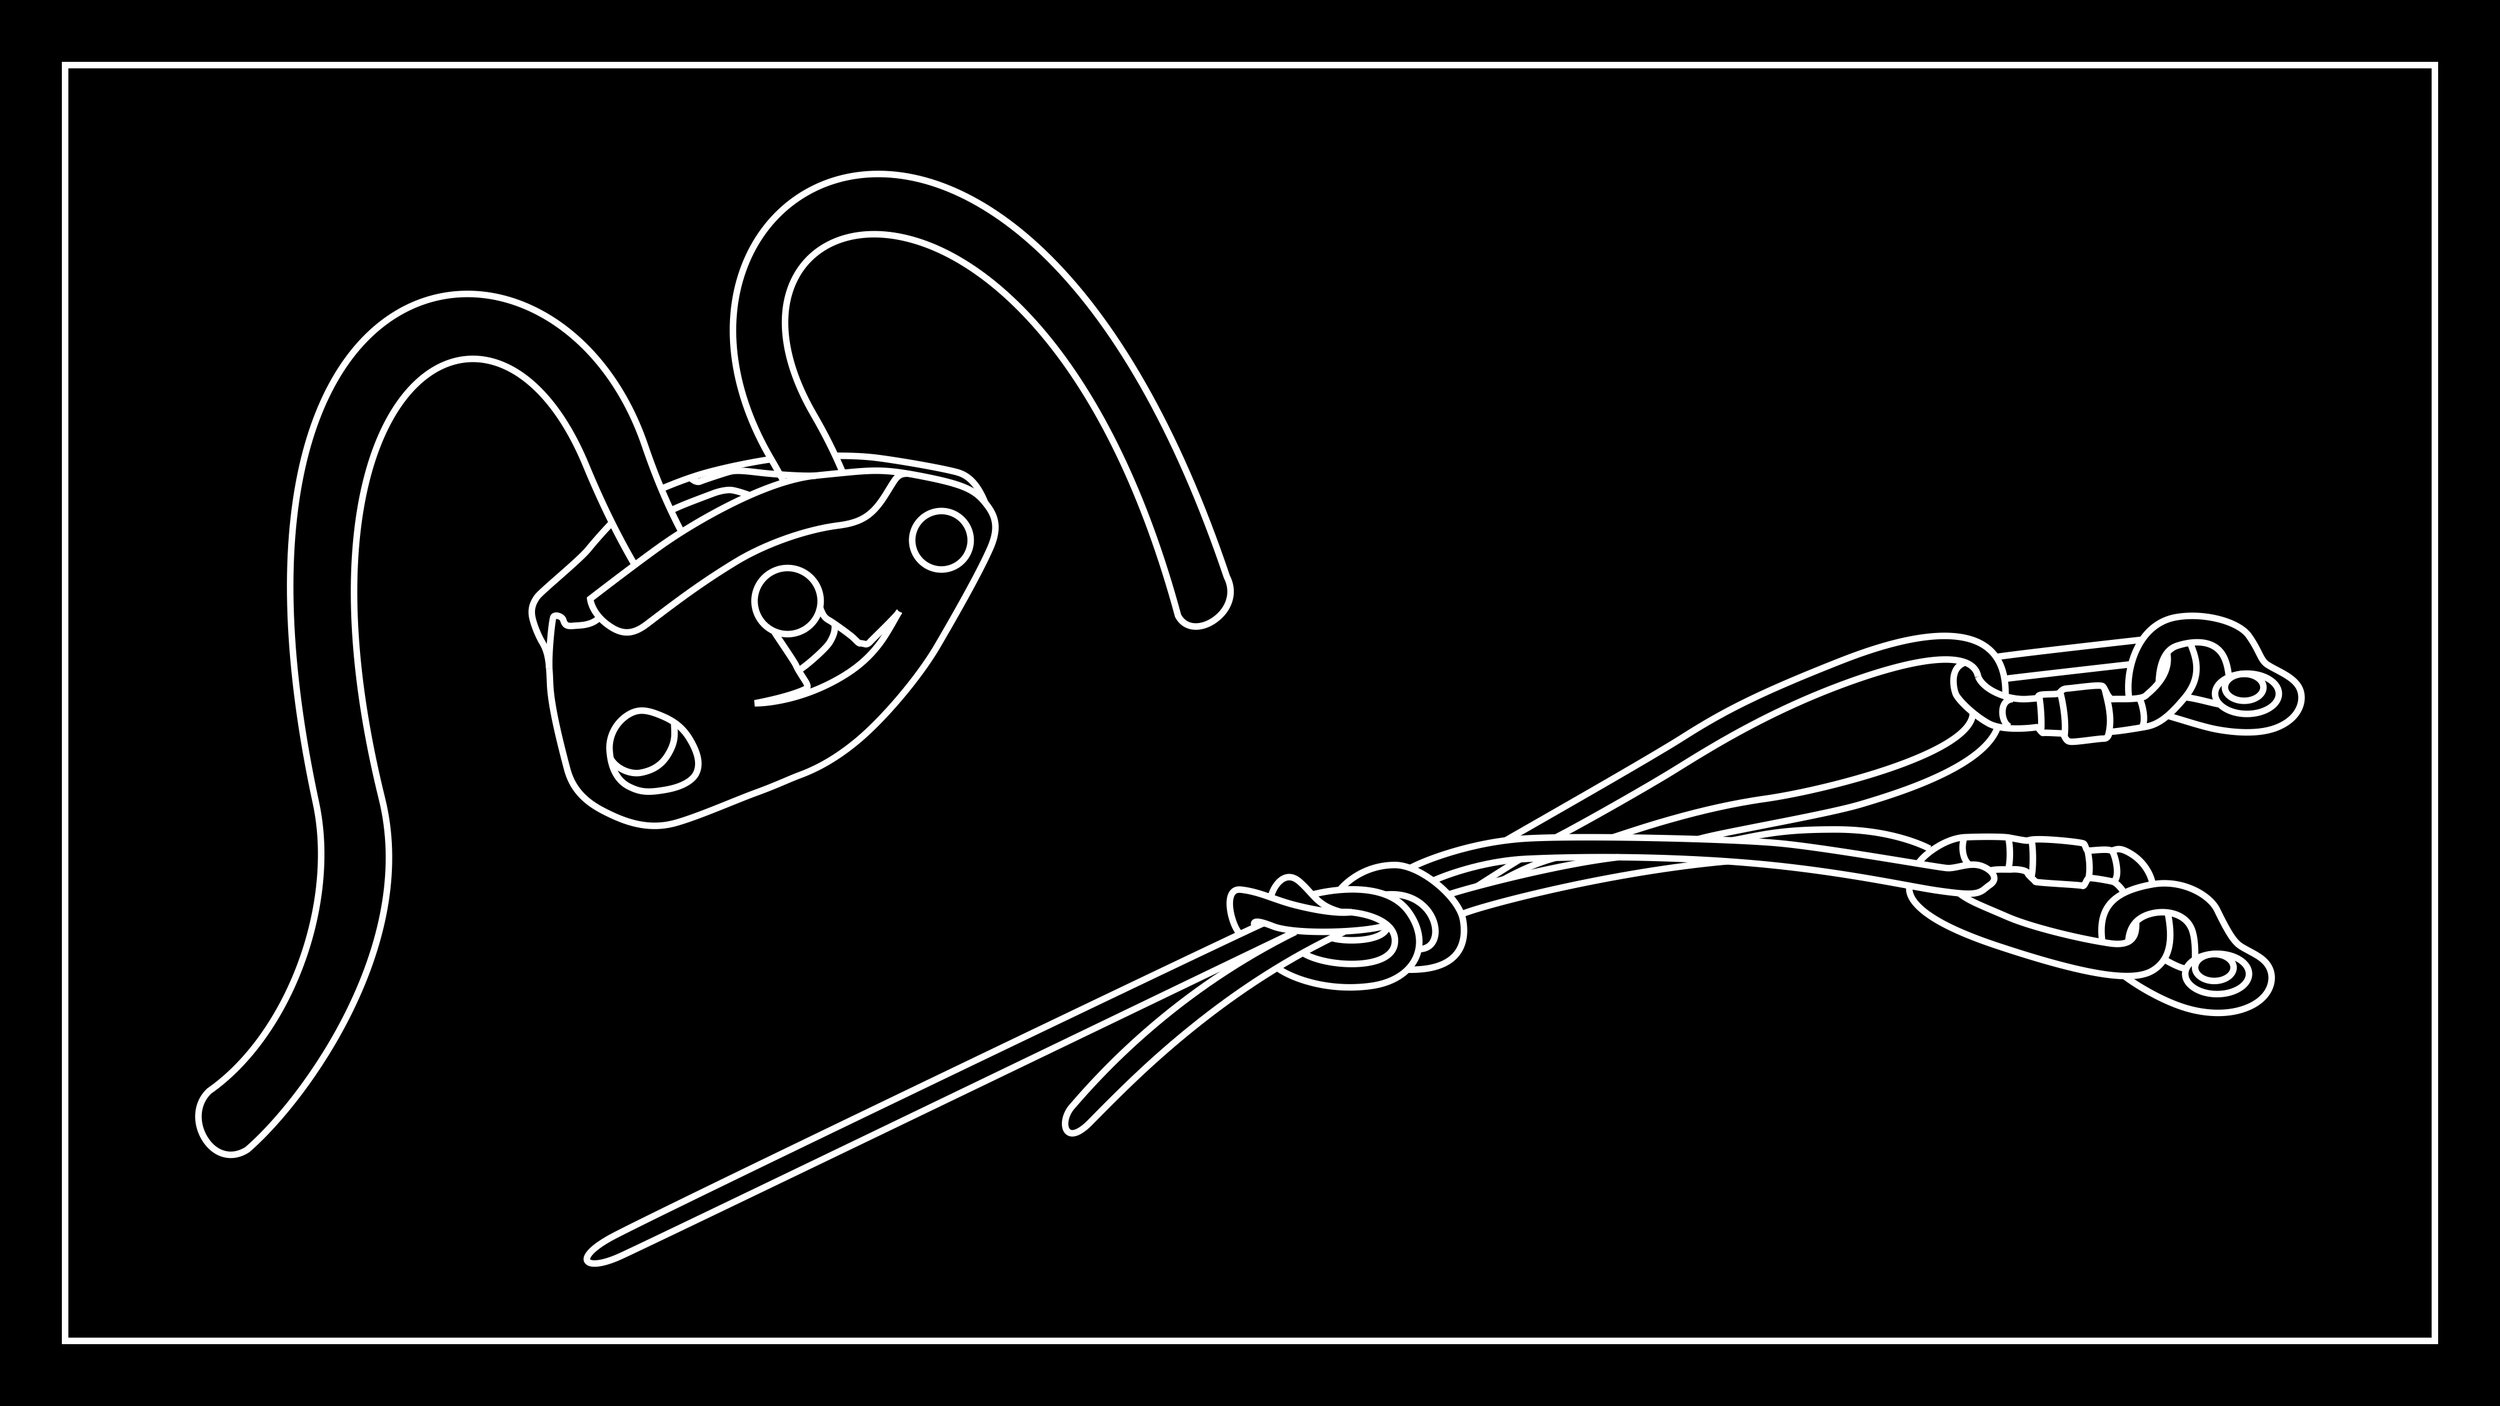
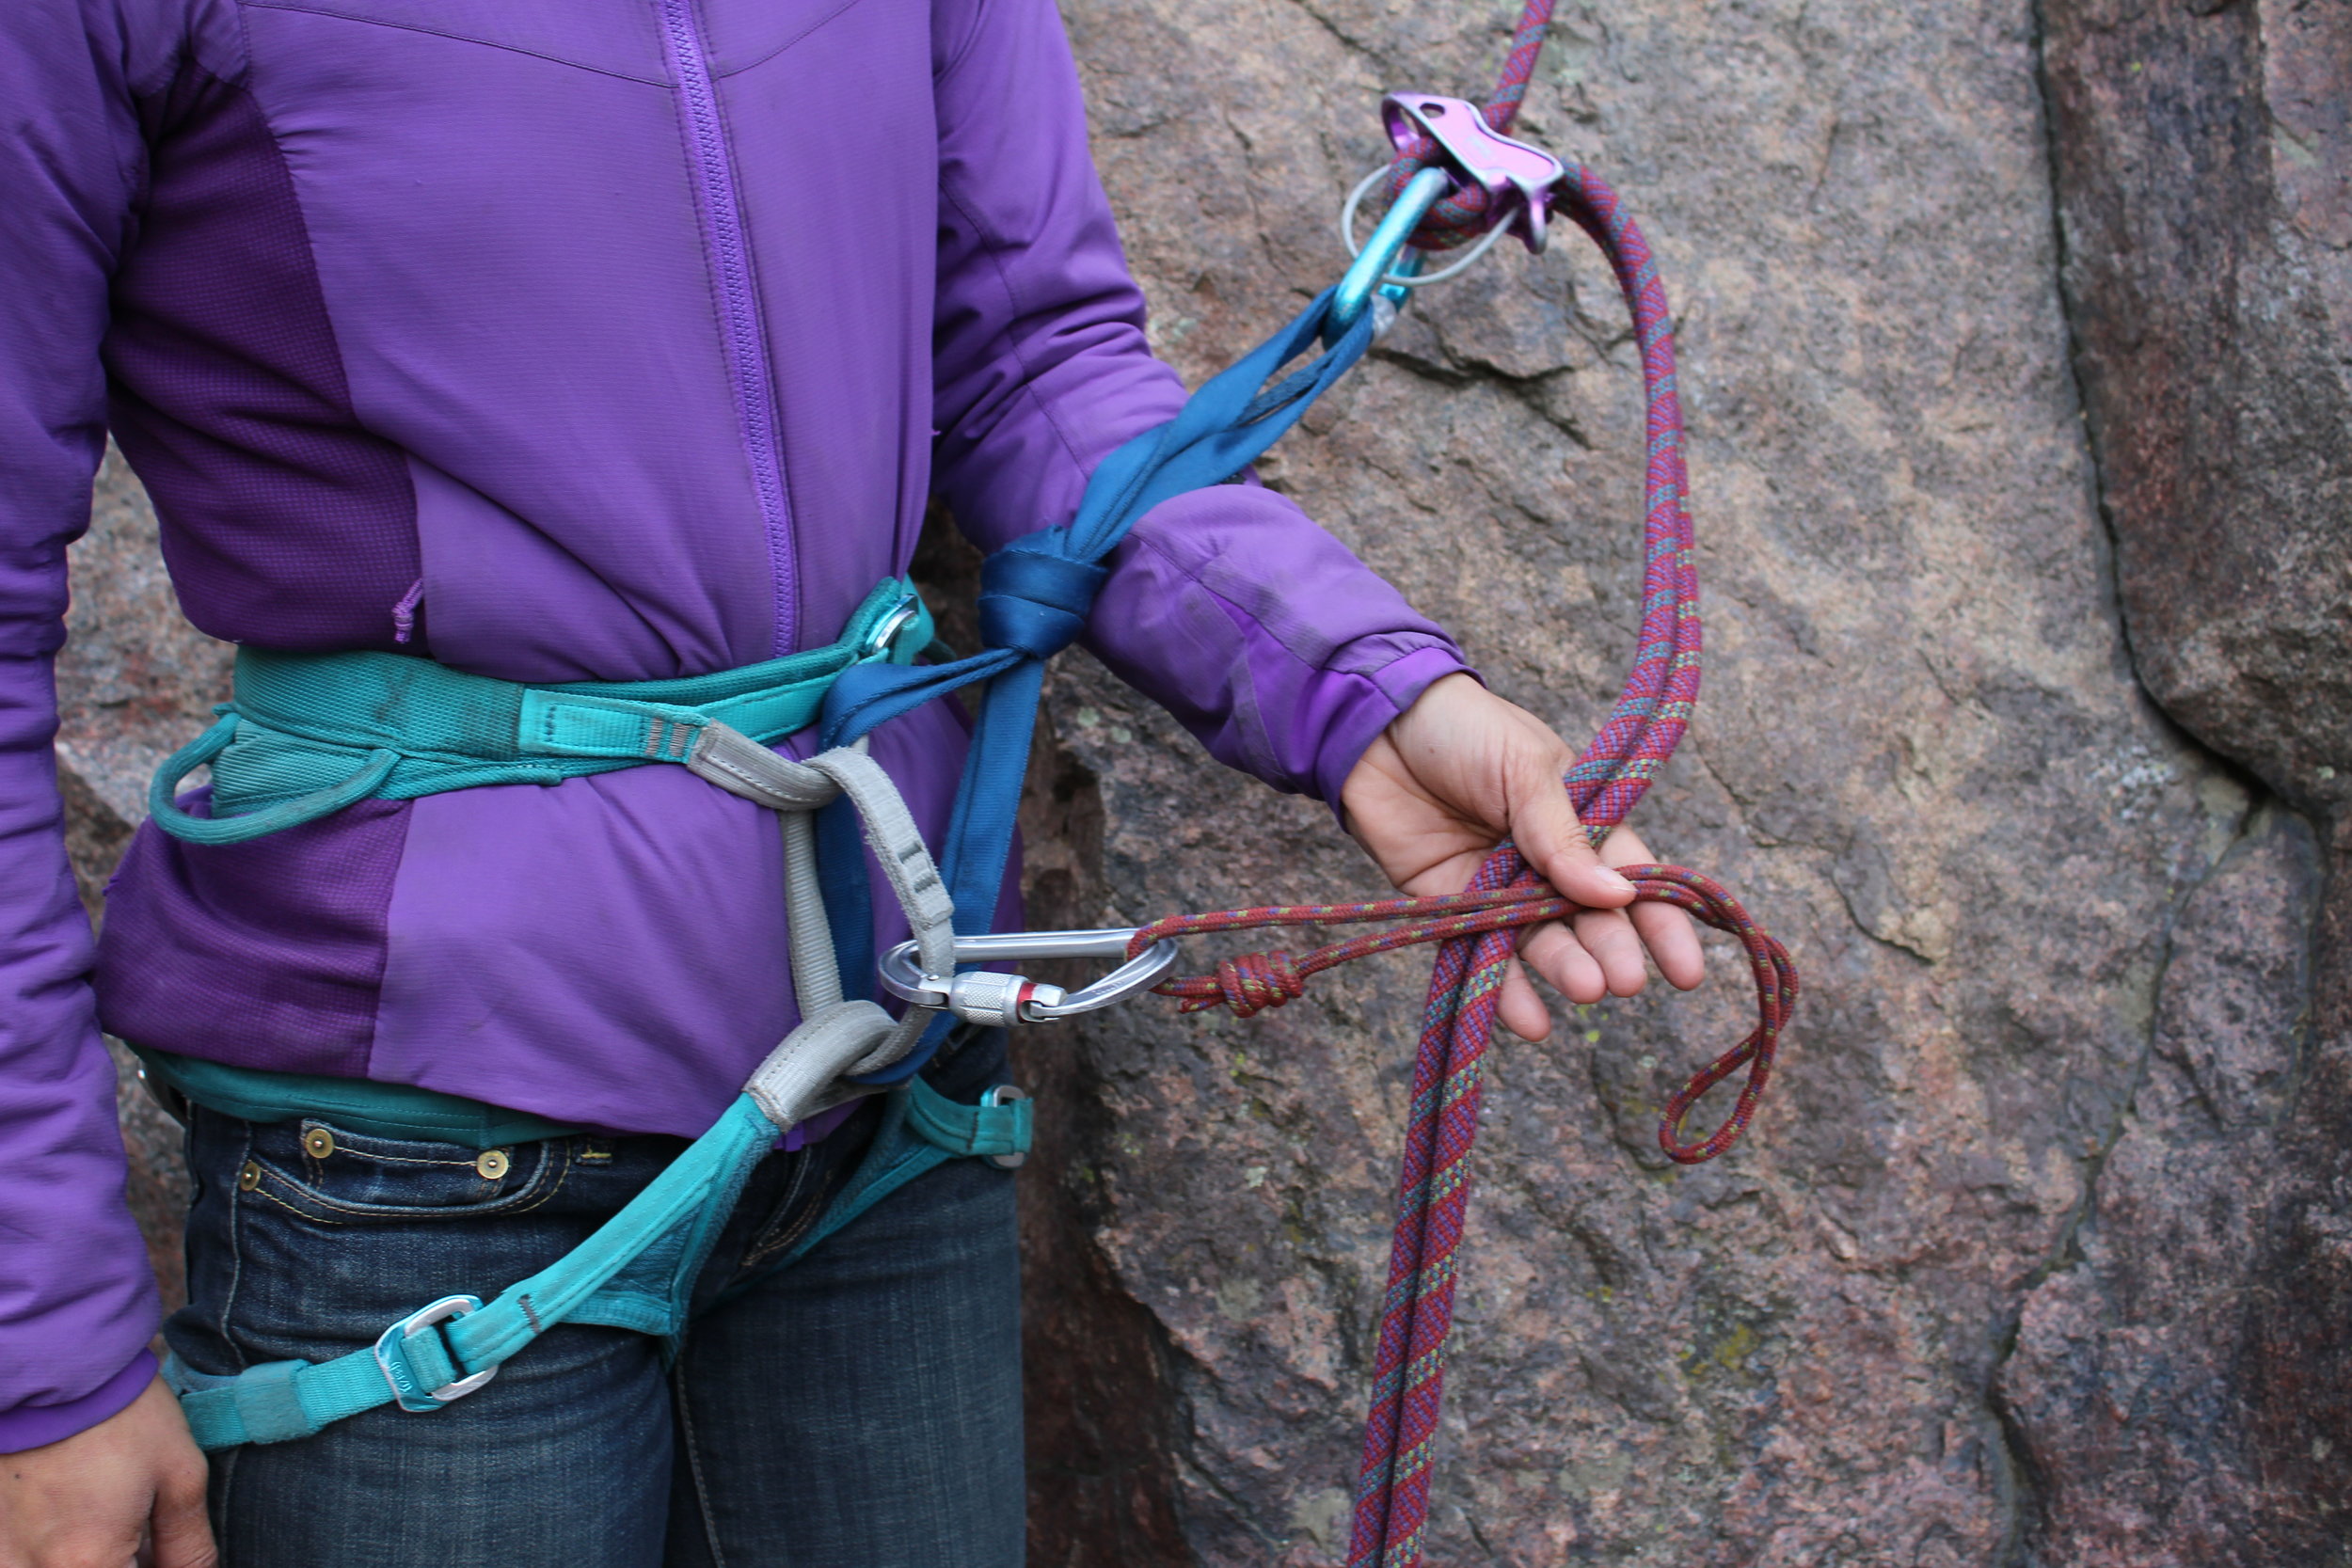
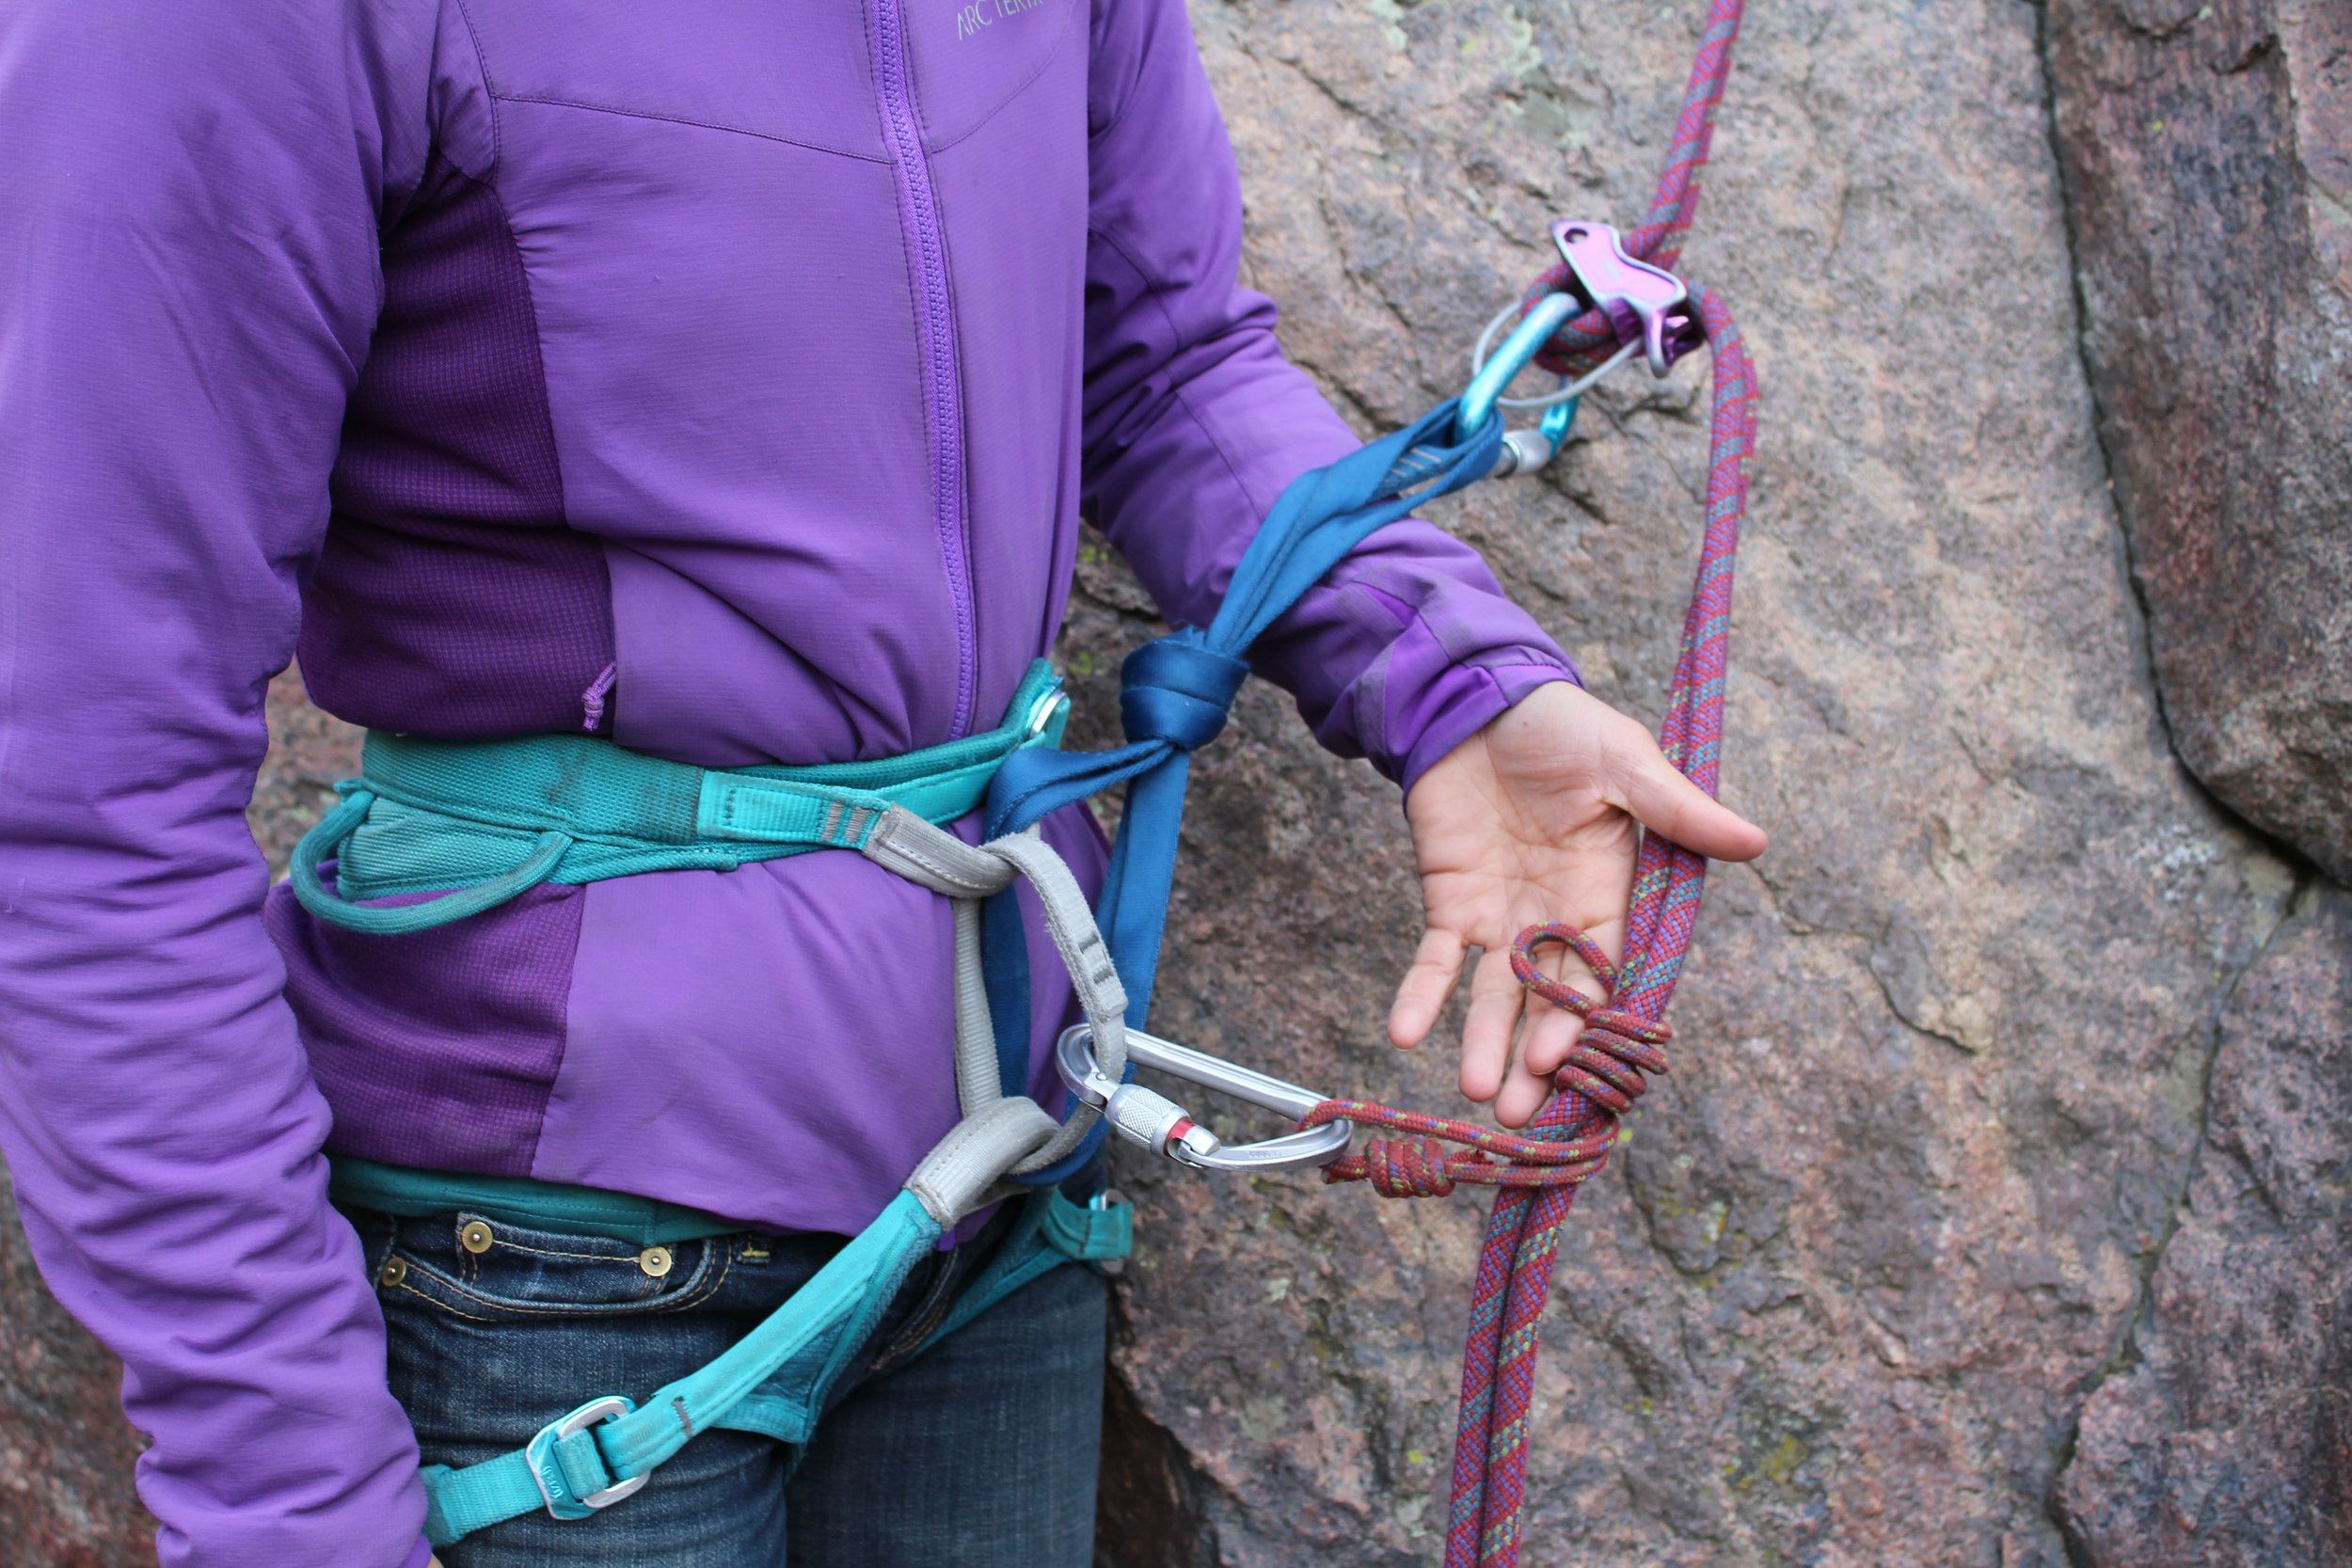
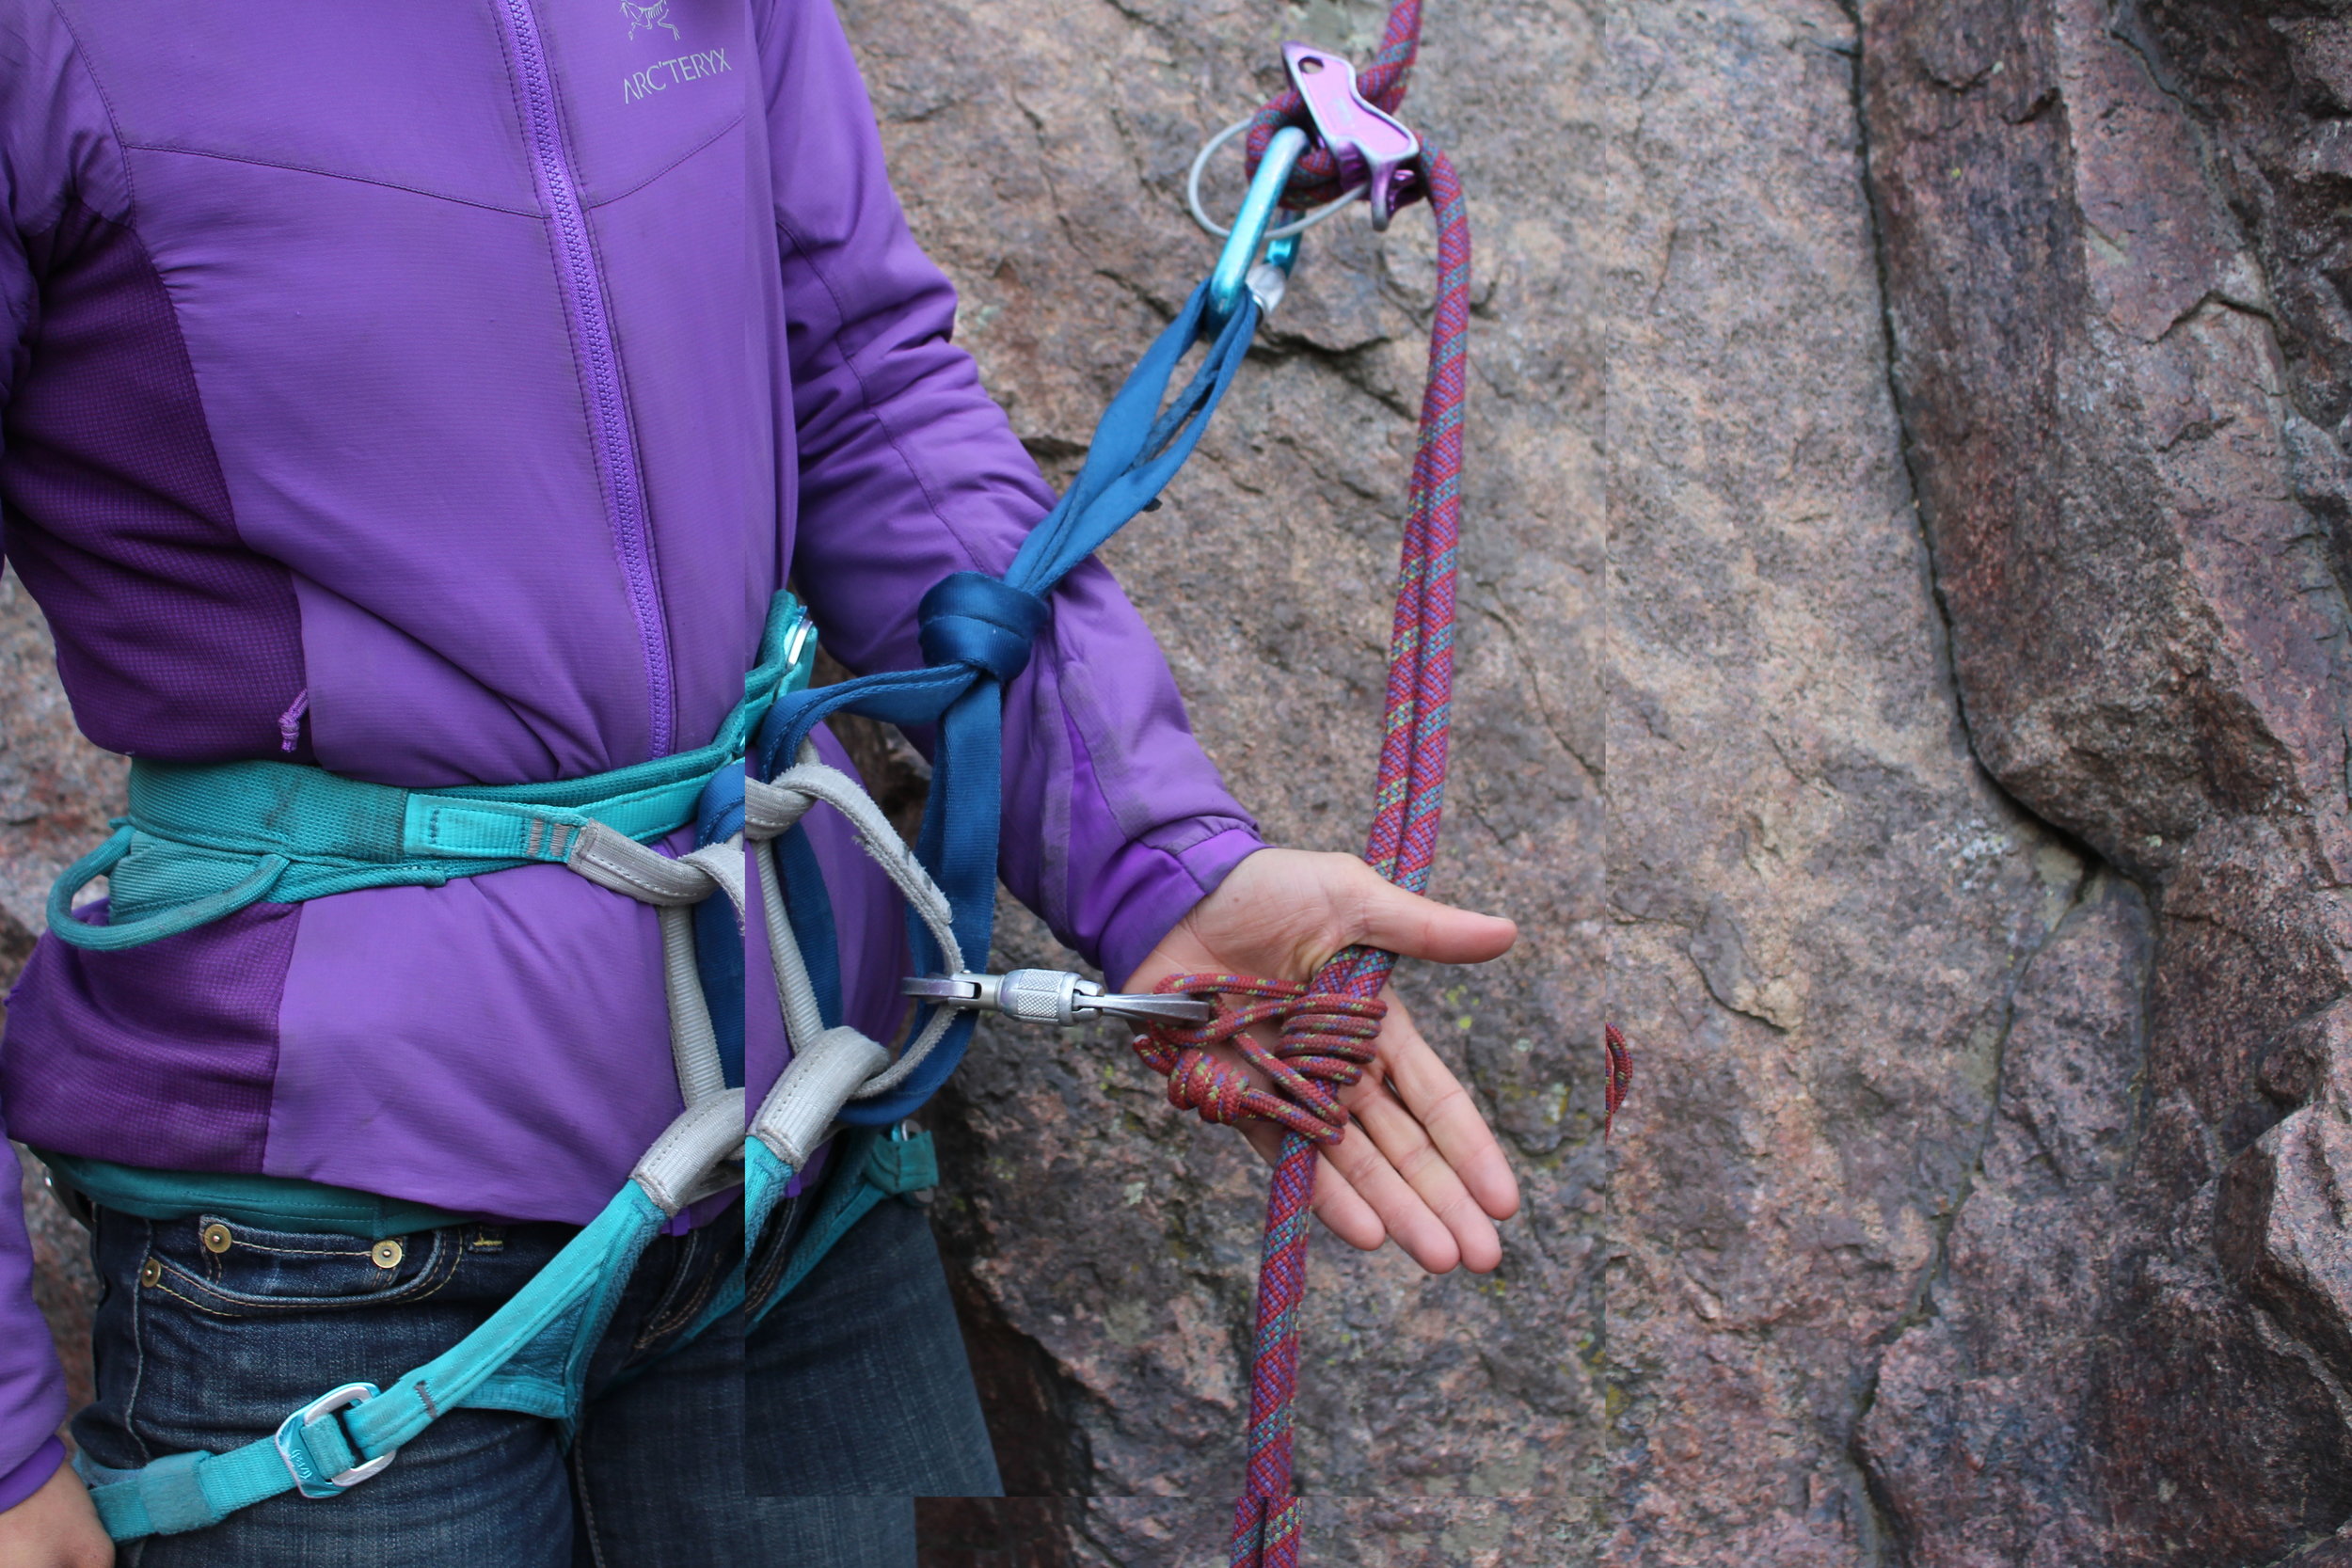
These backup knots, tied every 10 to 15 feet, provide a backup to the belayer when she does not have someone available to provide a backup belay.

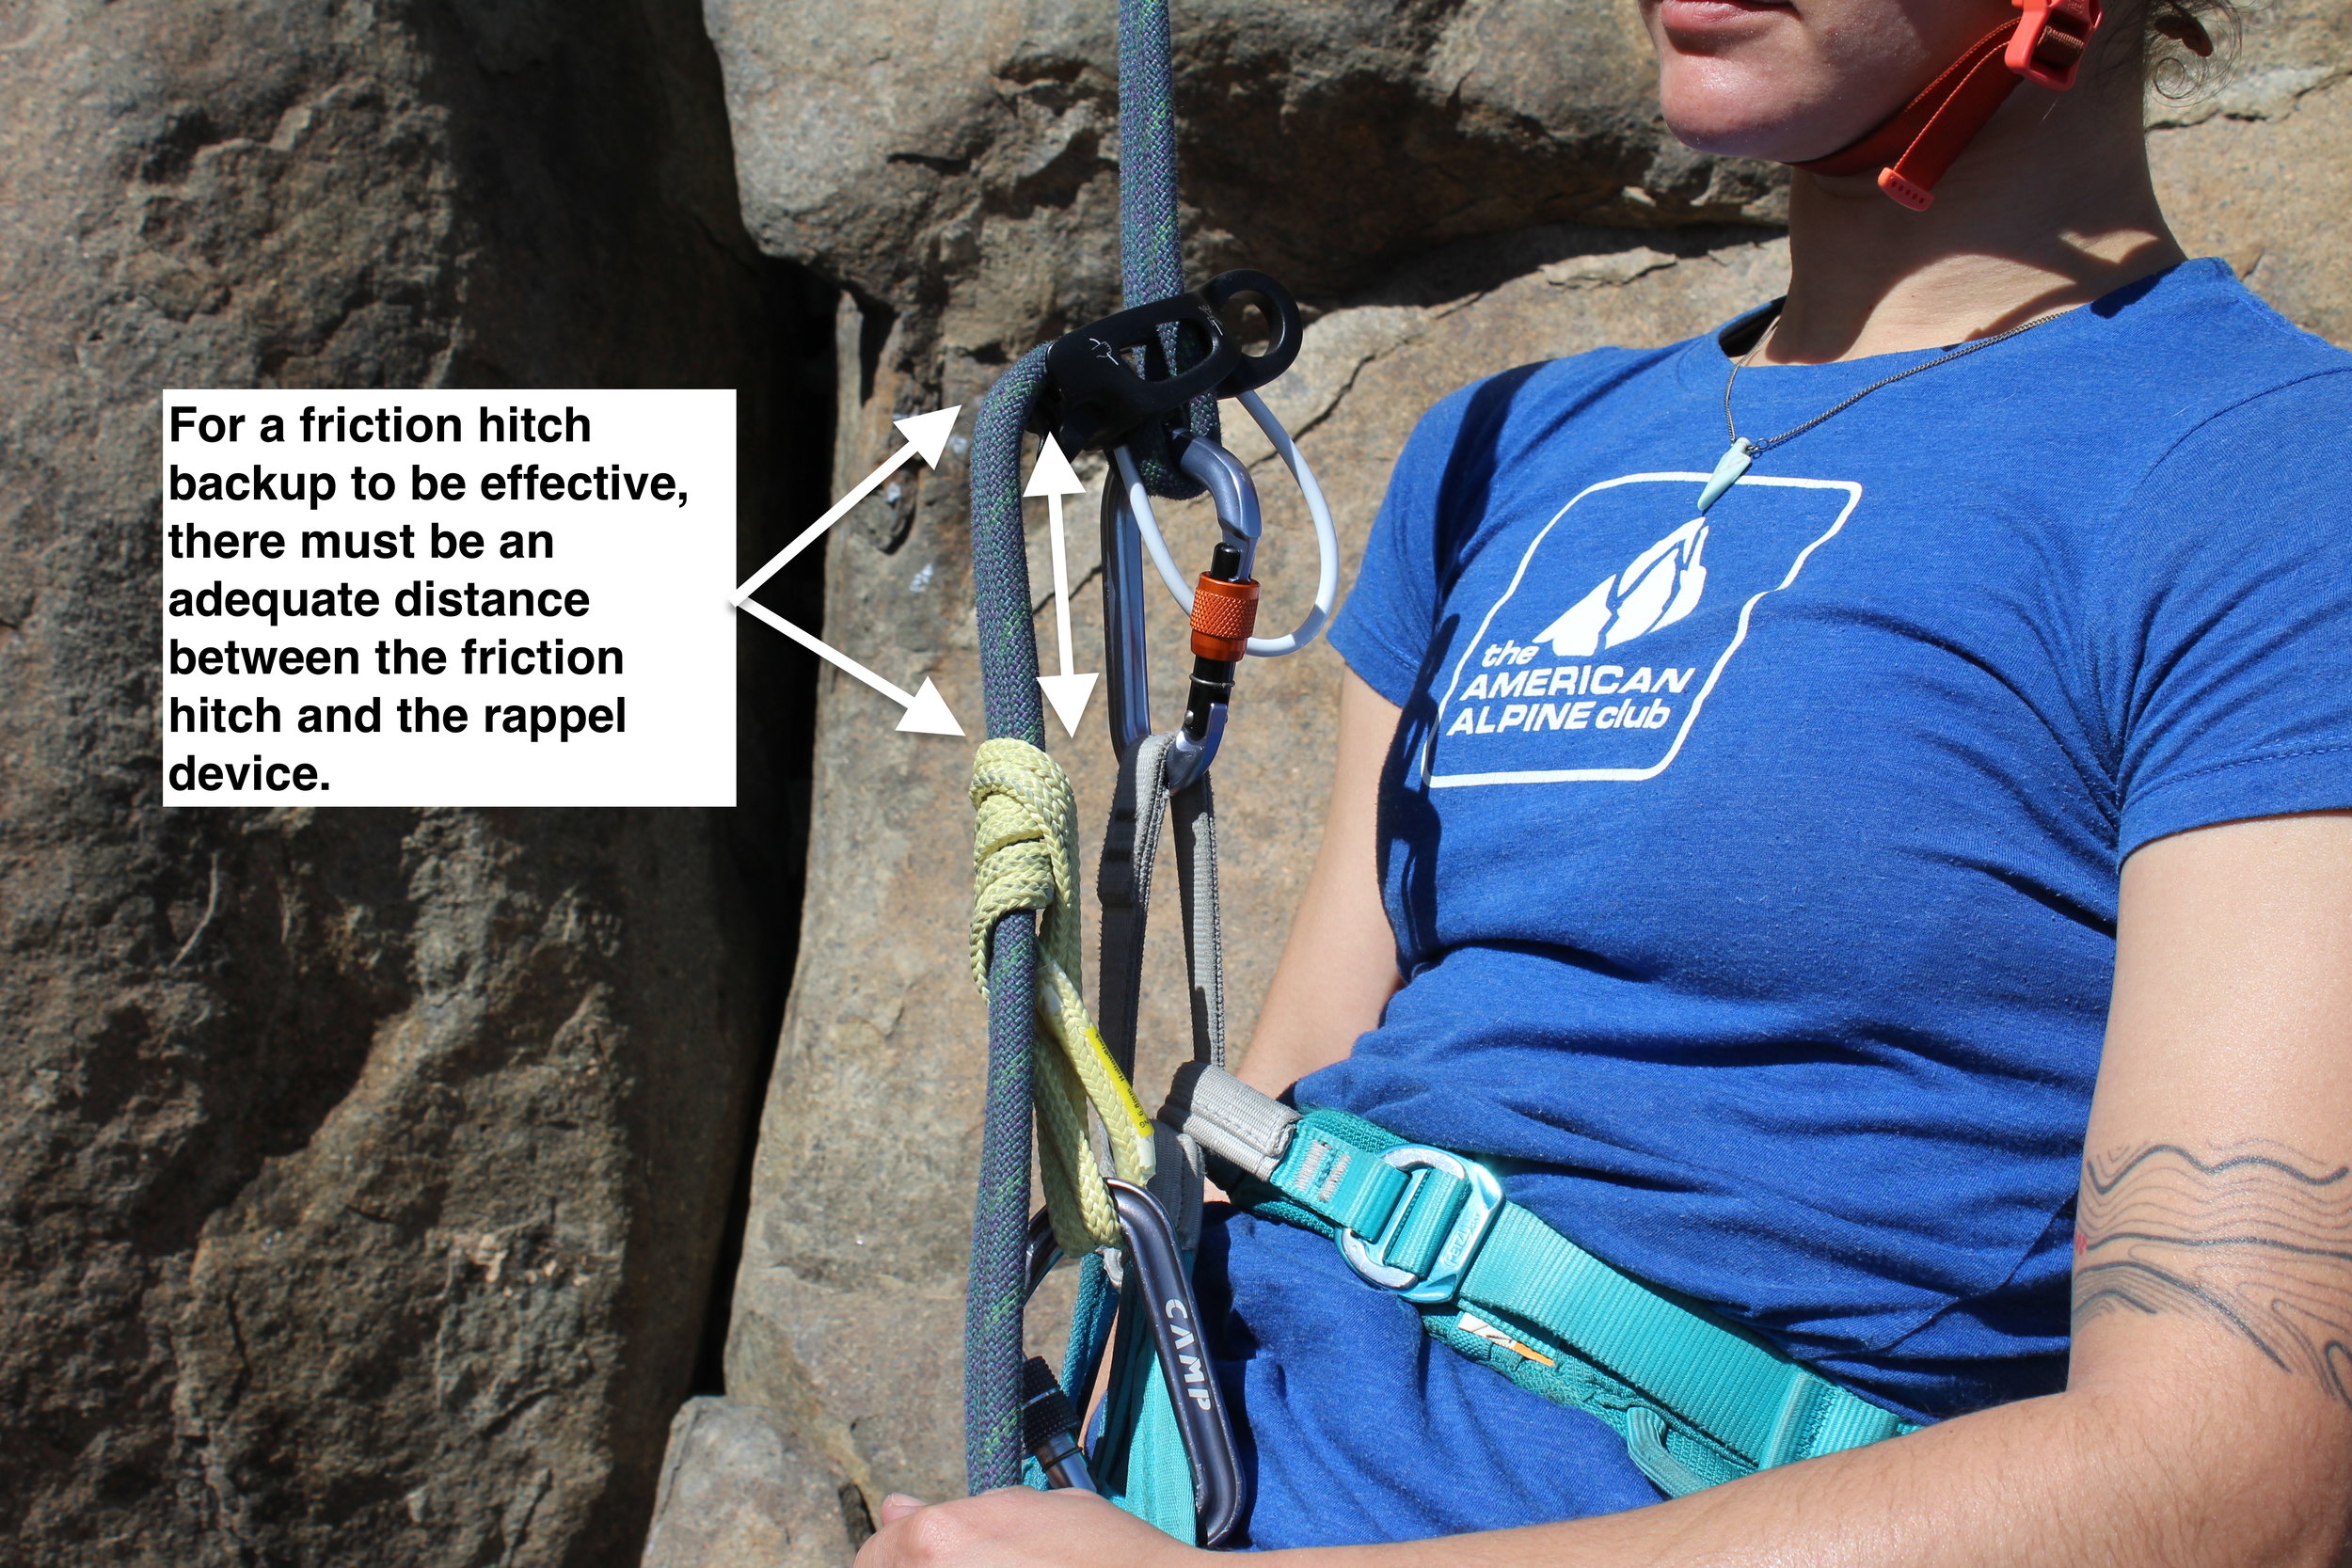
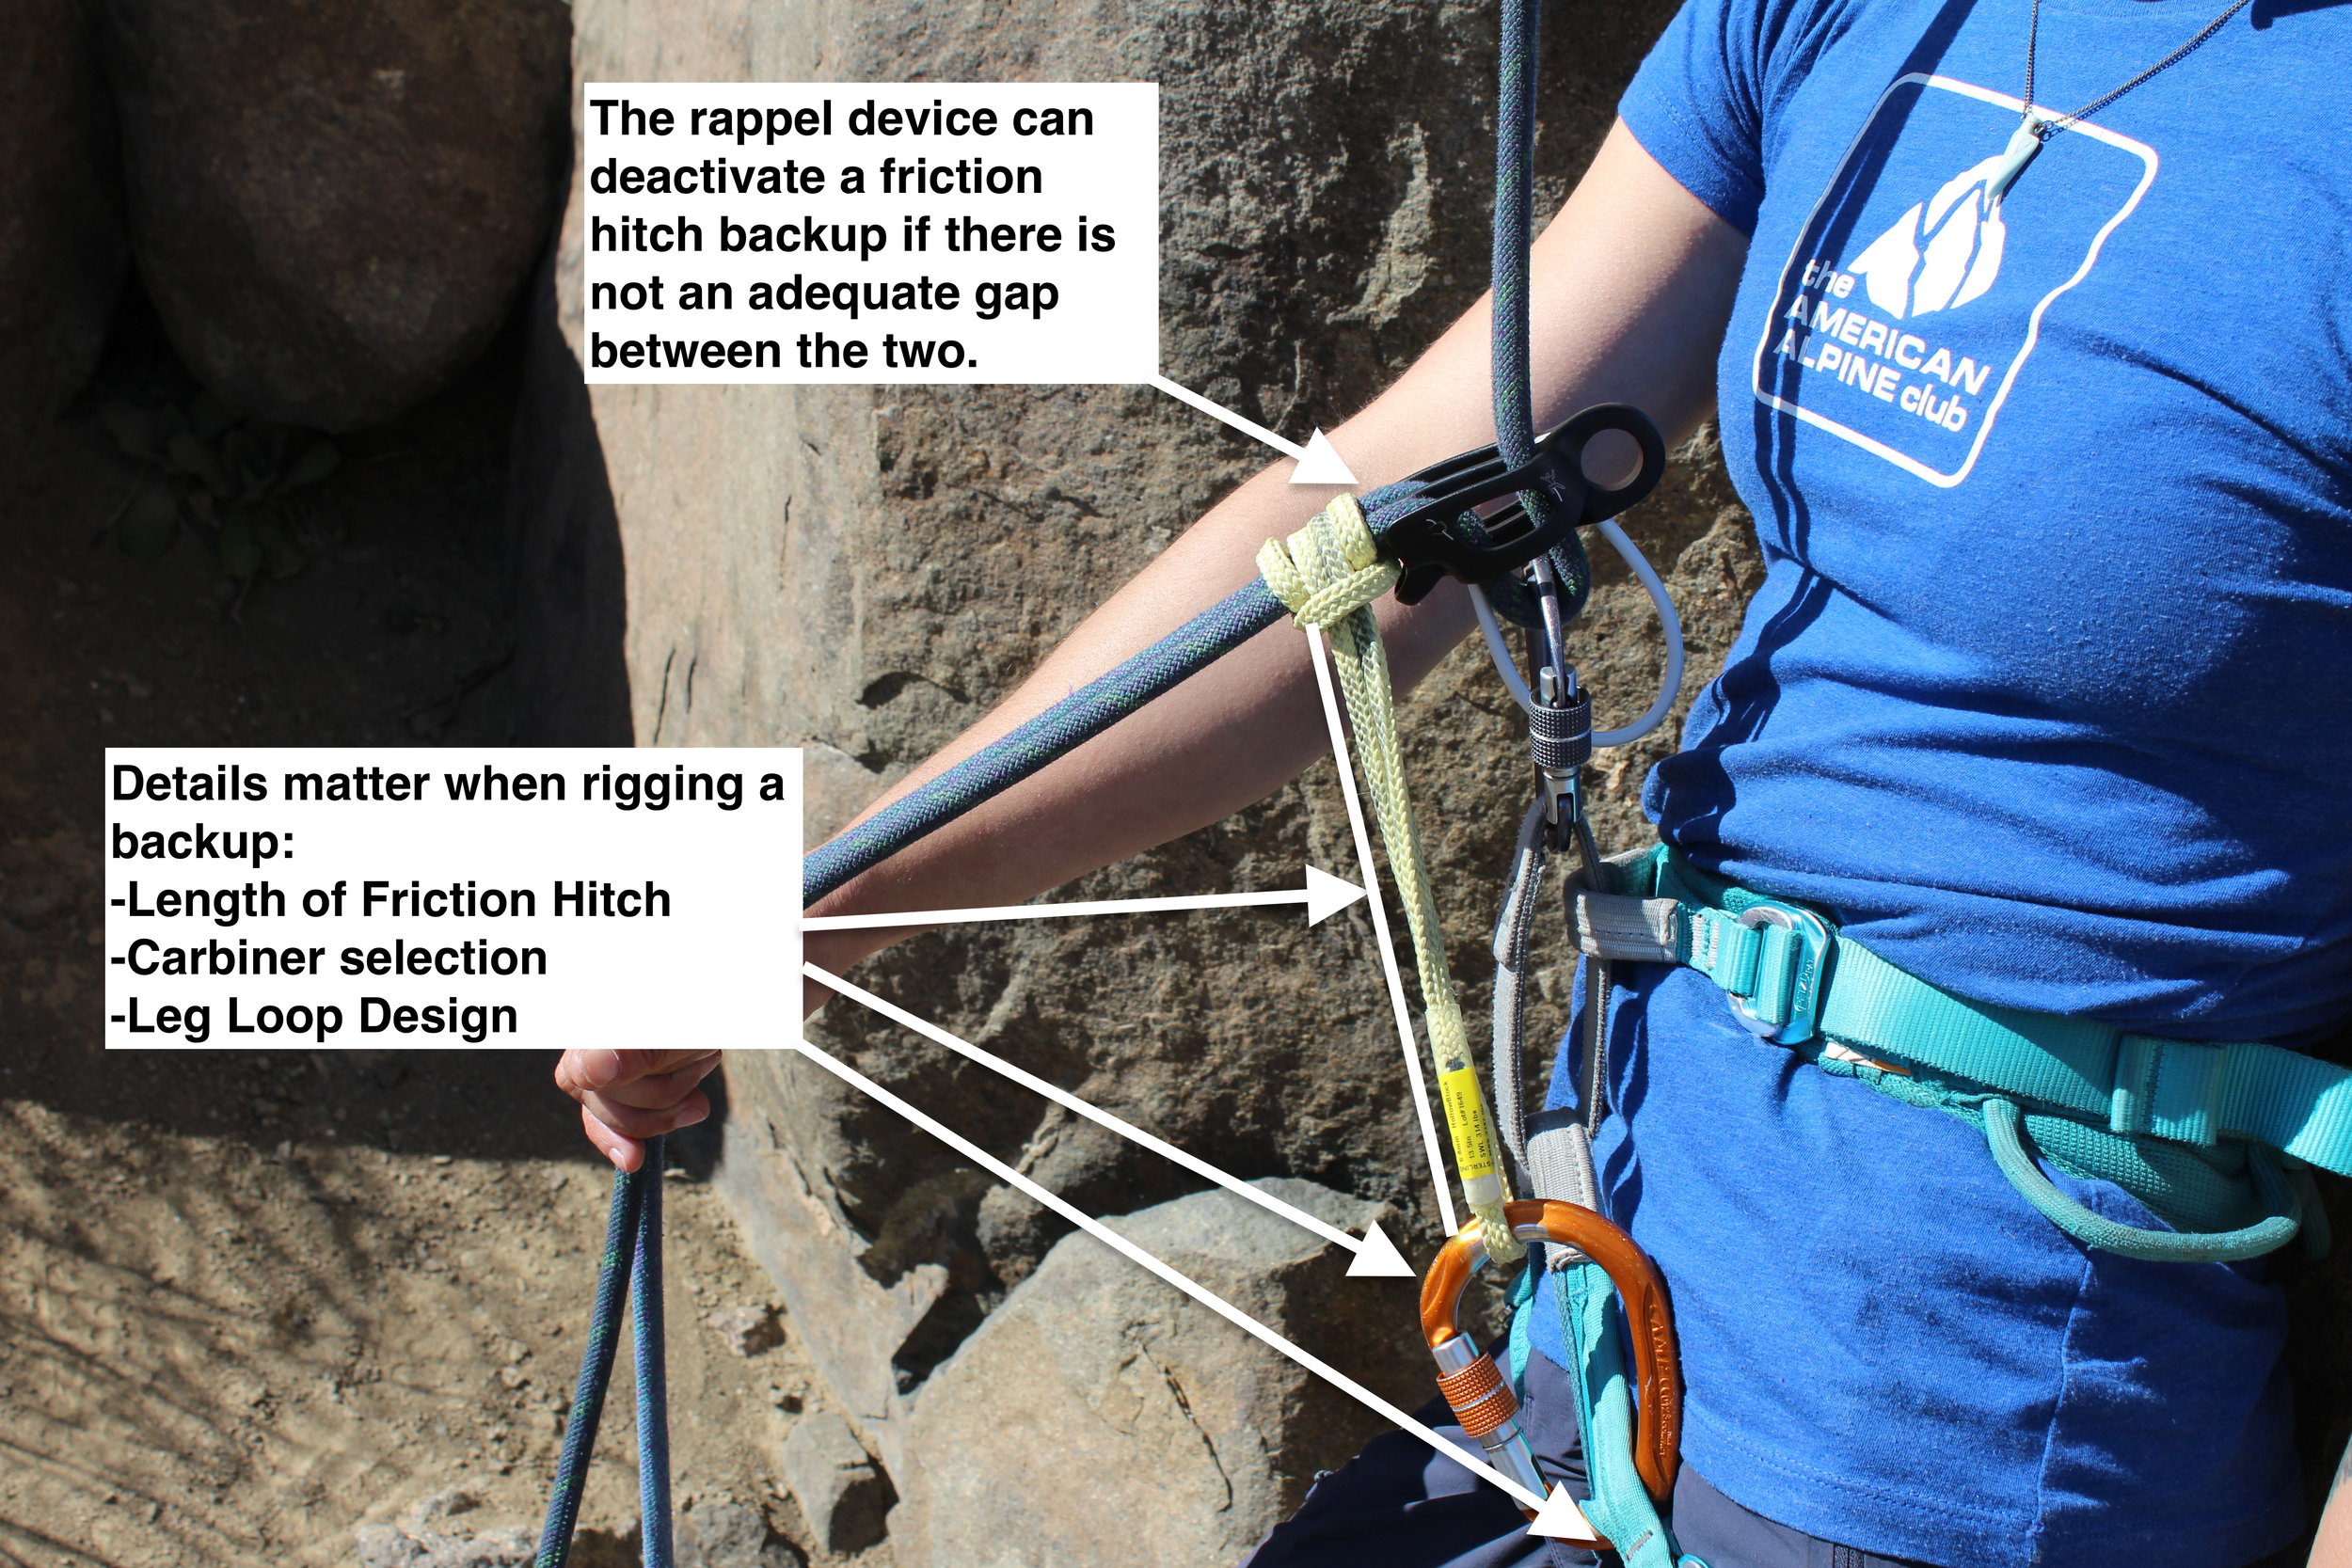
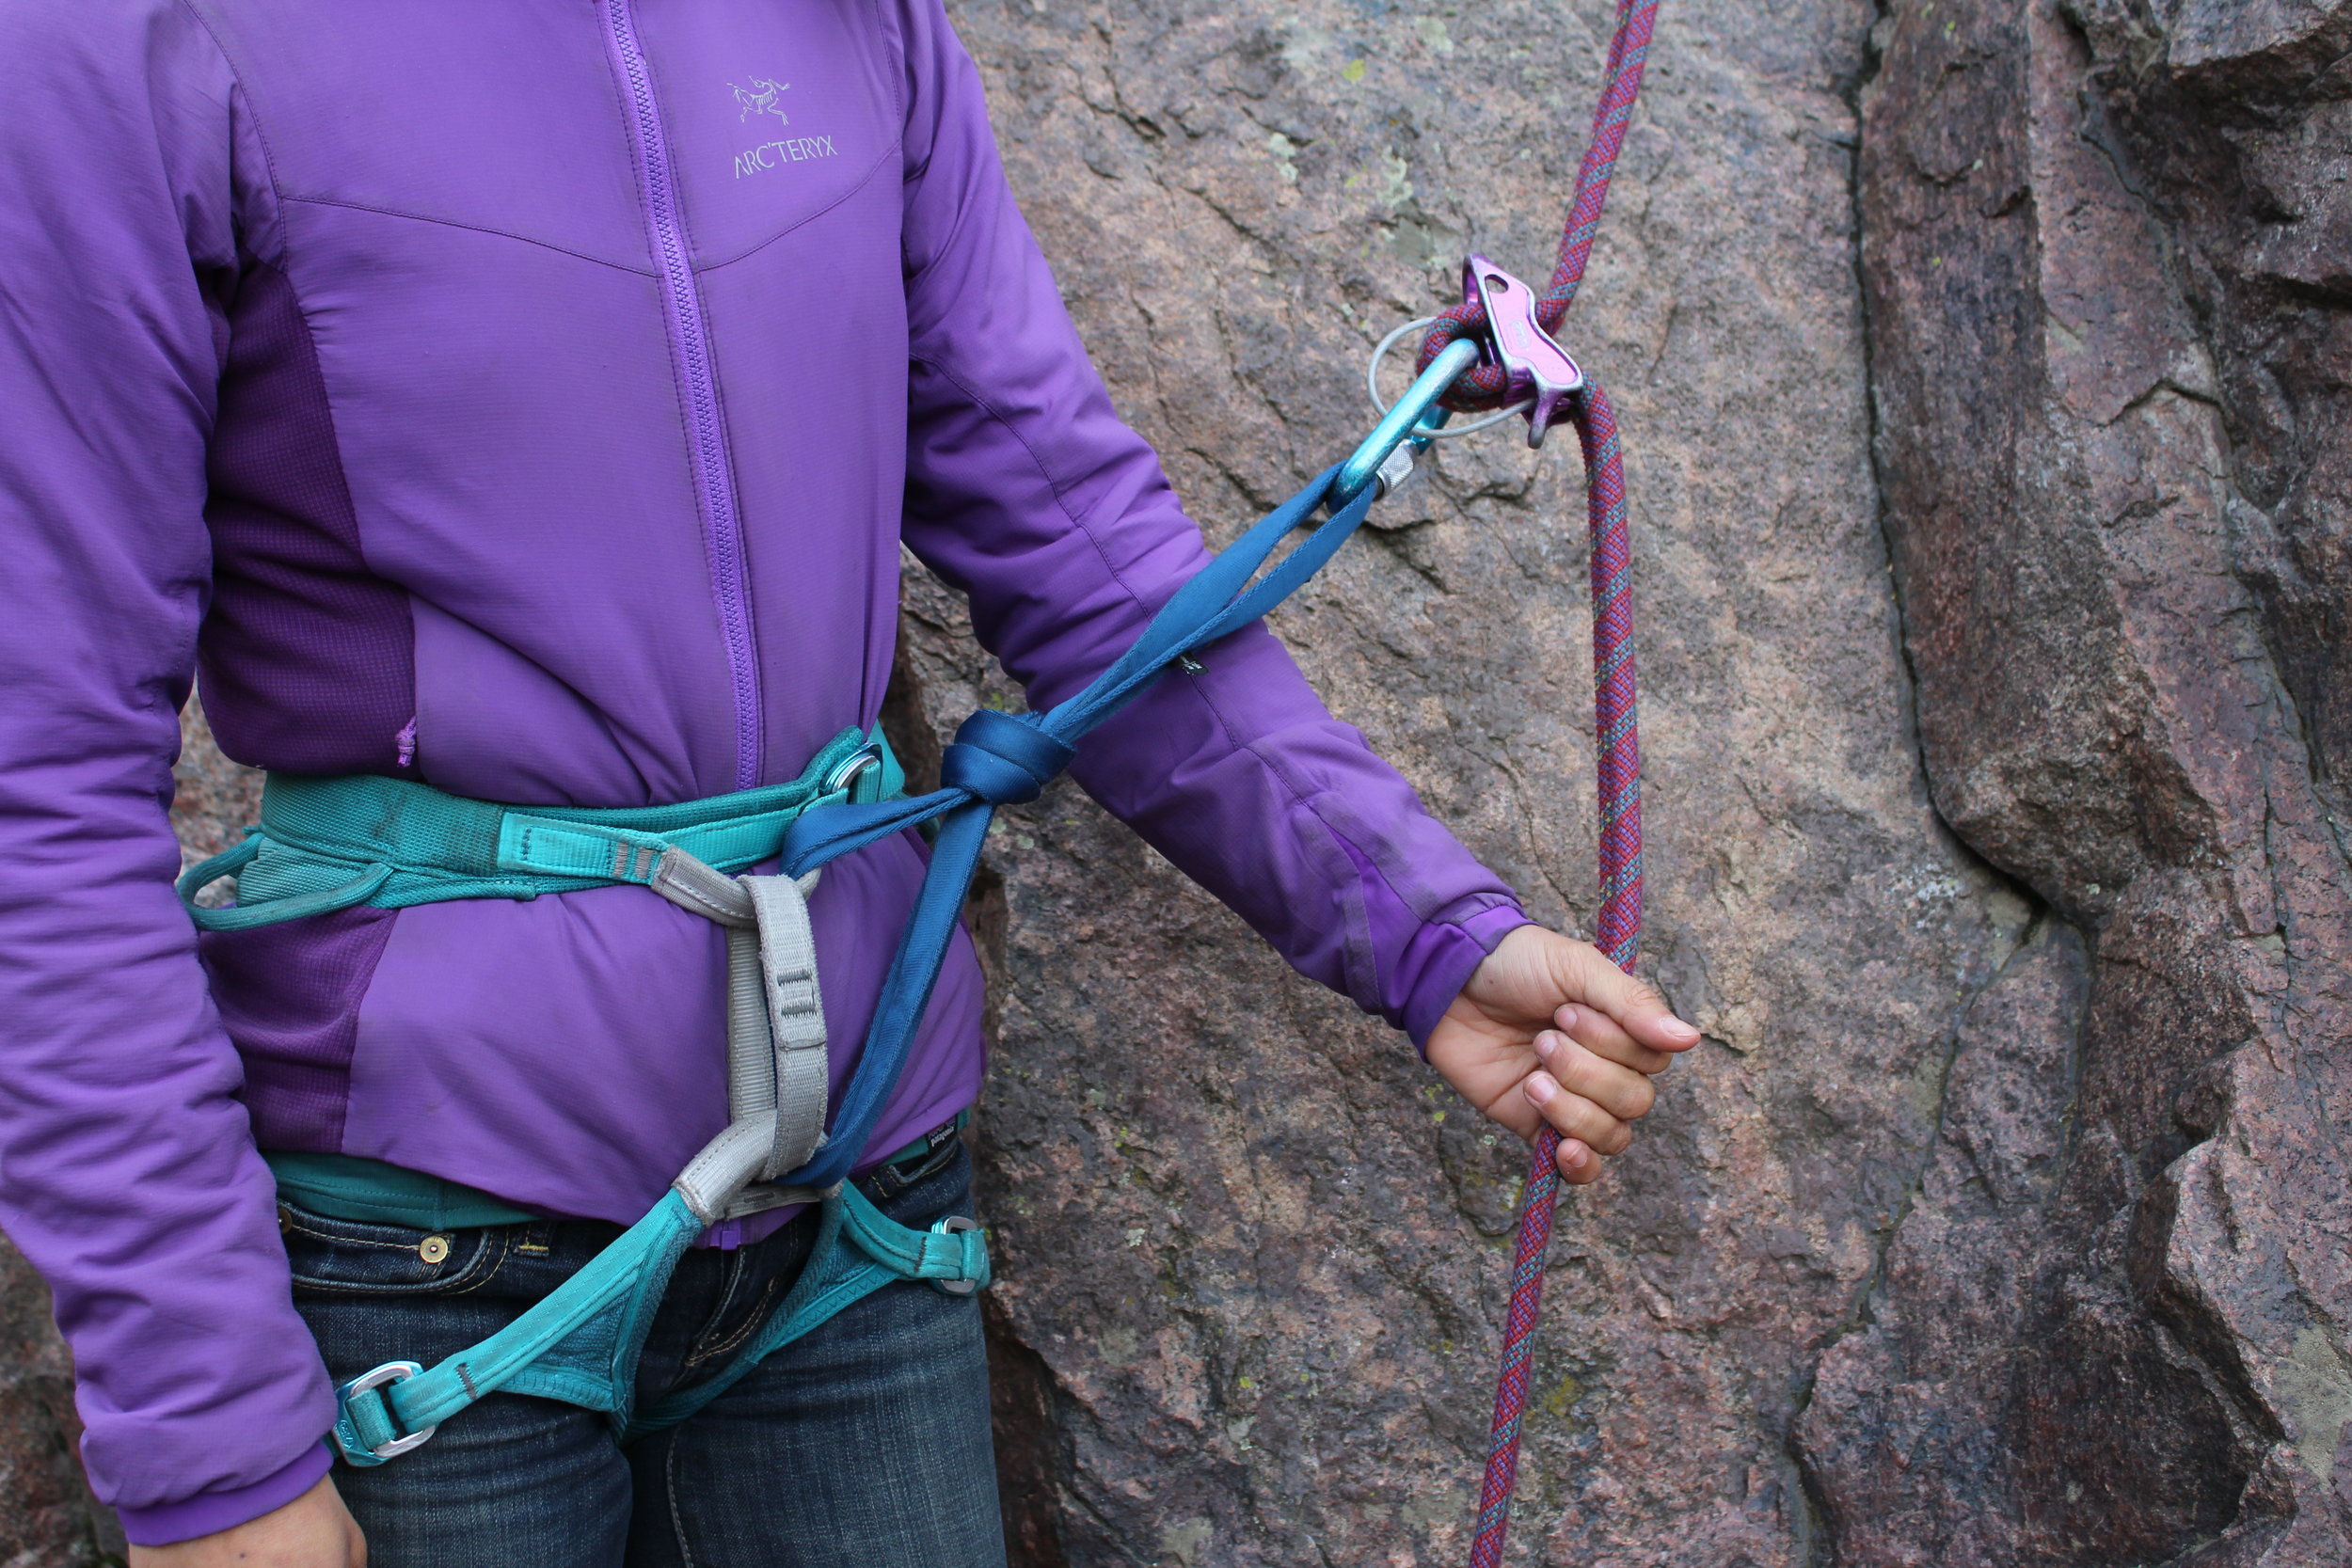
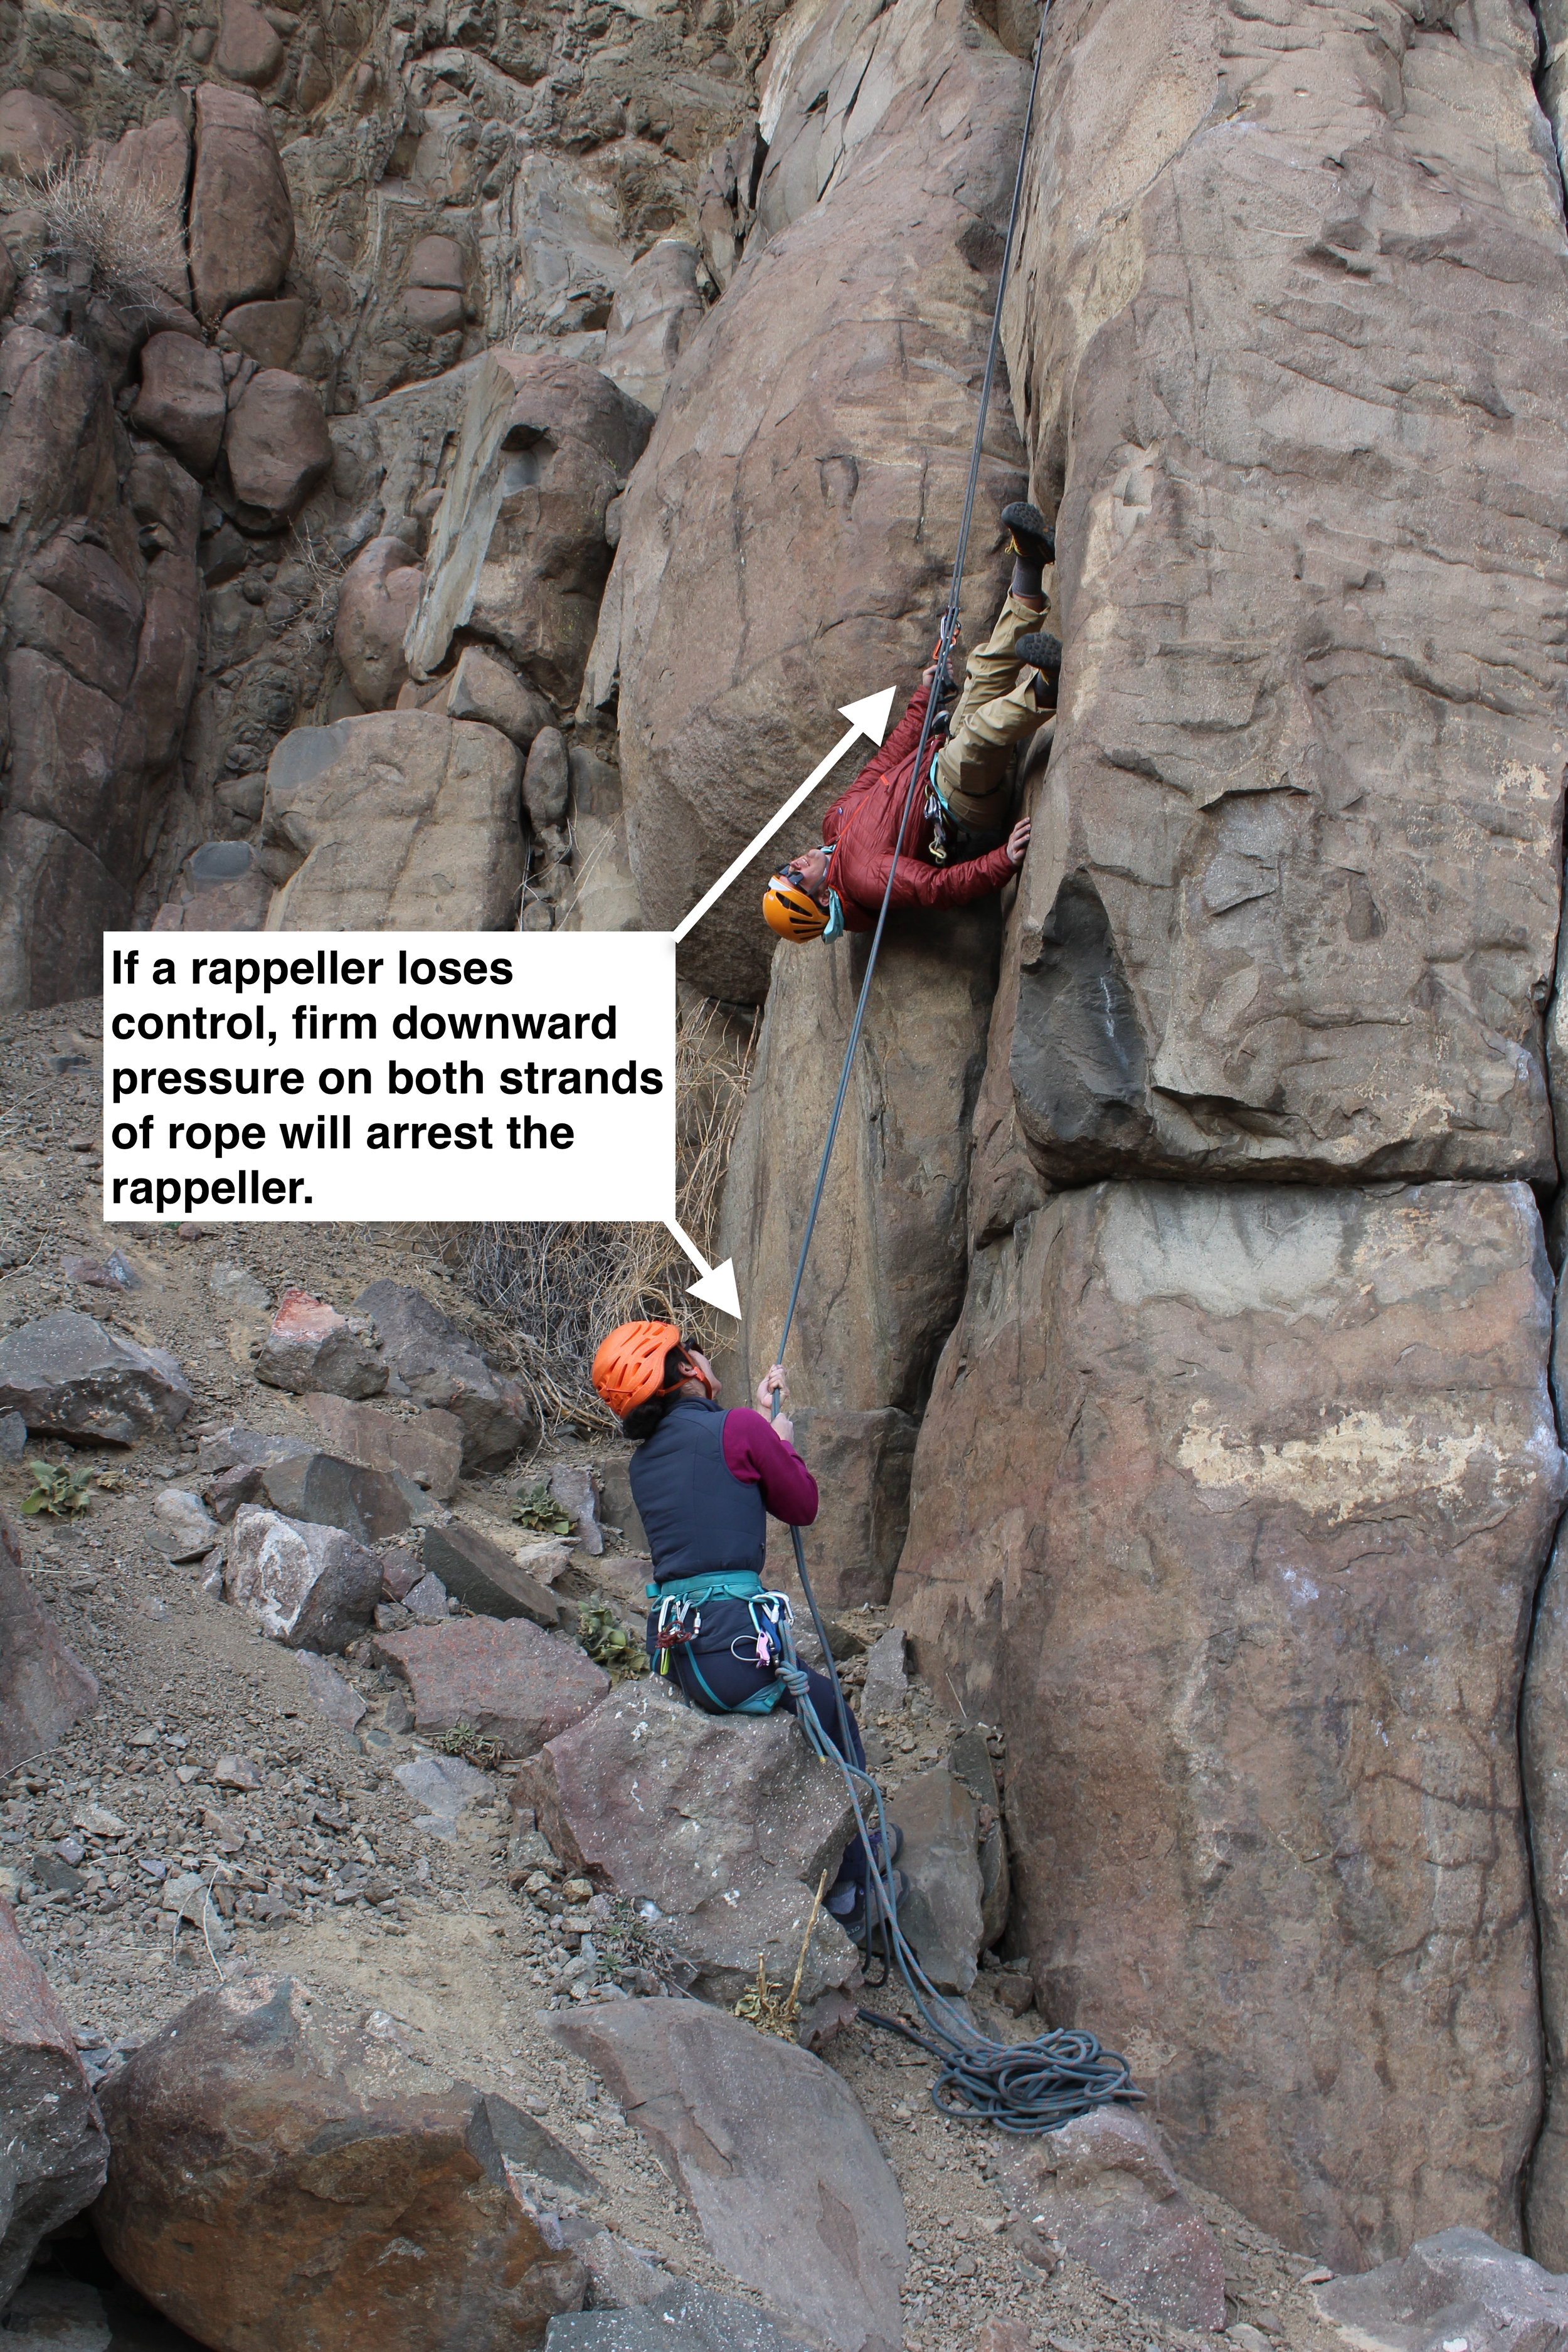
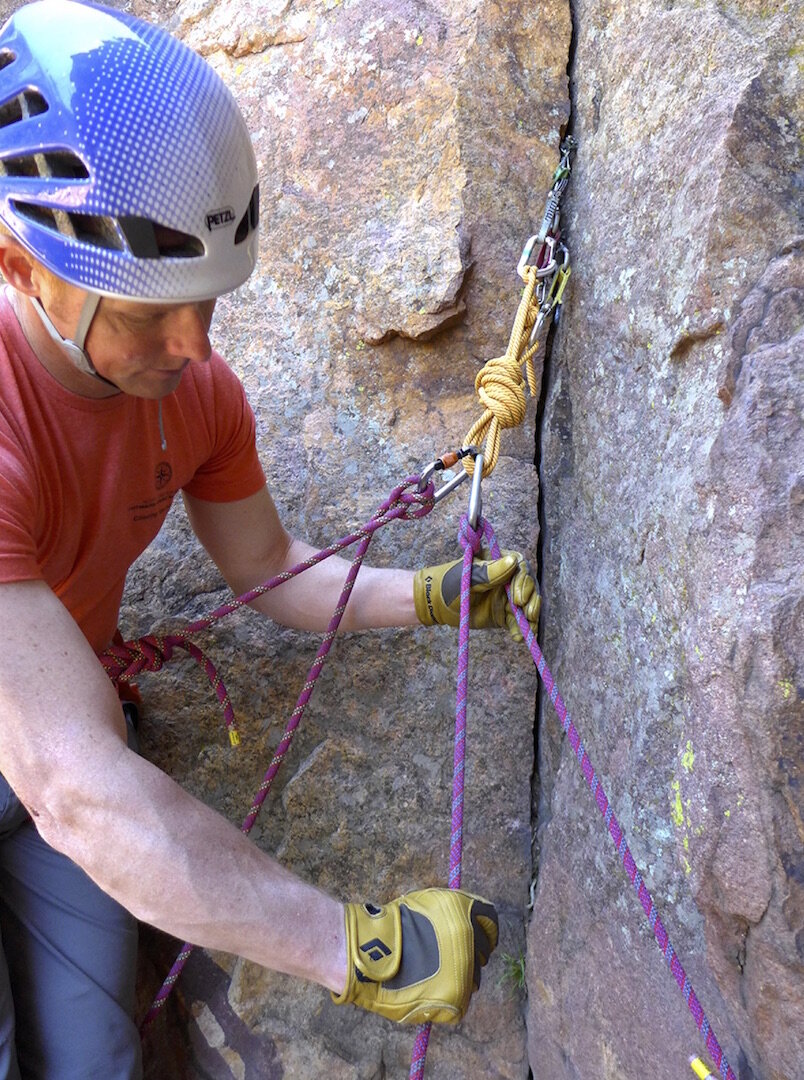
While a friction hitch can provide an adequate backup for lowering, it takes practice to tie this hitch while holding a climber, and it won't work on every harness' leg loop design.
A careful observer of these traditional forms of backup will notice that an incompetent belayer (or pair of belayers) still has the capacity to injure a climber. So, an unstated but obvious addendum to the application of any backup to any system is that incompetence is presumed to be negated. It’s an important distinction to make. Gross incompetence can override all reasonable backup systems, and safeguarding against incompetence quickly becomes impracticable.
Belaying systems presume functional cooperative competence as a starting point, and backups safeguard unforeseen forces and circumstances that can unexpectedly incapacitate a belayer. So, it’s important to combine fundamental belay principles to any belay device, regardless of the braking apparatus. All devices require a belayer to keep a brake hand on at all times, slide or alternate the brake hand only when the rope is in the braking plane of the device, and use the hand wrist and arms according to their natural strength.
Assisted Braking Device = Backups
An assisted braking device, operated within the fundamental principles of belaying, is an especially valuable tool if climbing teams prioritize backups. If a belayer takes an honest self-assessment of all the things that might thwart the best intentions of a diligent and competent belay, then it is difficult to justify not prioritizing backups. It is perfectly reasonable, and perfectly human, to accept that any number of sights, sounds, and distractions compete for a belayer’s attention. Other climbers, friends and acquaintances, passersby, flora and fauna, changes in weather, they all distract even the most committed belayers. In these perfectly predictable and likely circumstances, the assisted braking mechanism of an ABD can provide the ready-to-go attentiveness that the belayer momentarily lacks.
More persuasively, there are occurrences in the climbing environment that can easily incapacitate a belayer, regardless of their position relative to the climber (above or below). If a belayer is willing to indulge the imagination, these hazards quickly accumulate:
Rockfall generated by climbers above in a separate party
Rockfall generated by a climber in one’s own party
Natural rockfall
Icefall (for all the same reasons)
Avalanche (for all the same reasons)
Electricity of all kinds
Aggressive Fauna (stinging insects and arachnids, snakes, large predators)
Aggressive Flora (treefall, deadfall, prickling plants, poisonous plants)
A leader climber falling and impacting the belayer
Medical problems (allergies, asthma, diabetes, seizures, other chronic conditions)
Accident archives and anecdotal evidence demonstrate, again and again, that the selection of an ABD provides belayers and climbers with a backup should any of the aforementioned hazards incapacitate the belayer.
On one notable example, a pair of proficient climbers had a spectacularly close call in Eldorado Canyon in 2008. In much the same manner catalogued above, the leader climber dislodged a large rock during a lead fall. That rock fell and hit the belayer. The belayer, having selected an ABD, managed to arrest the leader’s fall despite the severe injuries he sustained. Had the belayer selected a manual breaking device instead, like an ATC, without any sort of backup, the leader would have likely been severely injured as well. As it turned out, the leader was able to run for help and assist rescuers to evacuate his partner.

An ABD is not a panacea for mishap or incident, but it does provide all belay teams, like this team from Eldorado Canyon, with a margin of error. Surely, that’s an adequate incentive for any climbing team to learn more about ABDs, and it’s a sound reason to learn to use them correctly.
Movement Economy while Lead Belaying
Many assisted braking devices offer the greatest economy of movement when delivering slack to the lead climber. Even though many belayers assert that ABDs have cumbersome mechanics resulting in a jammed rope and an inability to provide adequate slack, most of these assertions are based on a lack familiarity with the techniques needed to use an ABD to belay a lead climber.
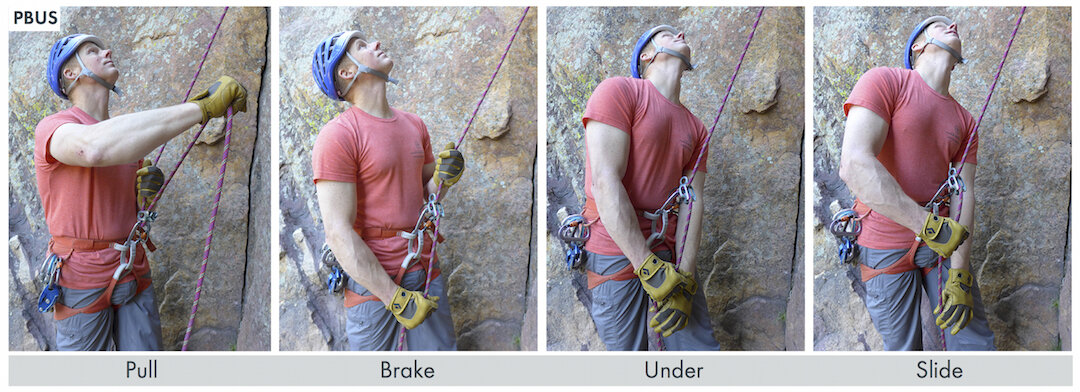
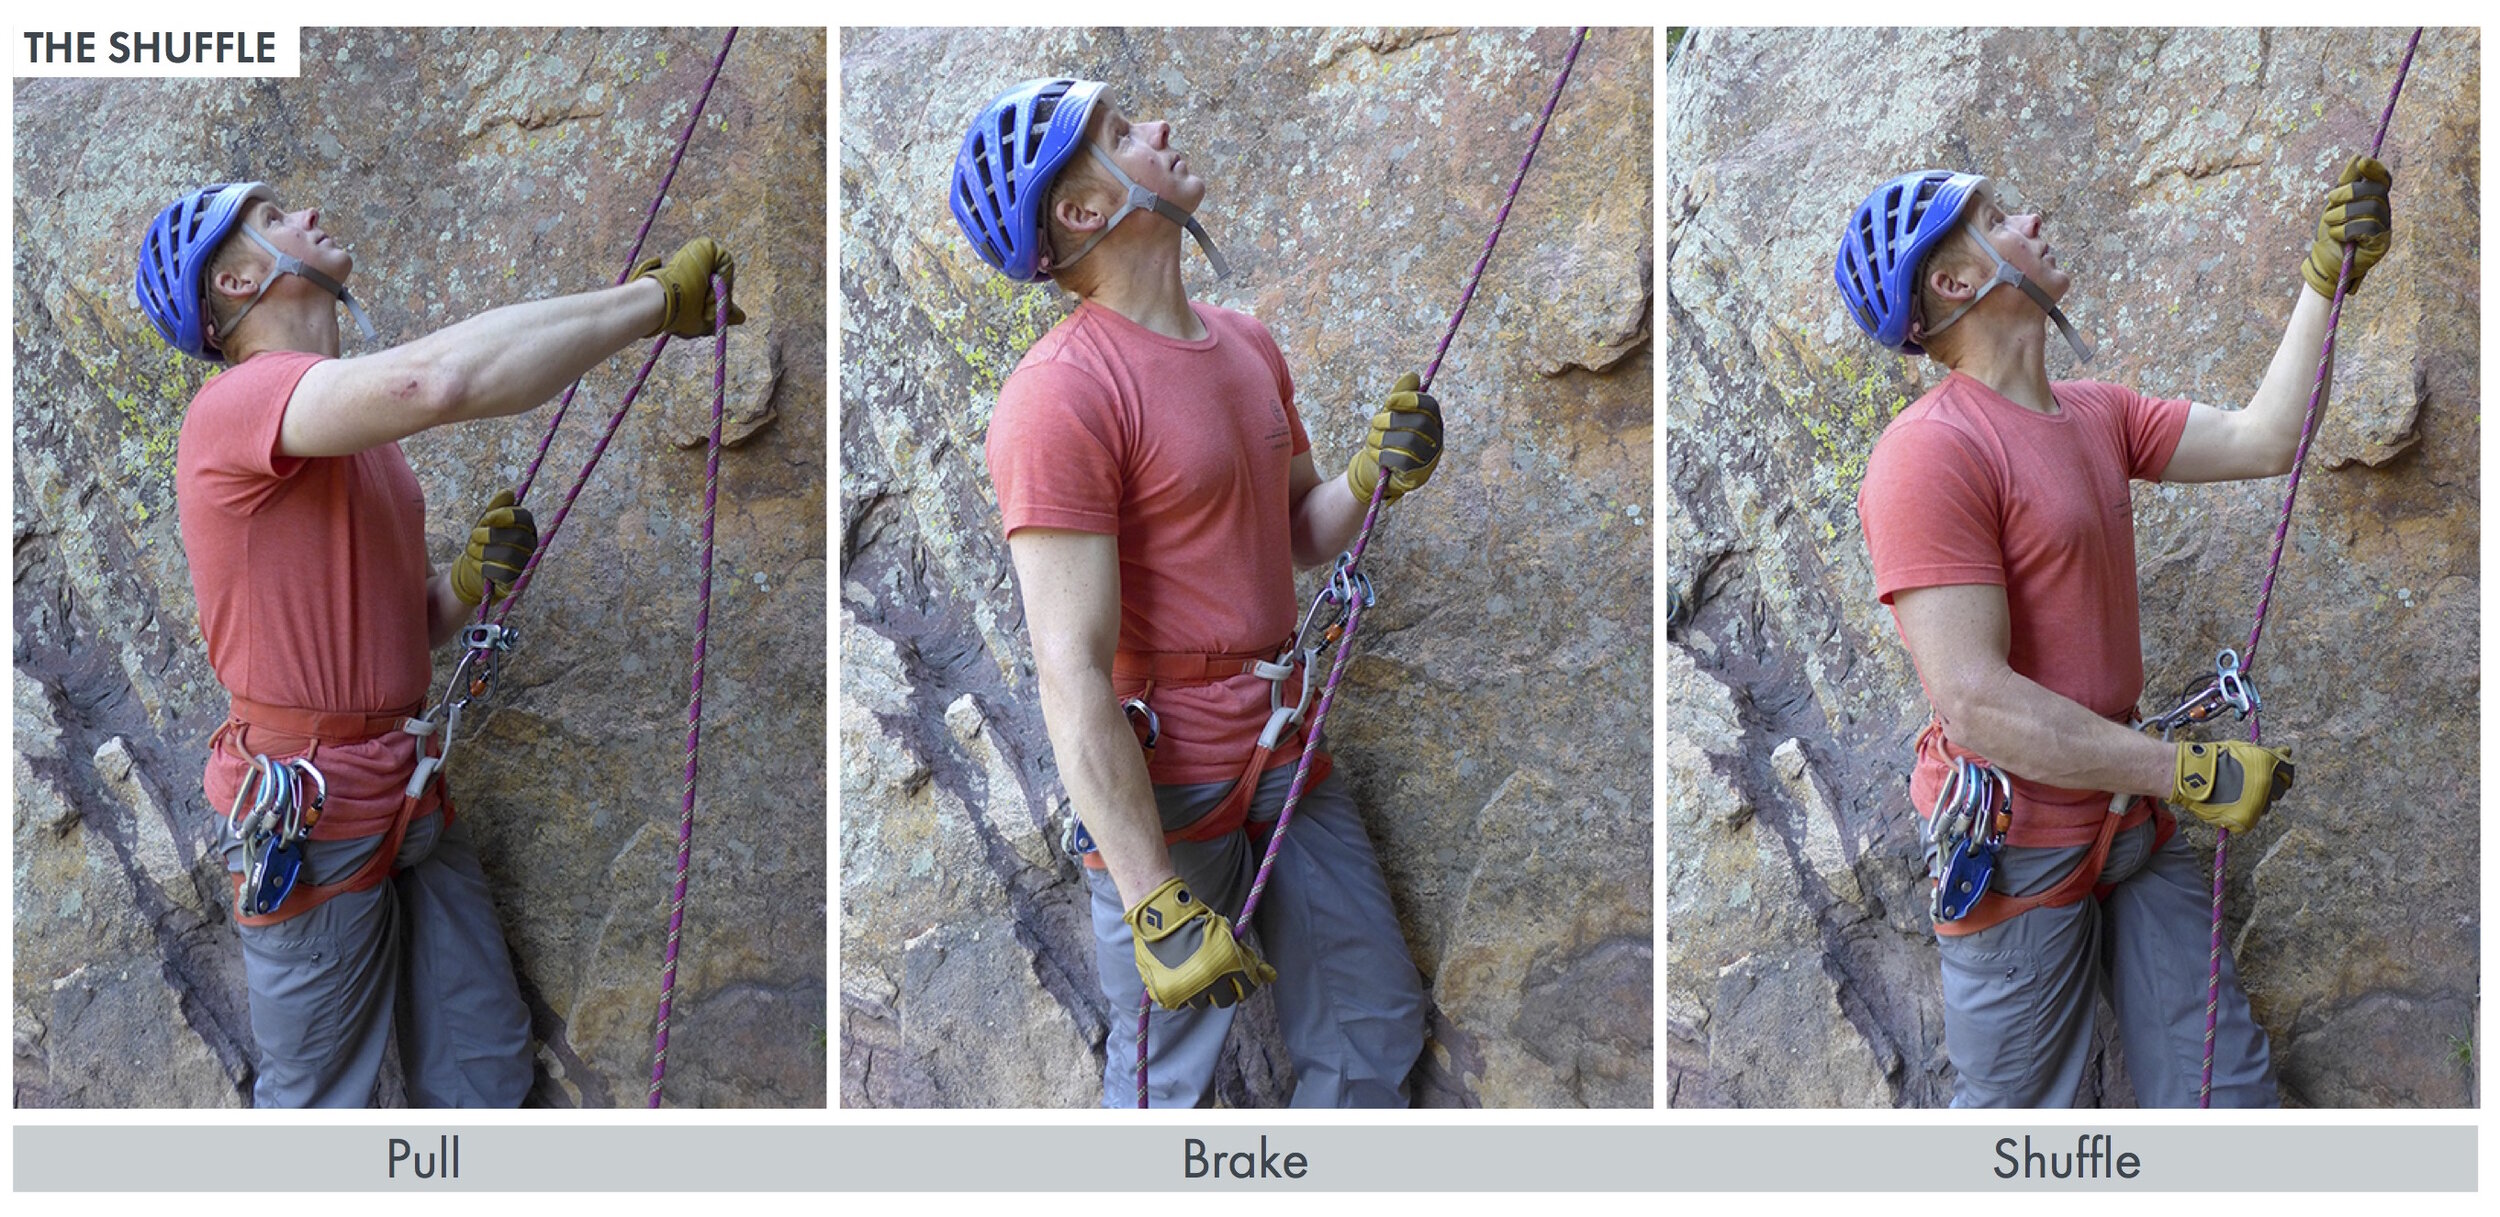
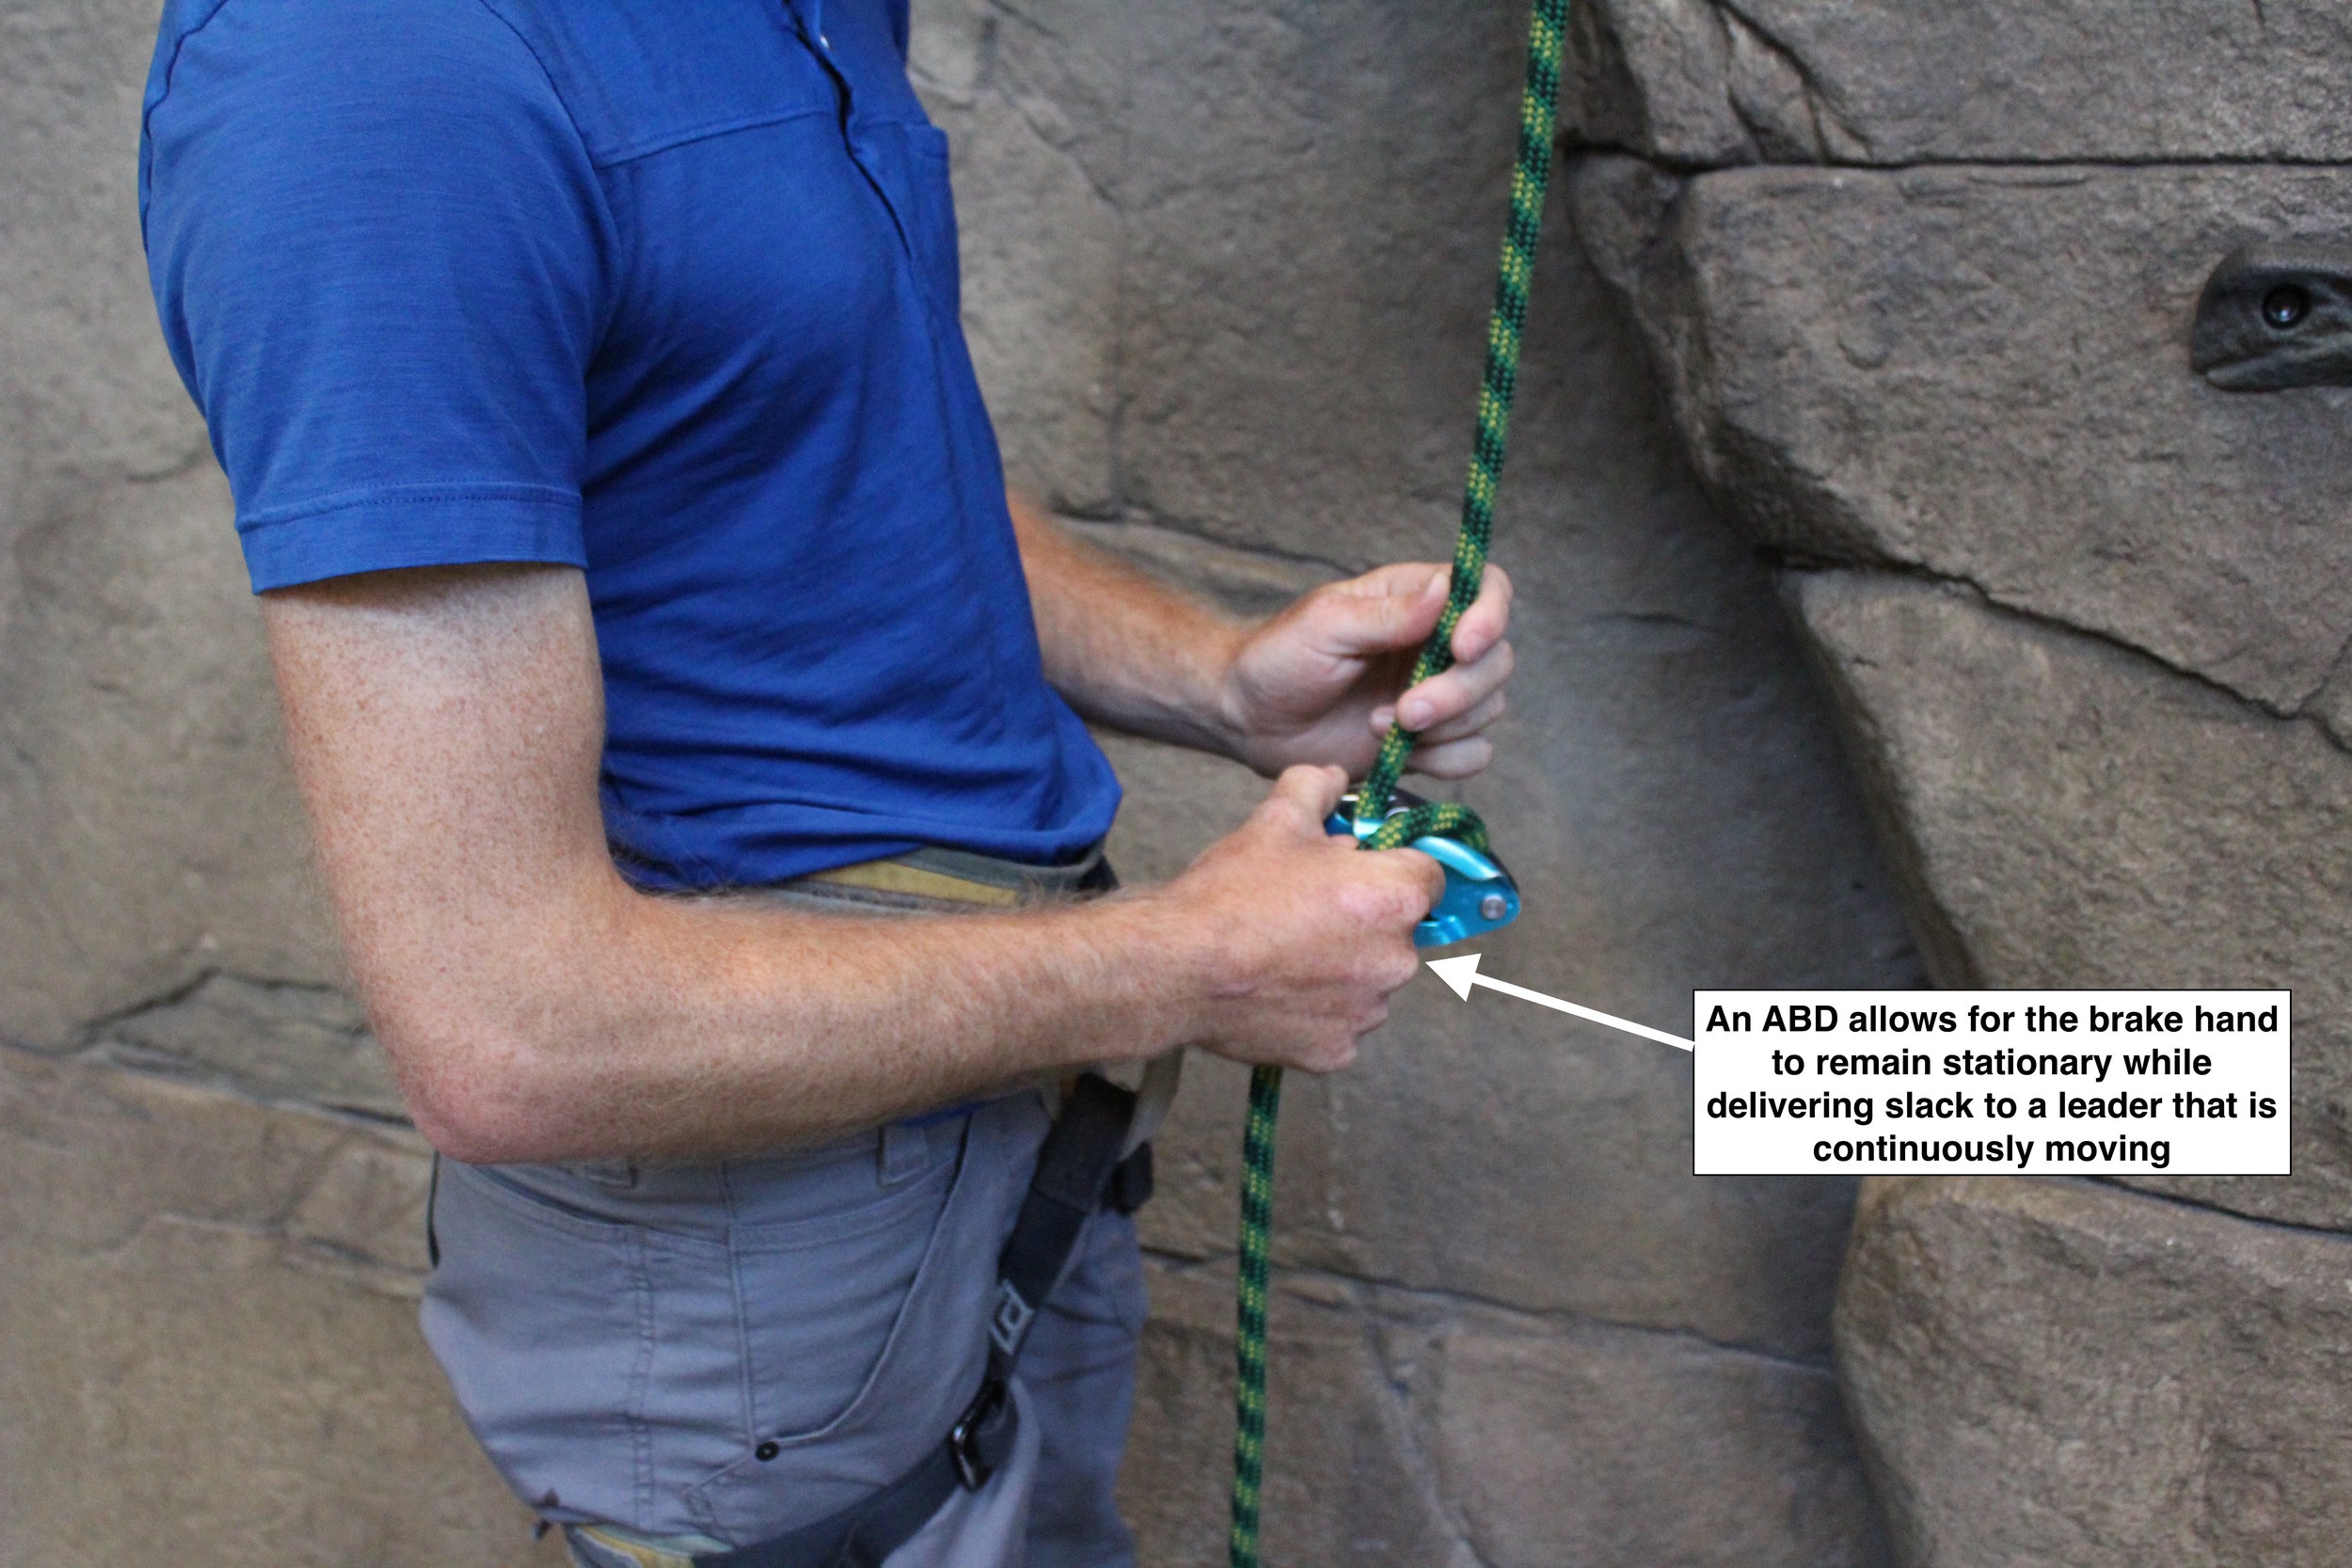
The key to this movement economy involves a stationary brake hand. It might be helpful to see fundamental belaying with an MBD contrasted with an ABD to demonstrate this concept explicitly.

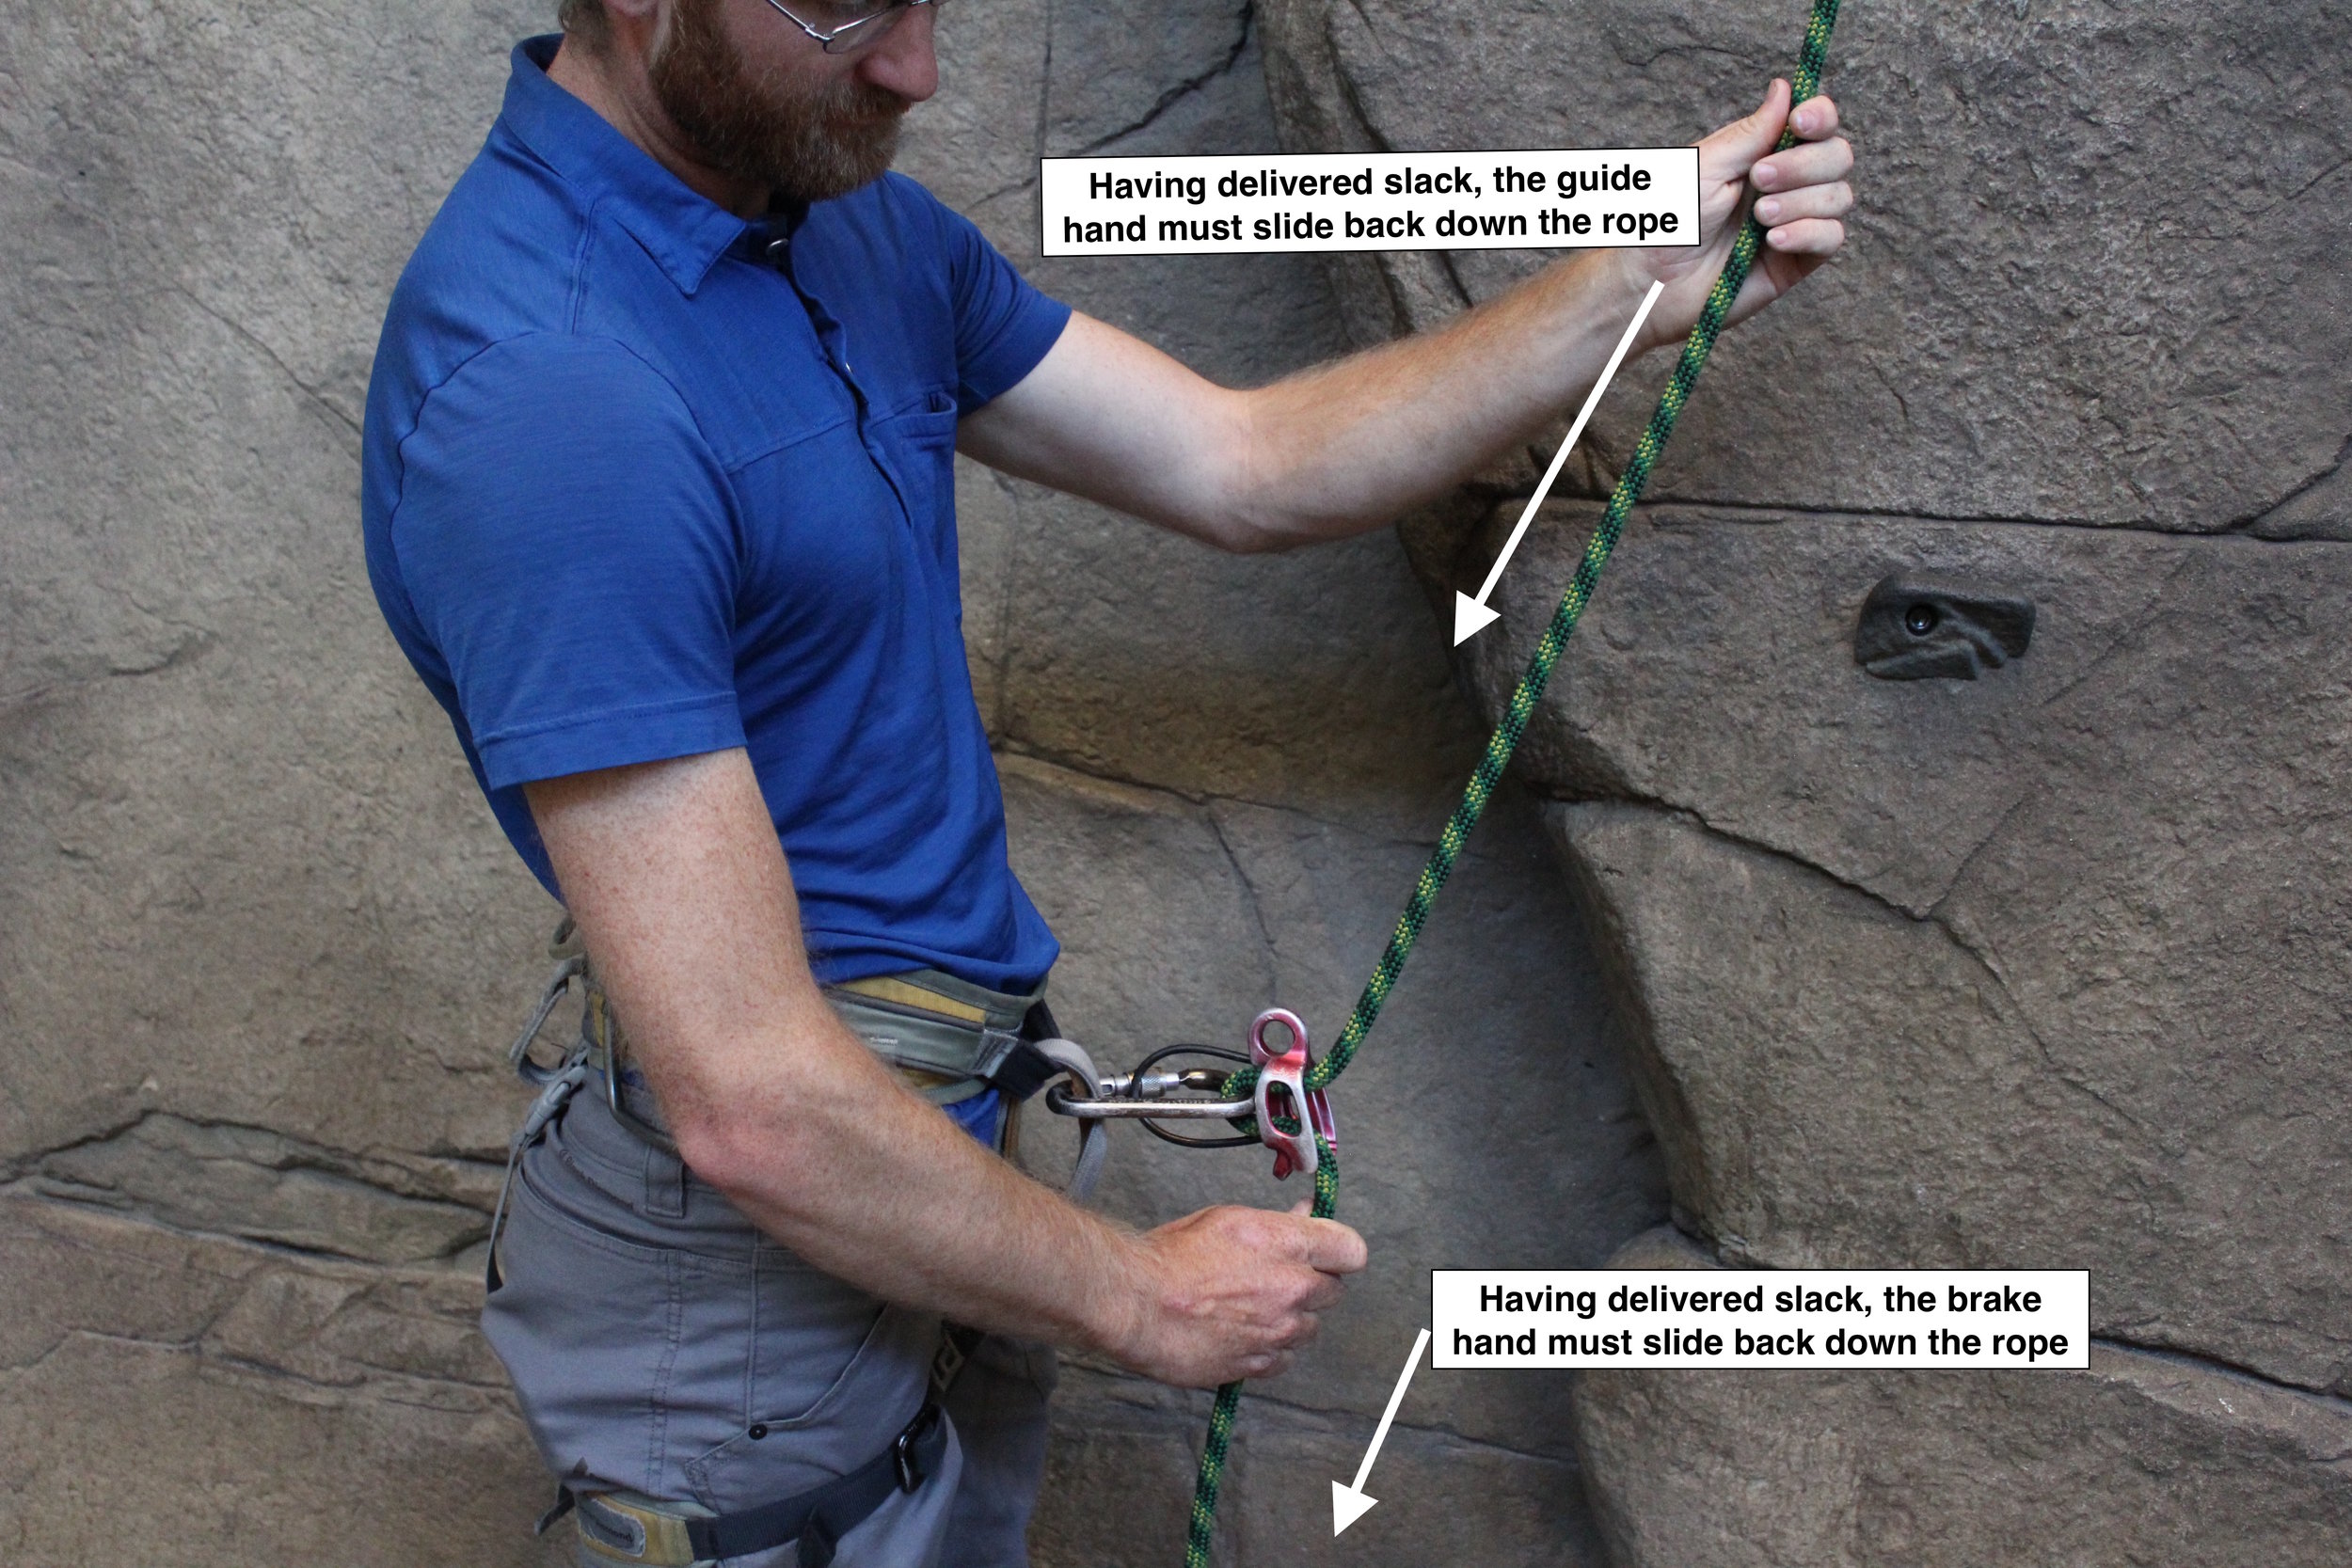

Many ABDs, by contrast, keep the brake hand stationary, eliminating an entire step in the belay cycle. As result, there can be a 50% increase in overall efficiency when the belayer delivers slack to the leader.

This movement economy is especially useful on easy or moderate terrain, when the leader is unlikely to fall. One of the greatest hazards to the leader in that terrain might be getting tripped or snagged by an inadequate supply of slack from the belayer. An imperative to provide adequate slack is also common on low-angled terrain when the leader tends to move in long strides. That kind of movement necessitates adequate slack because the leader’s balance is often precarious and unstable. In any case, it may be valuable for a belayer to opt for a belay tool and technique that provides slack to the leader as efficiently as possible while also adhering to the fundamental principles of belaying.
Variations among ABDs
While the Petzl GriGri tends to represent the entire genre of ABDs due to its popularity and history, it is not the only ABD available. A careful analysis of the various functions, applications, and performance characteristics of each ABD should help belayers make an informed choice when they select a device.
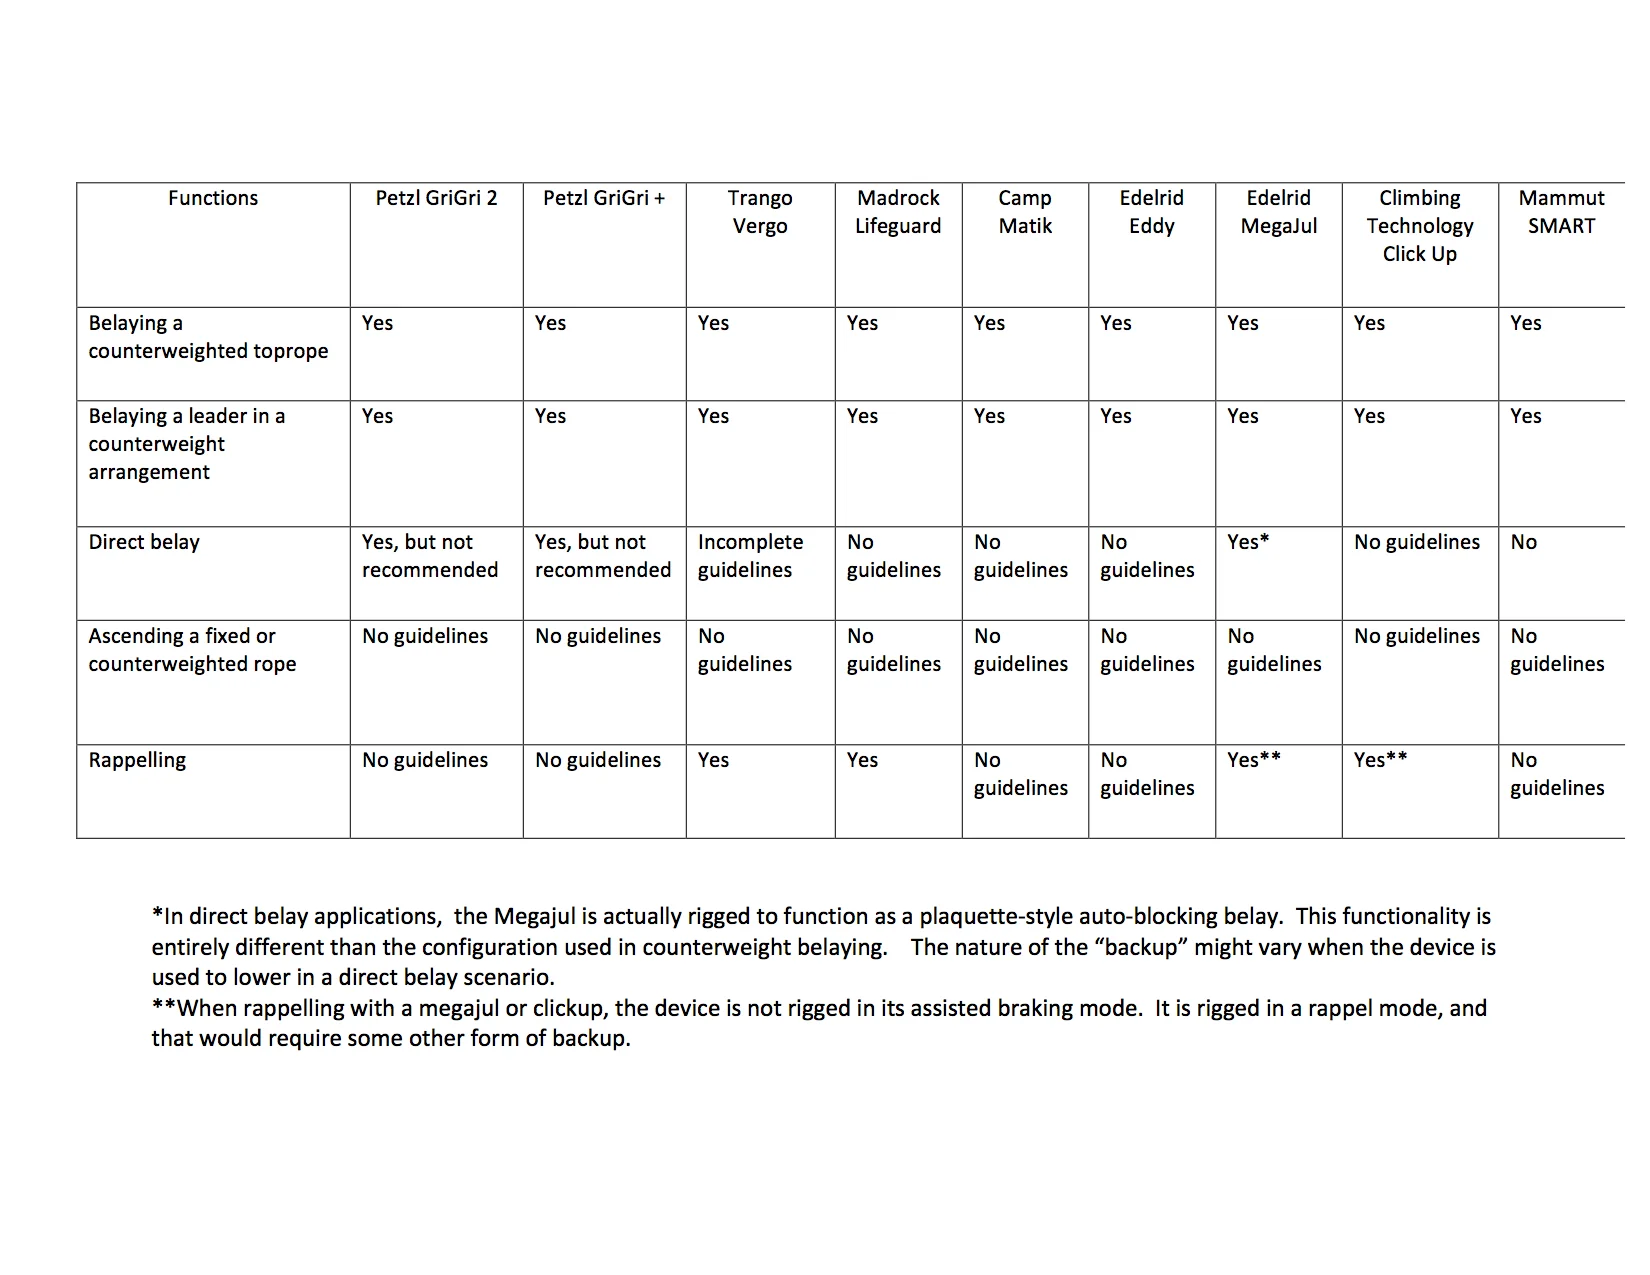
Applications
ABDs are typically deployed in the following contexts, although many of these applications are not necessarily recommended by the manufacturer. Manufacturers tend to create recommended use guidelines that pertain to the most common usage, and any application outside of that usage is implicitly discouraged. Nevertheless, many climbers rely on these kinds of applications, so it will be important to disclose the nature of each application, even though the manufacturers may not. These applications will be listed from most to least common. An ABD’s ability to perform these applications and functions help climbers decide when and how to use one tool or another.
1. Belaying a counterweighted toprope. In a toproping scenario, ABDs are commonly deployed by institutional programs, climbing gyms, and professional climbing instructors. The values of an ABD as a backup are especially conspicuous to these users.
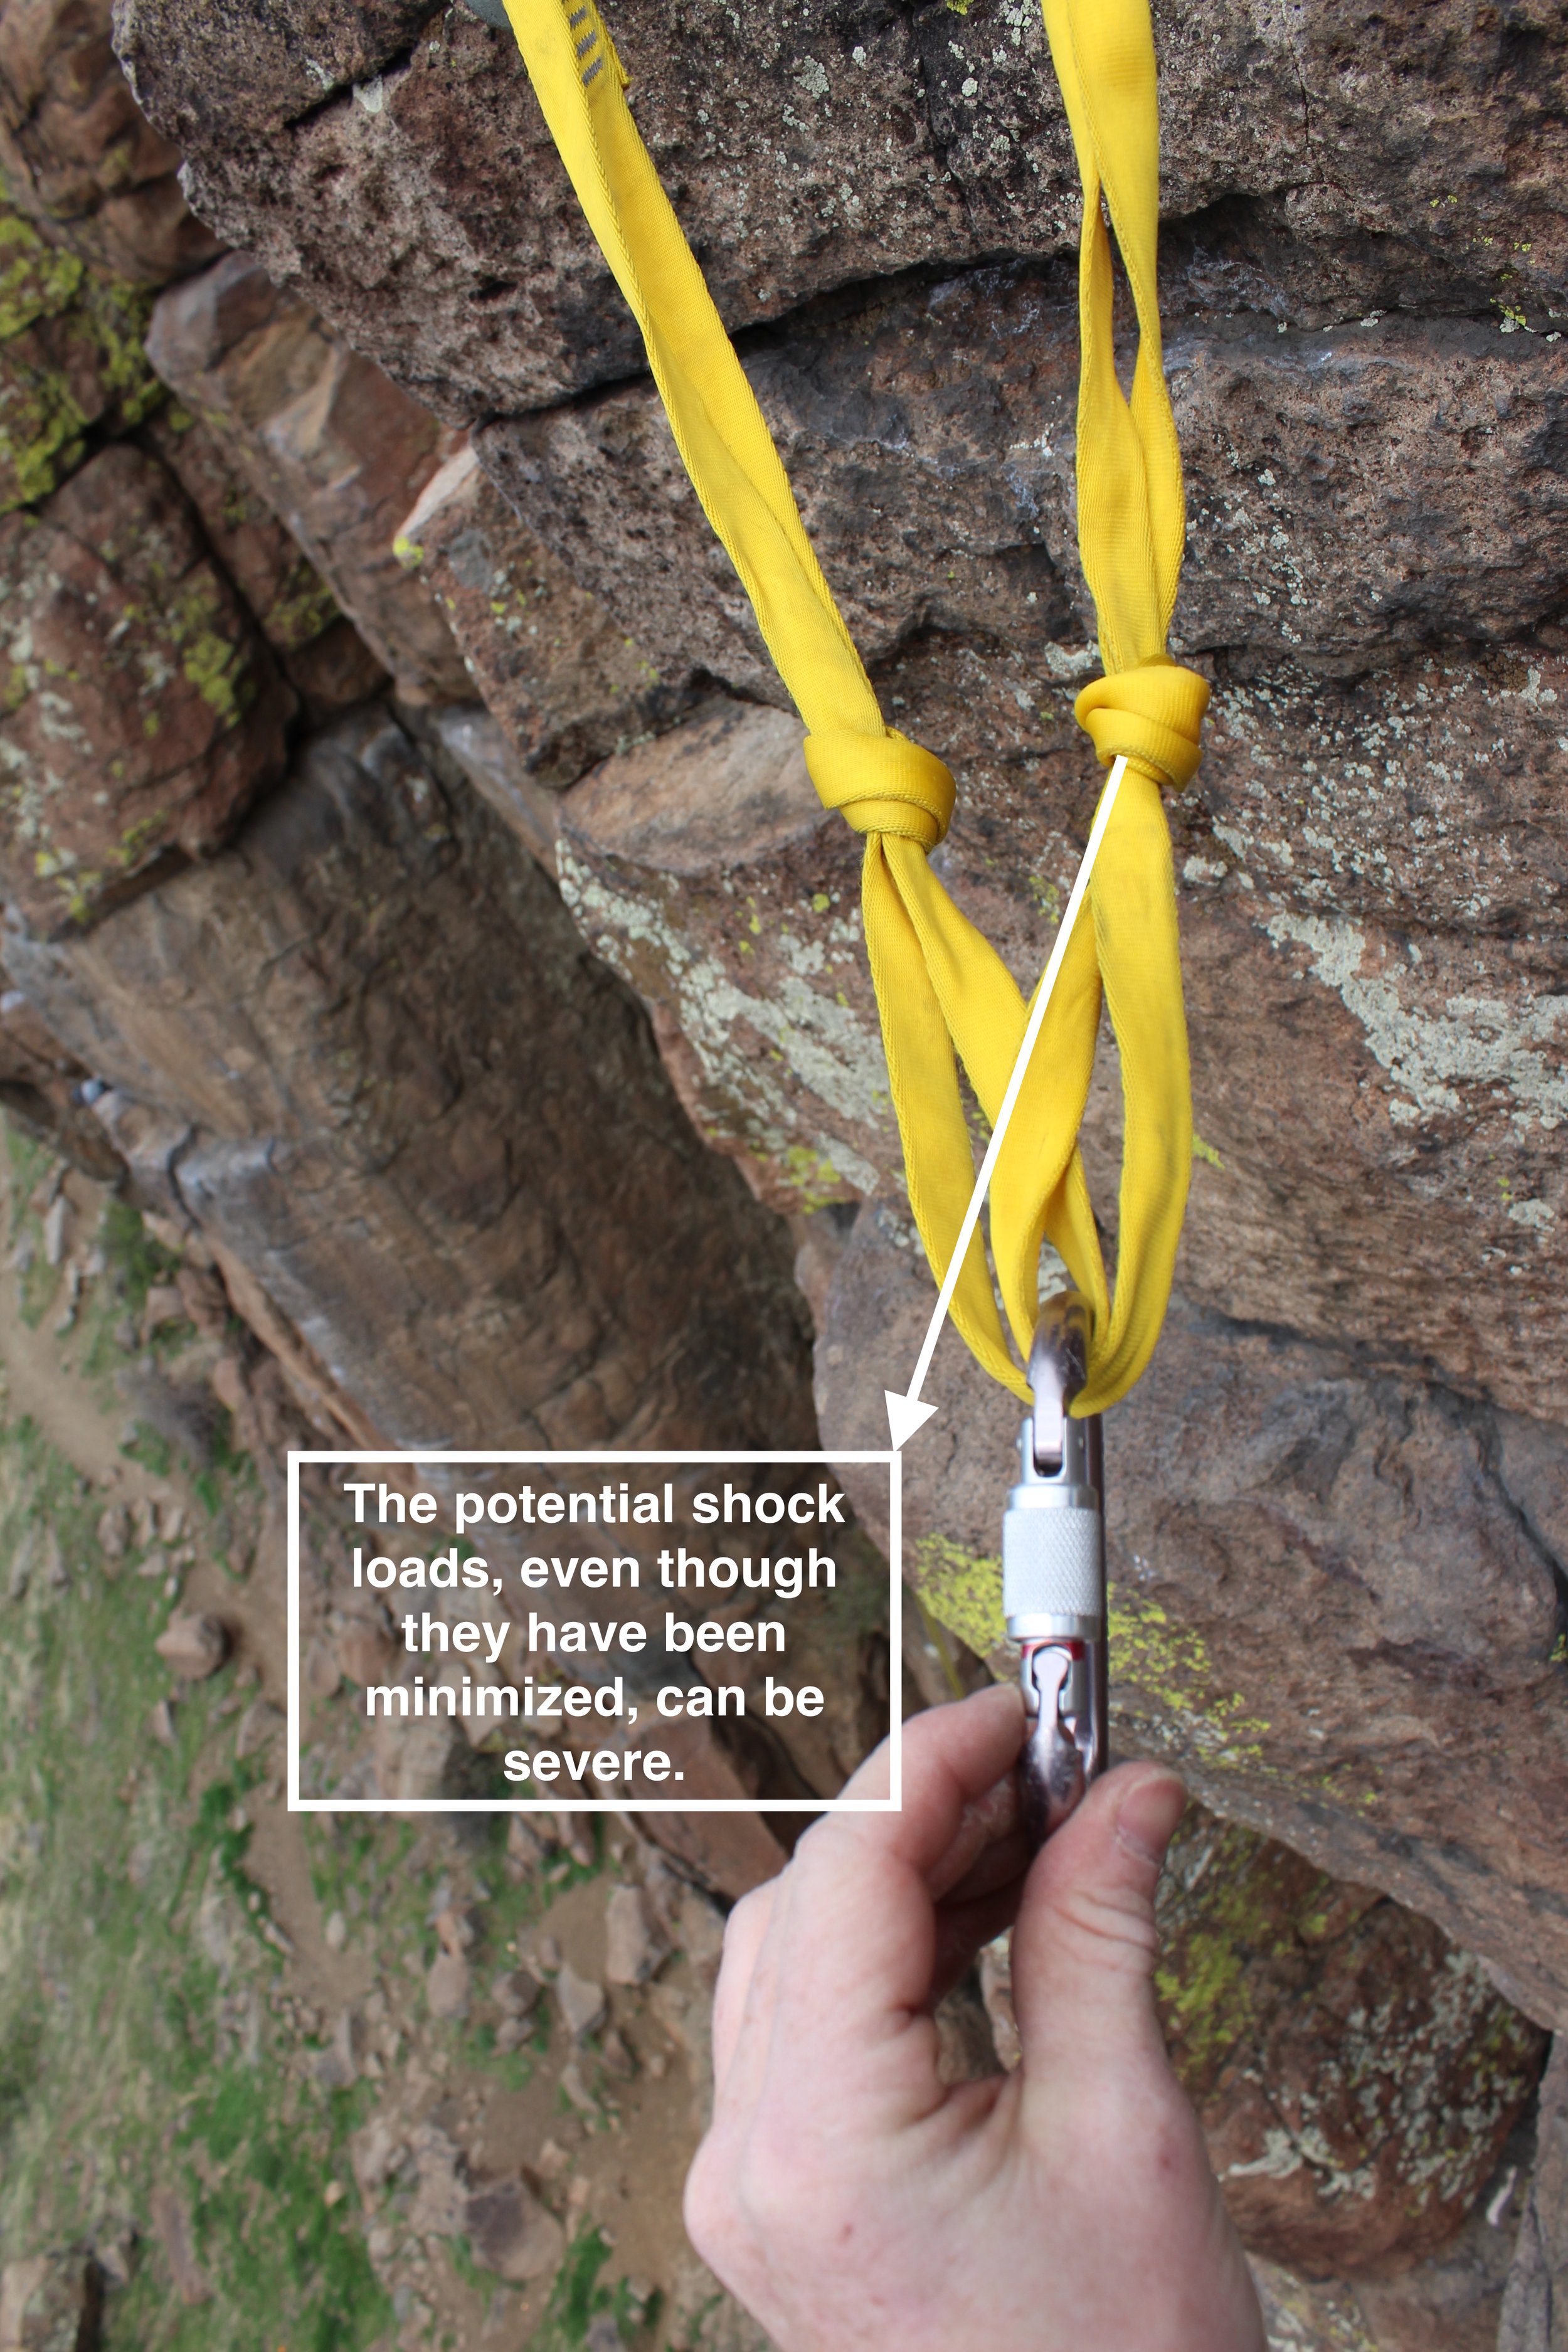
2. Belaying a leader in a counterweight arrangement. The belayer’s body weight anchors a leader’s ascent in protection increments. Sometimes this arrangement is distorted by the use of a ground anchor or a connection that protects the belayer from an upward pull. An ABD can predictably increase the impact forces generated by lead falls. Impact forces are measurably increased on the belayer’s body, the climber’s body, and the protection/anchor. In most scenarios lead climbing scenarios, however, the differences in impact force would not have catastrophic consequences.
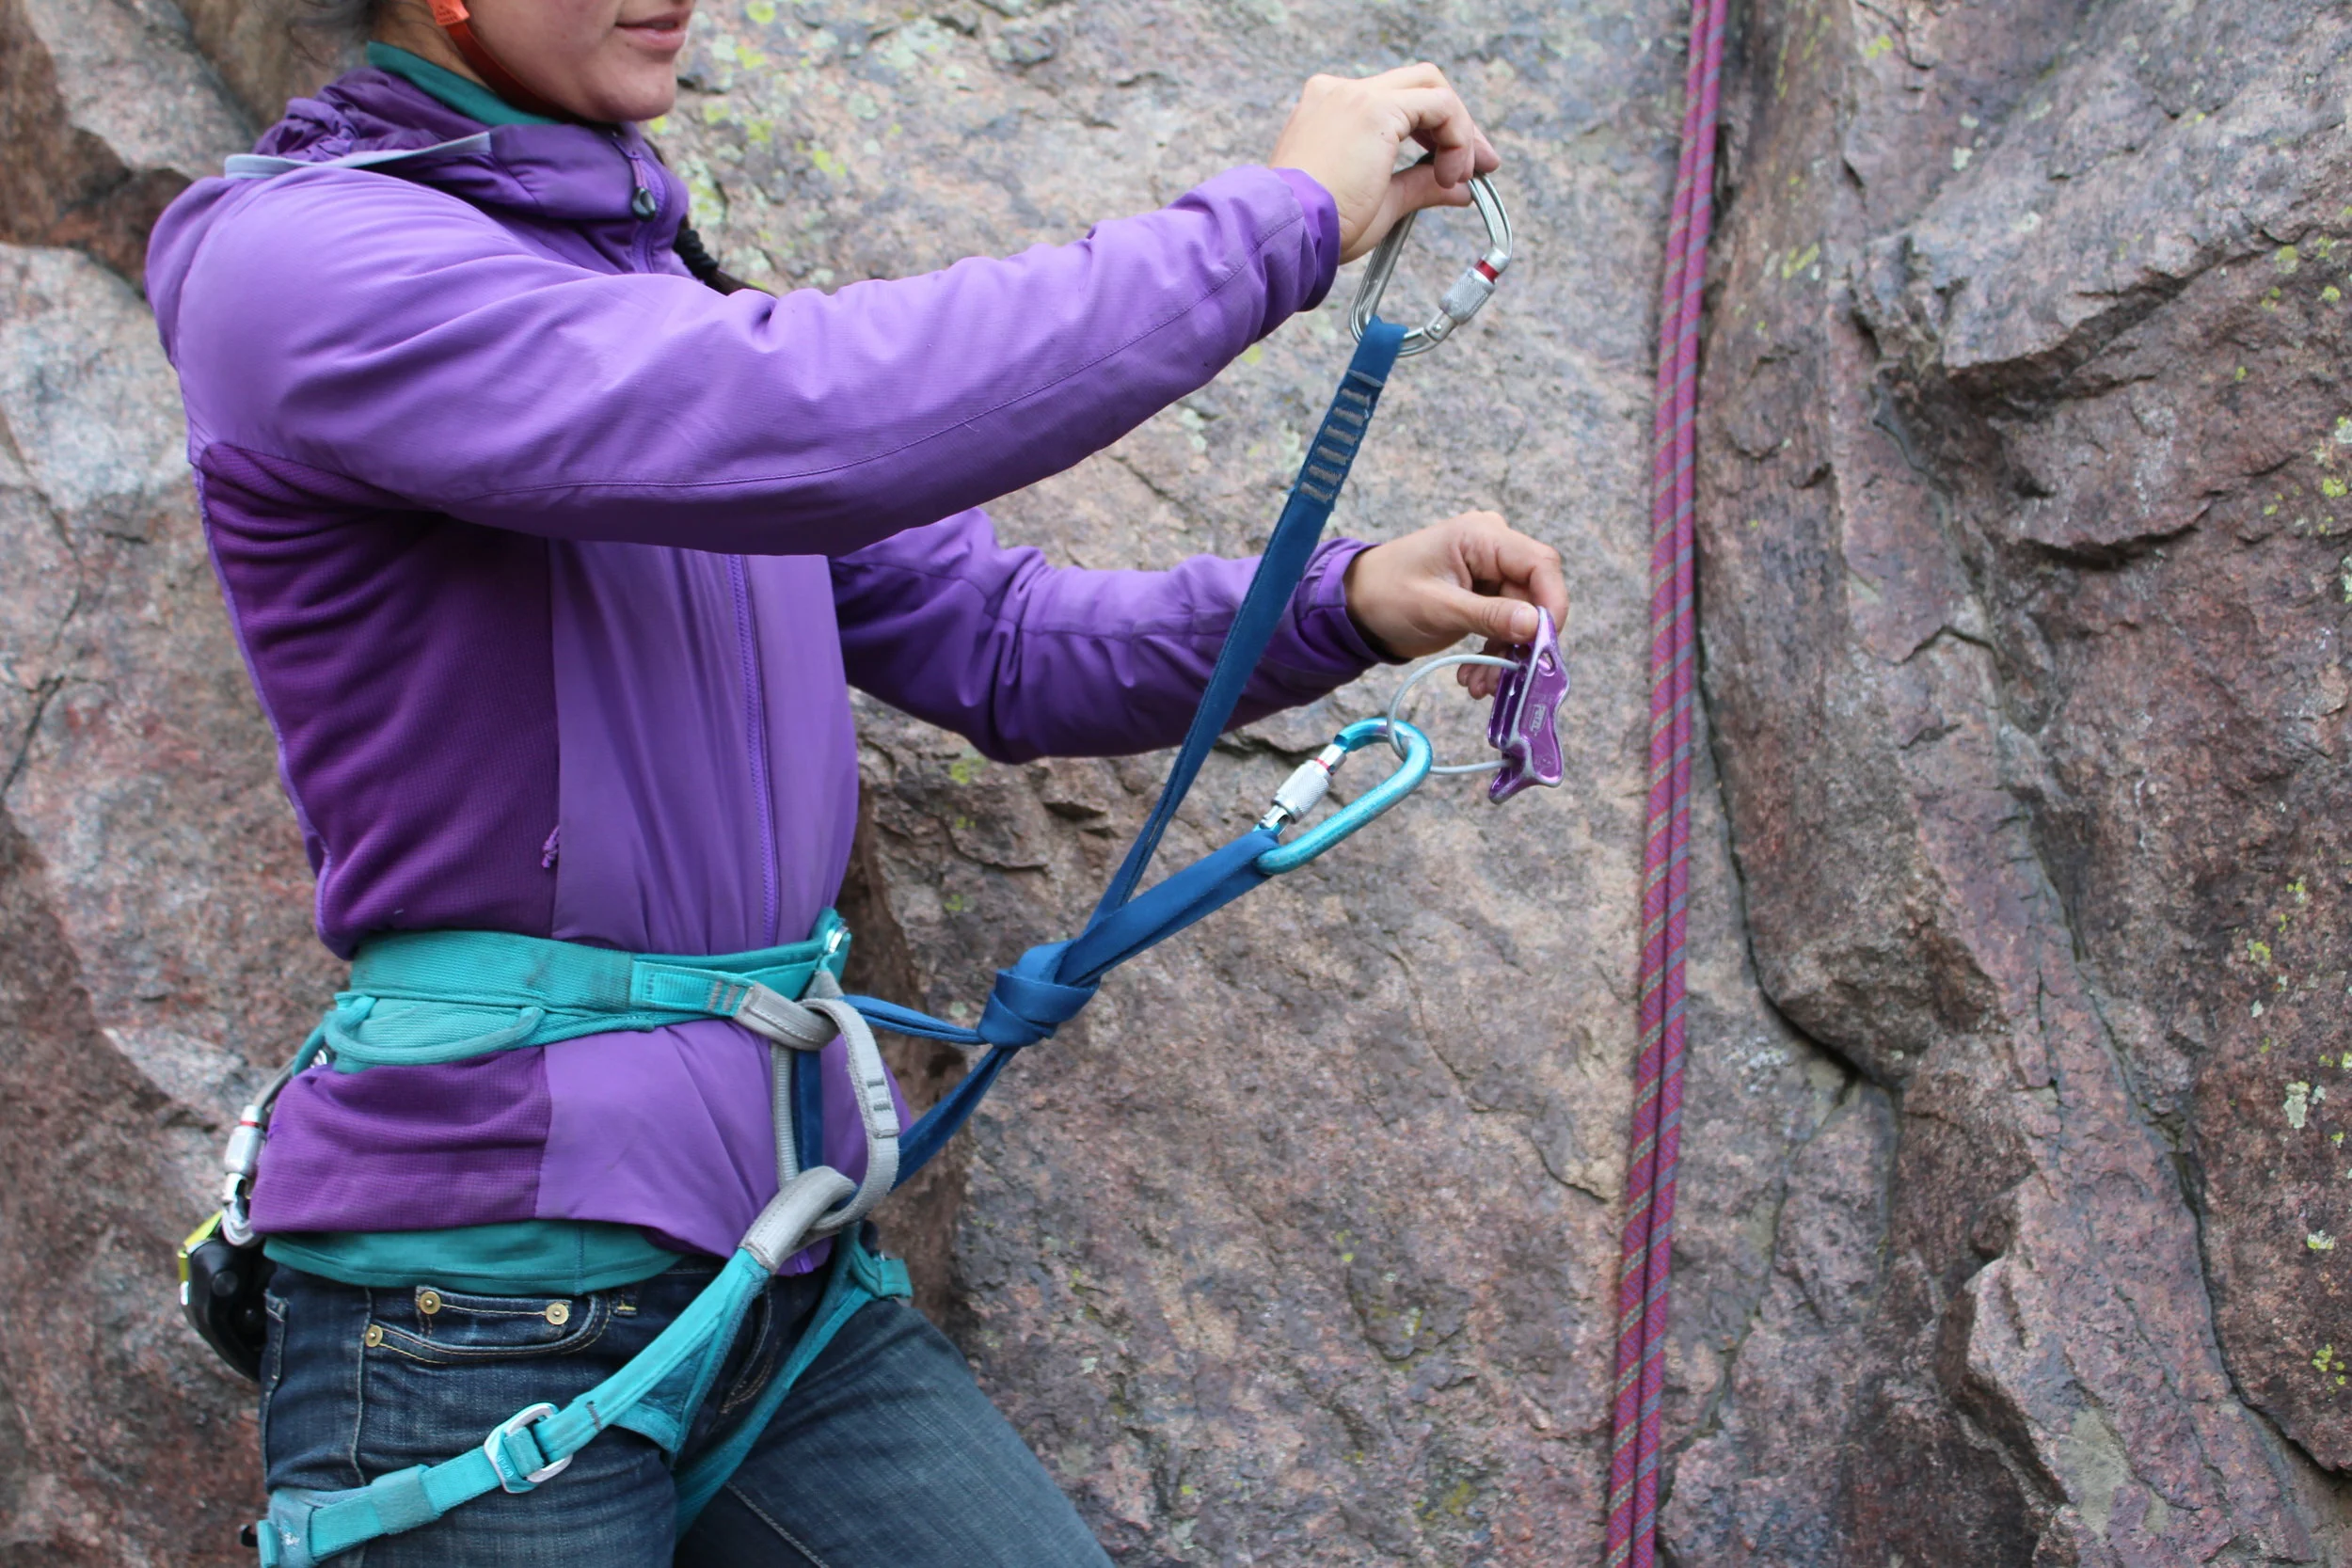
3. Rappelling. If a rope is somehow fixed or counterweighted, an ABD can be used as rappel tool on a single strand of rope.
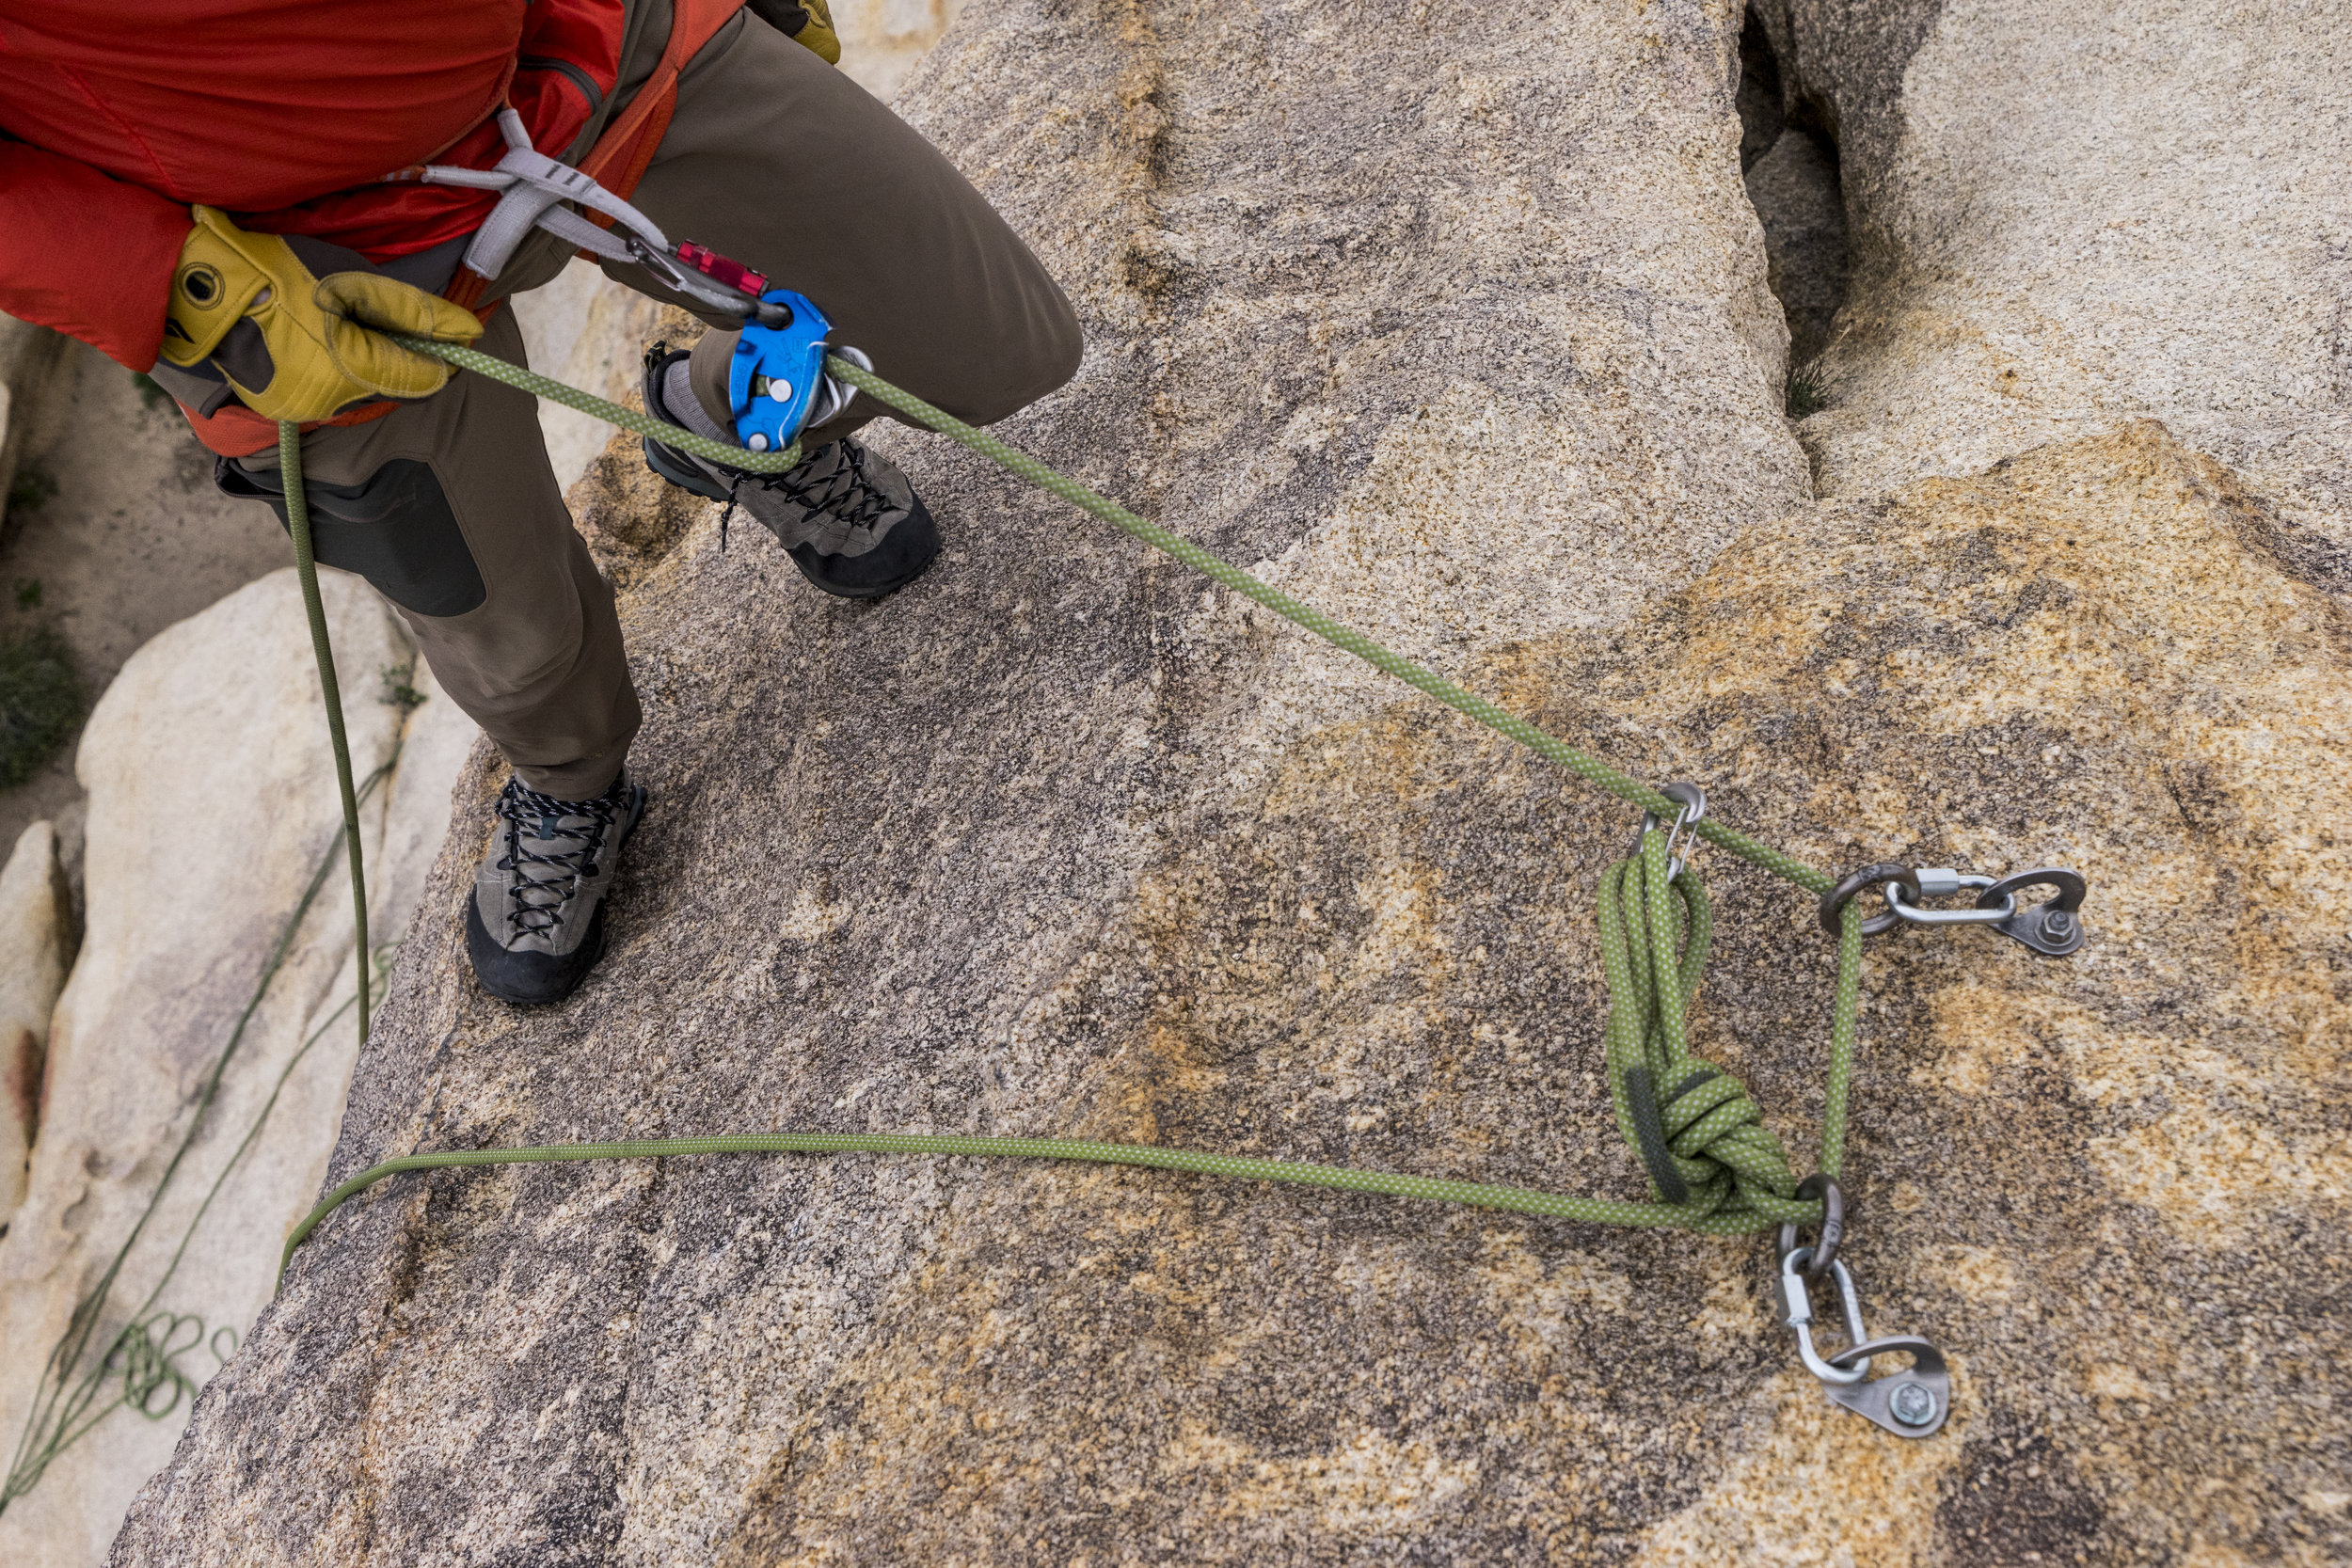
When a single strand of rope is fixed, blocked, or counterweighted, an ABD can be used for rappelling.
"Rappelling with GRIGRI takes training, and it is important to system check ensuring proper rigging and connection."-Petzl
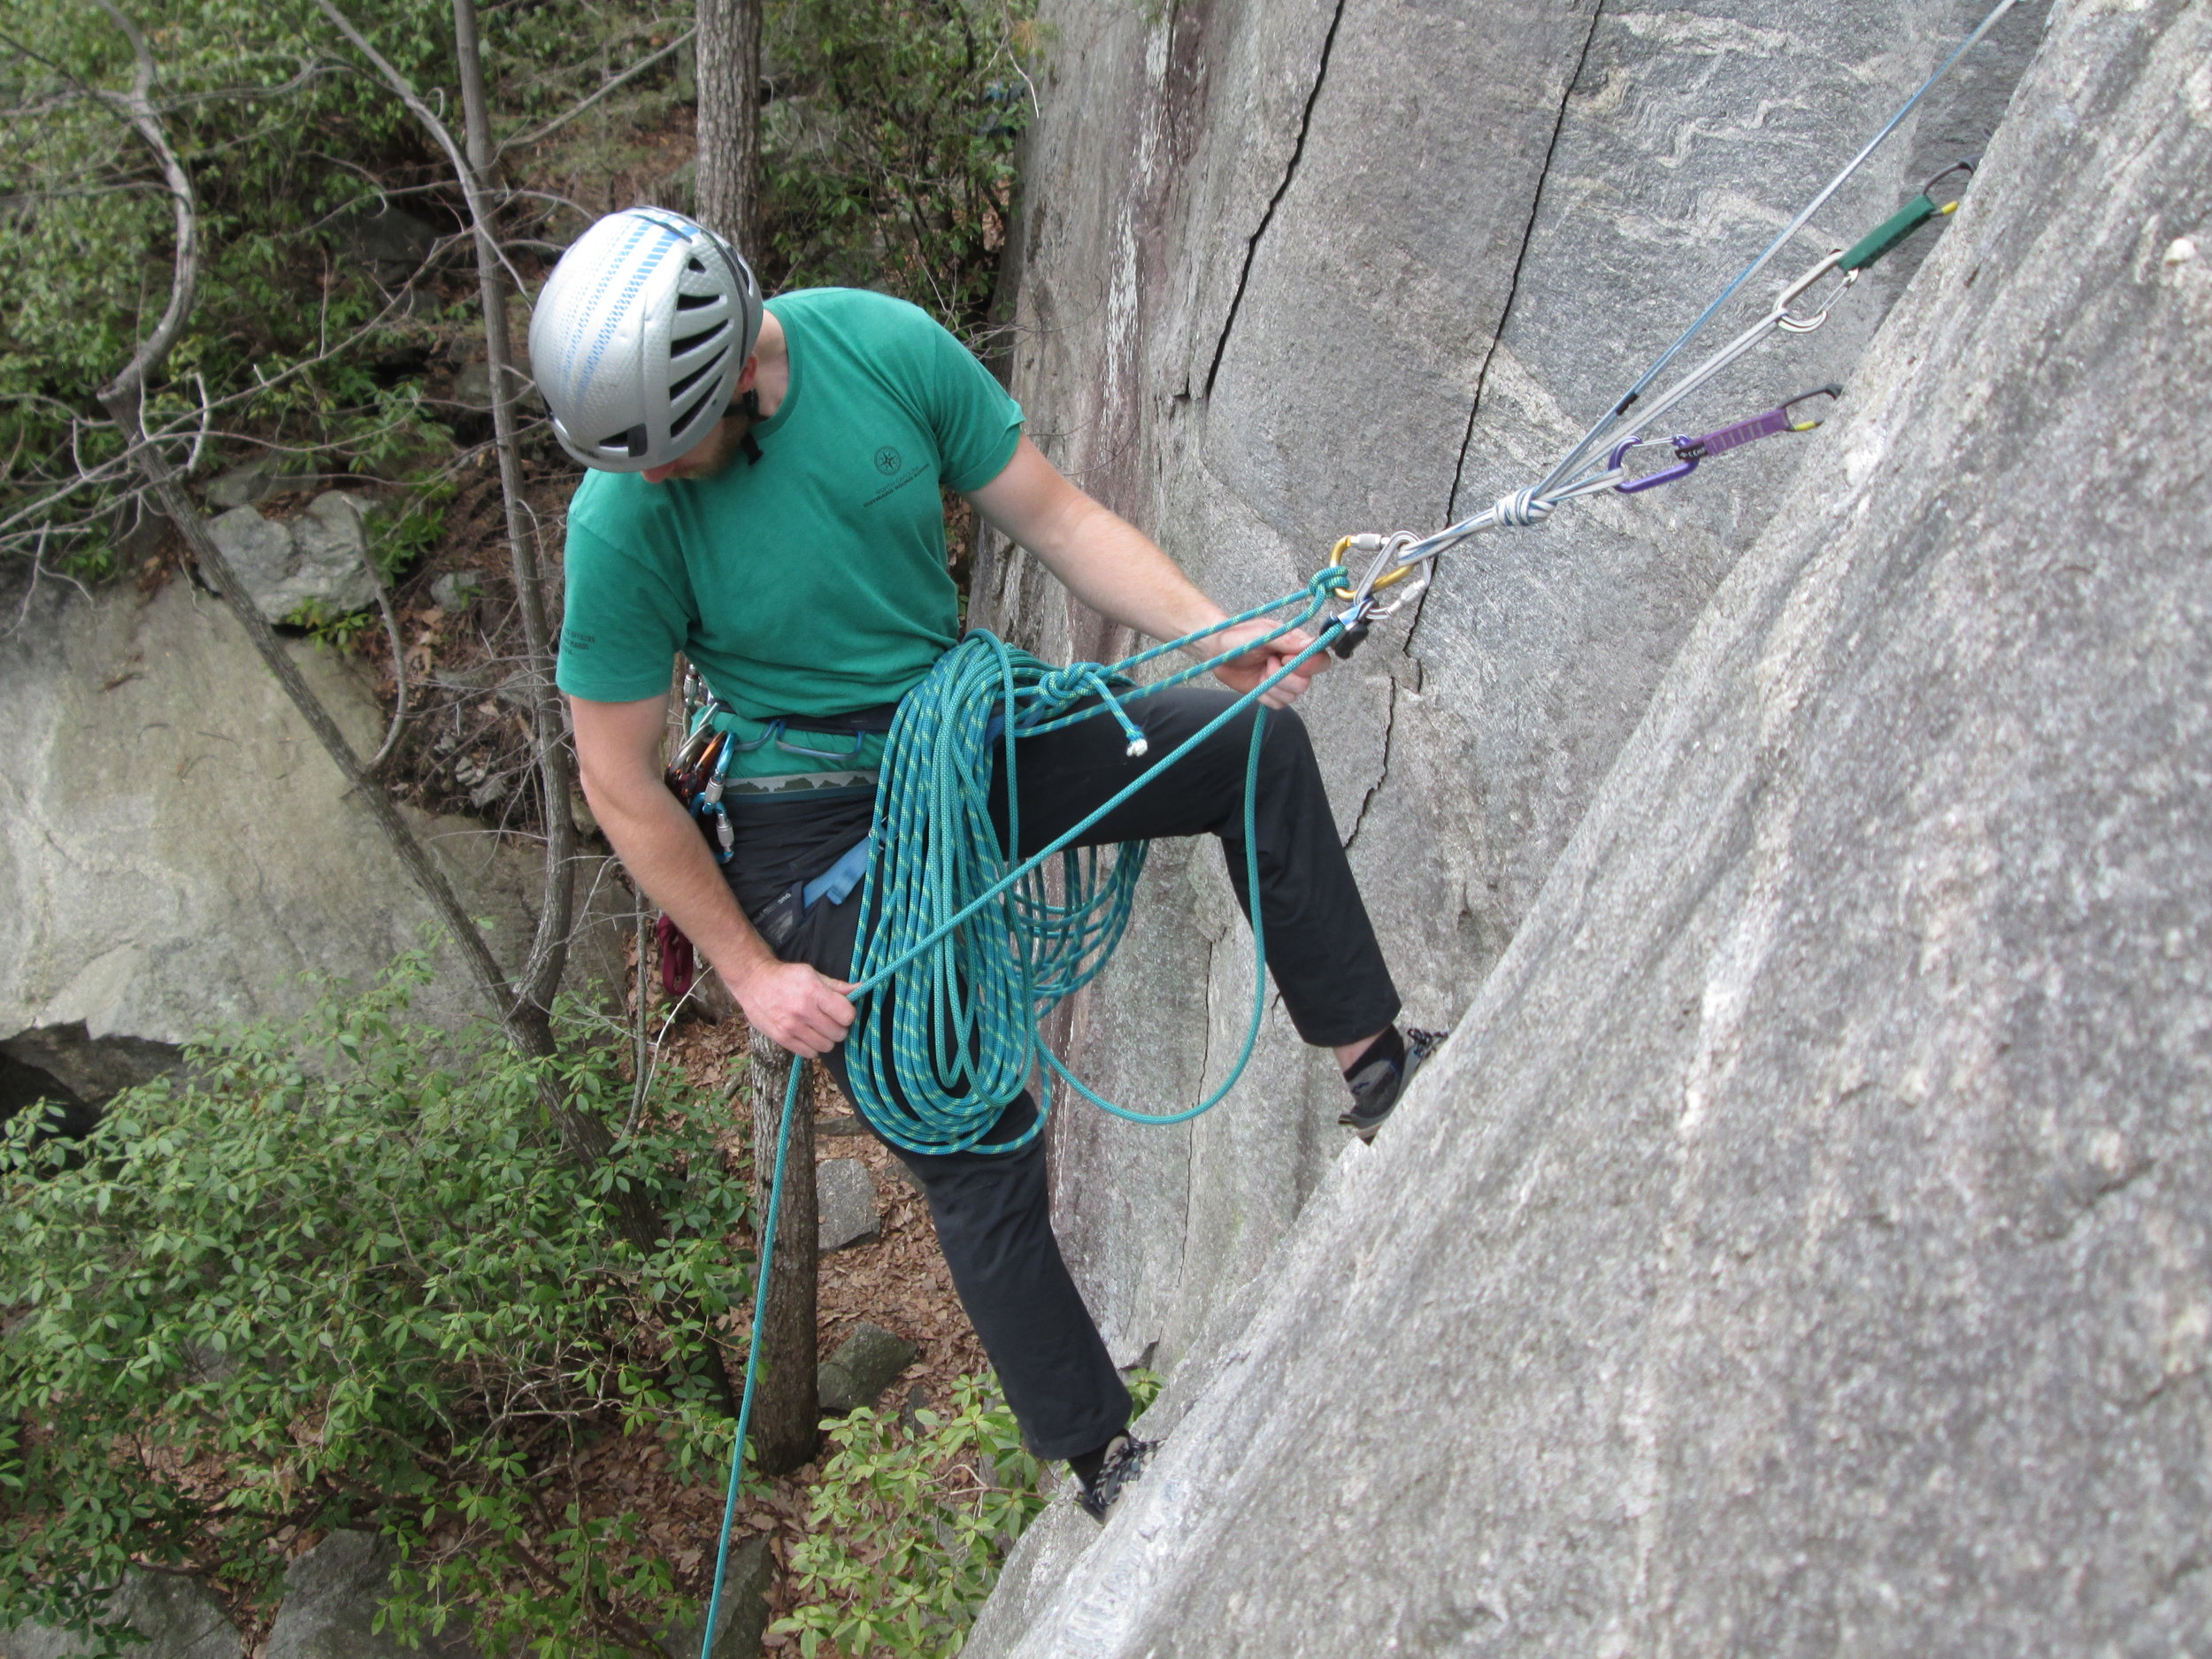
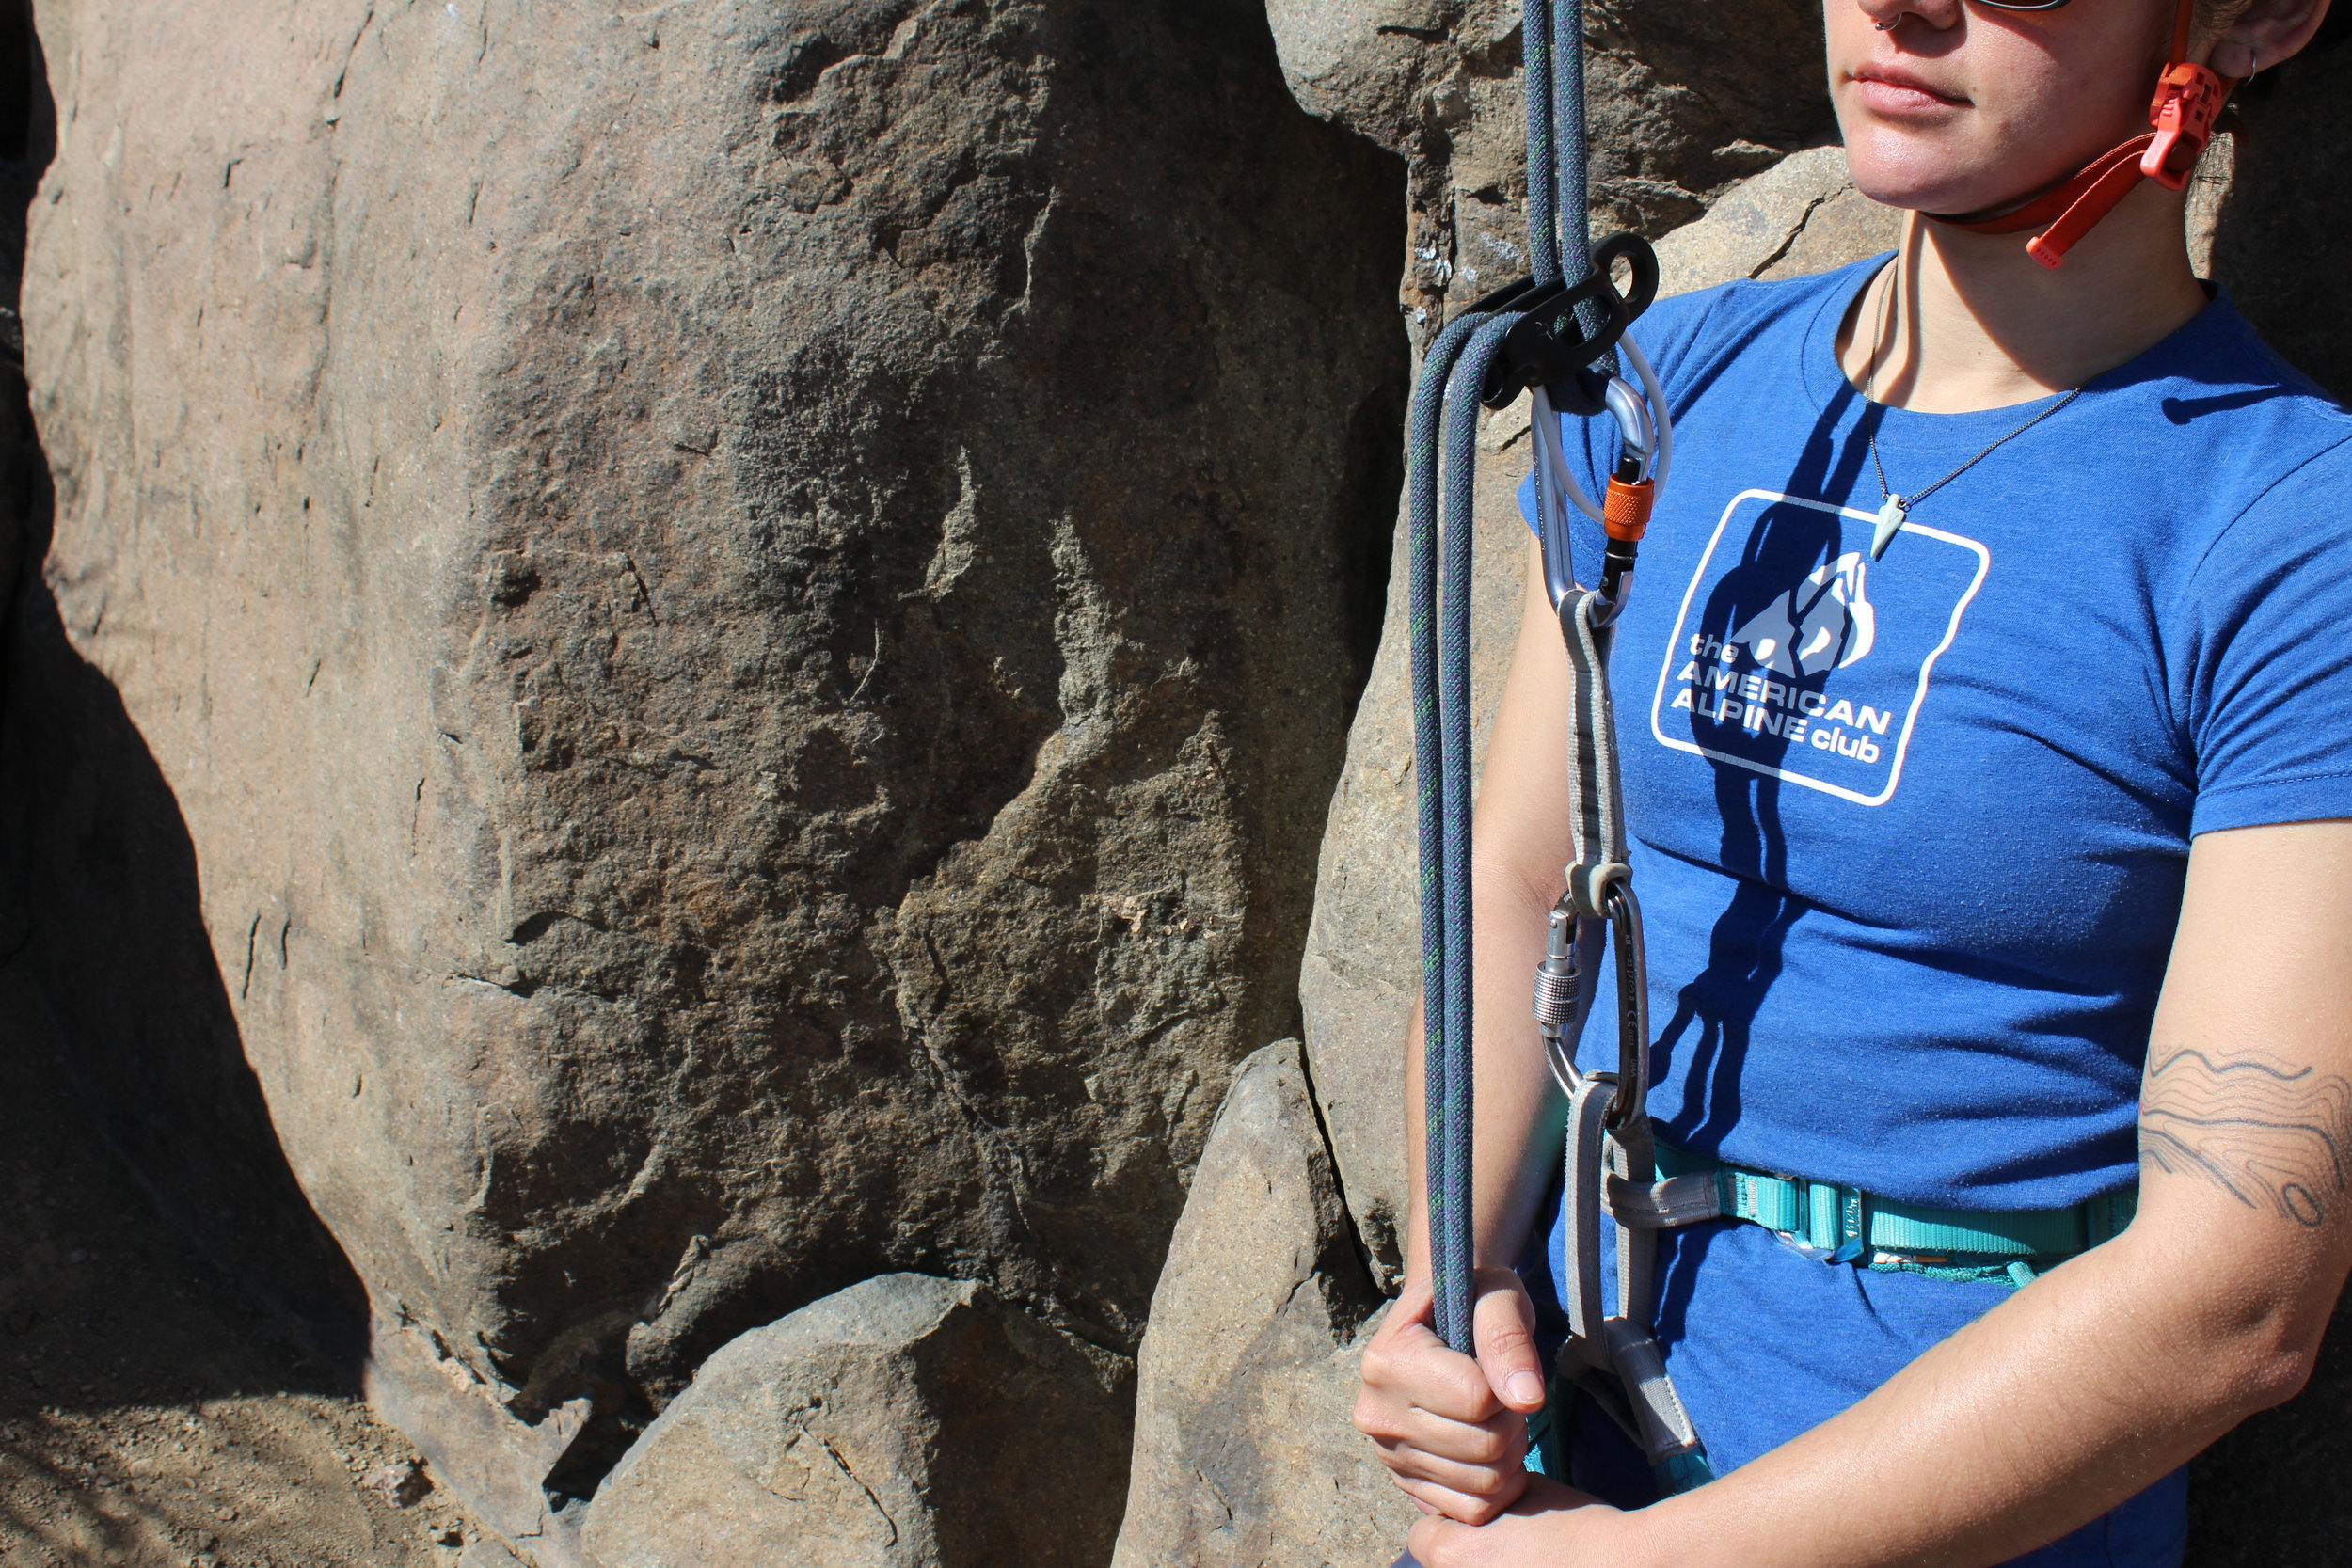
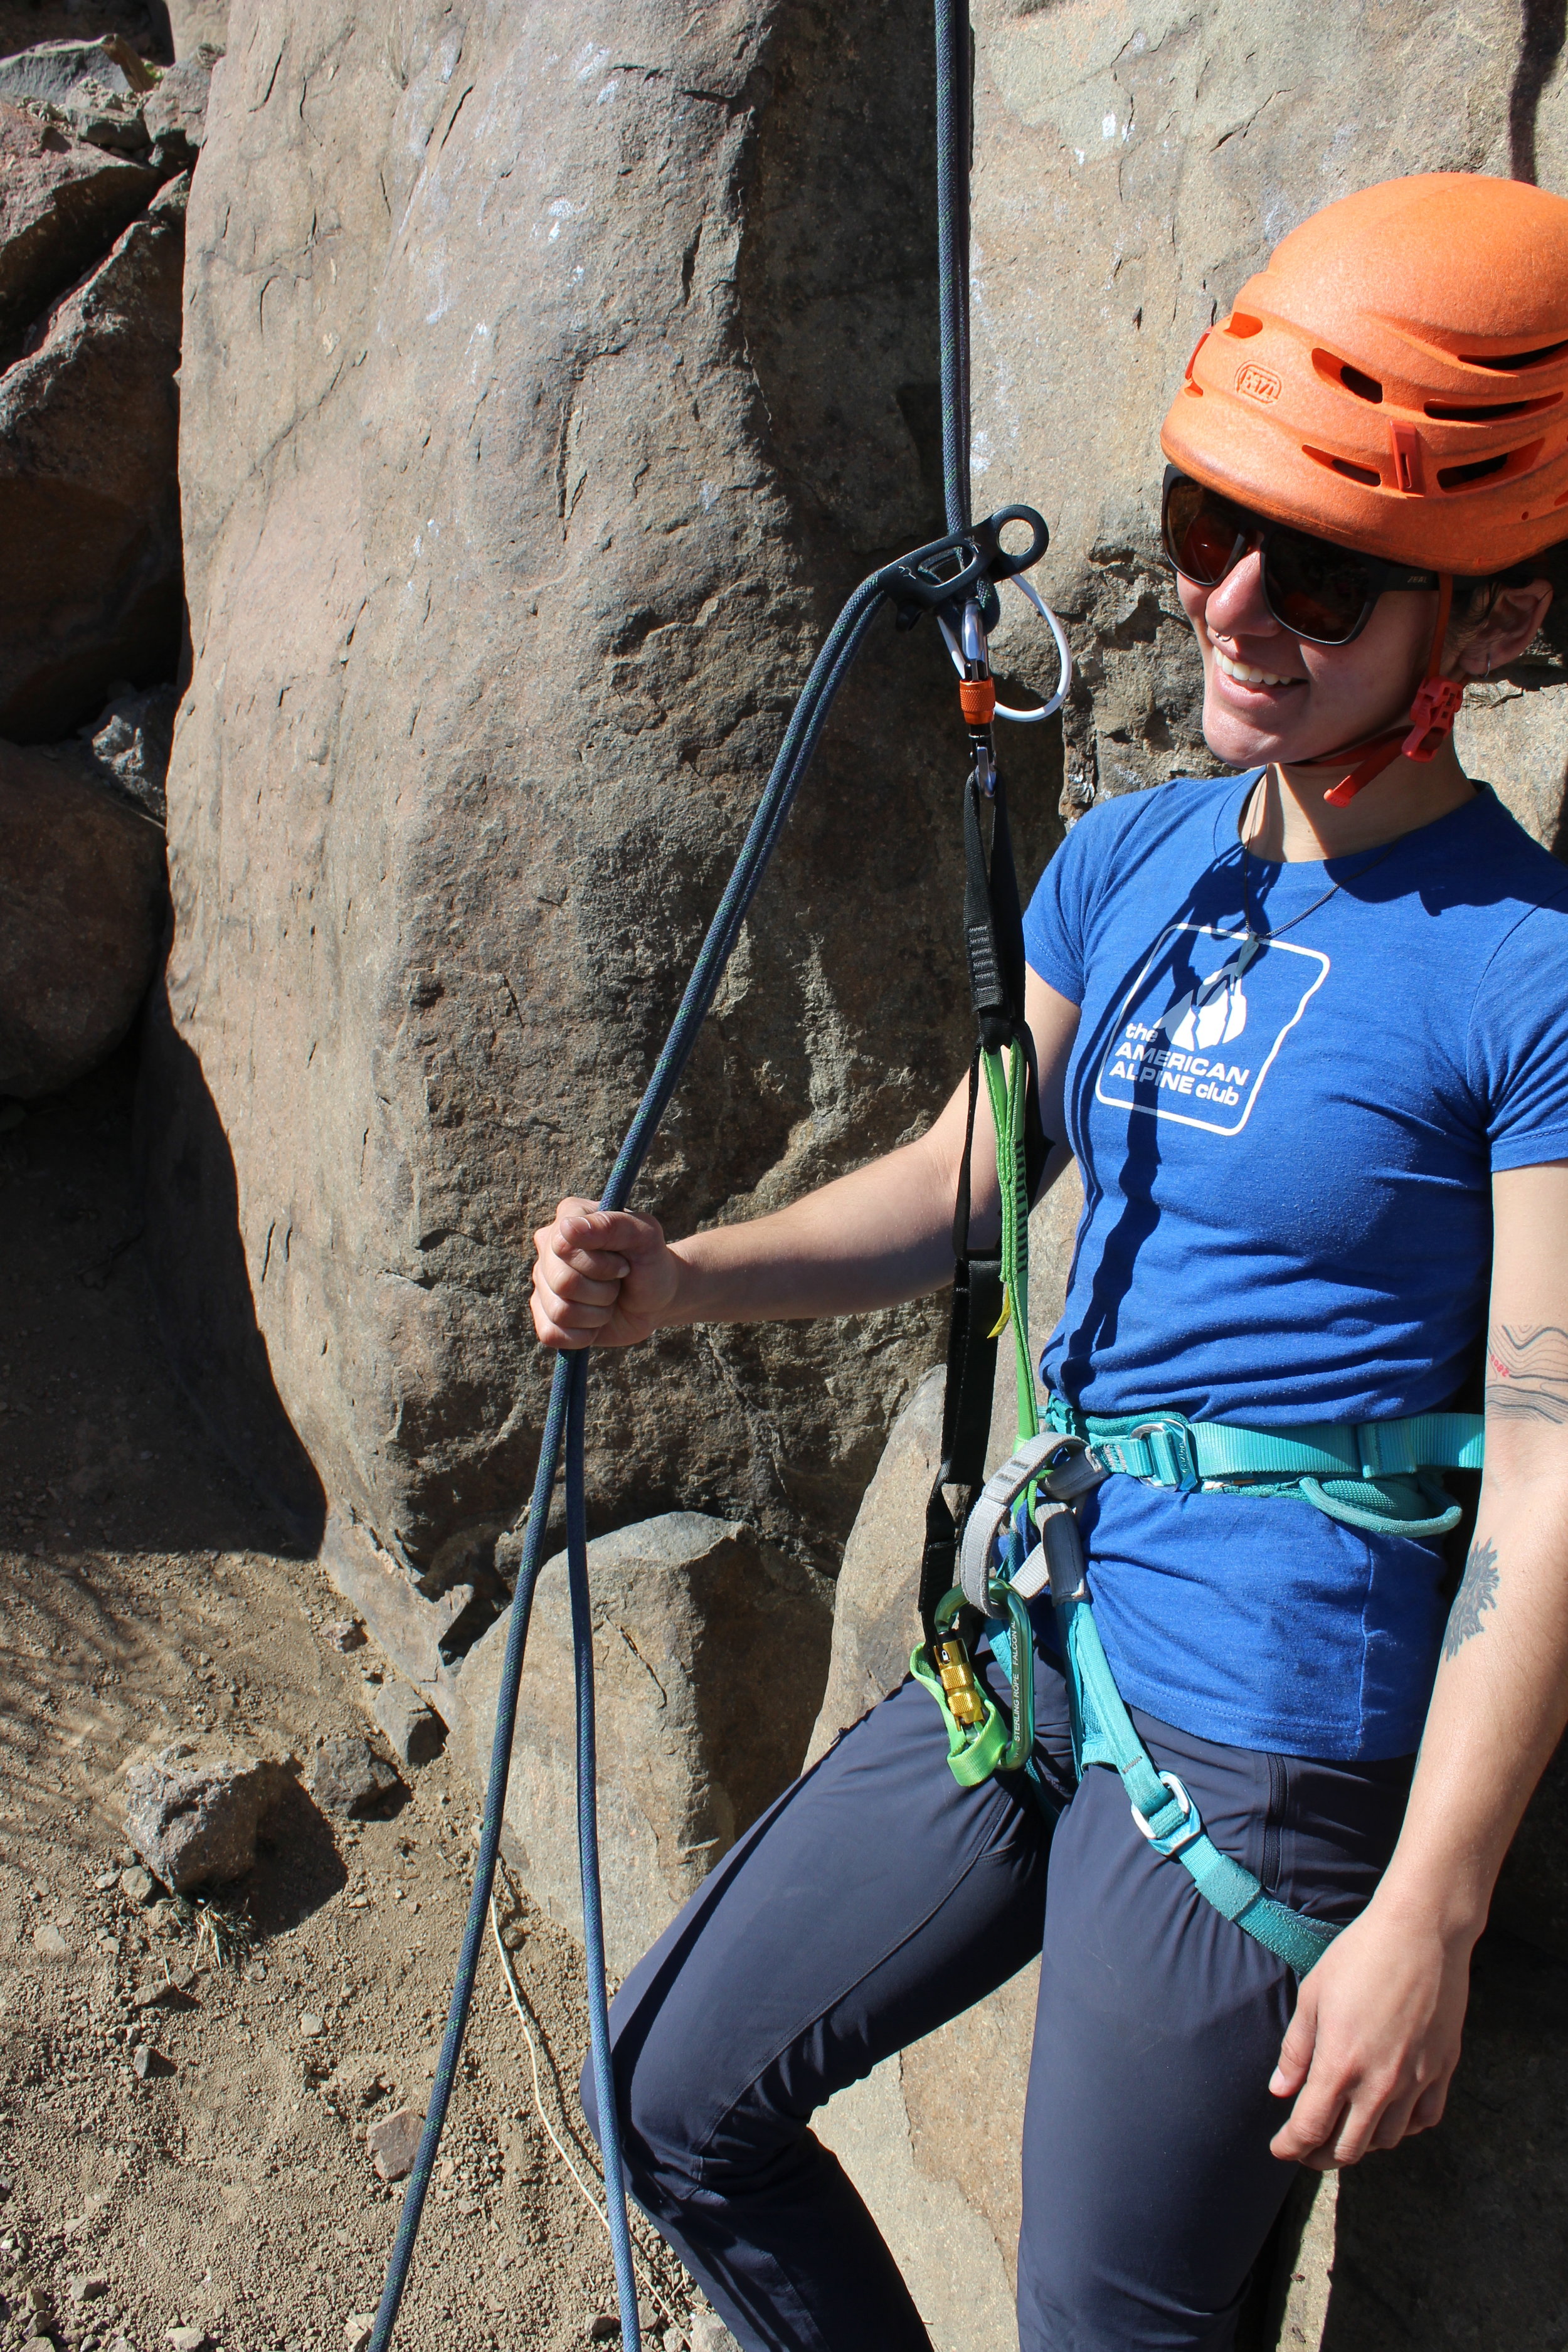
4. Rope Ascension. If a rope is somehow fixed or counterweighted, an ABD can be used as a progress capture in an ascension system.

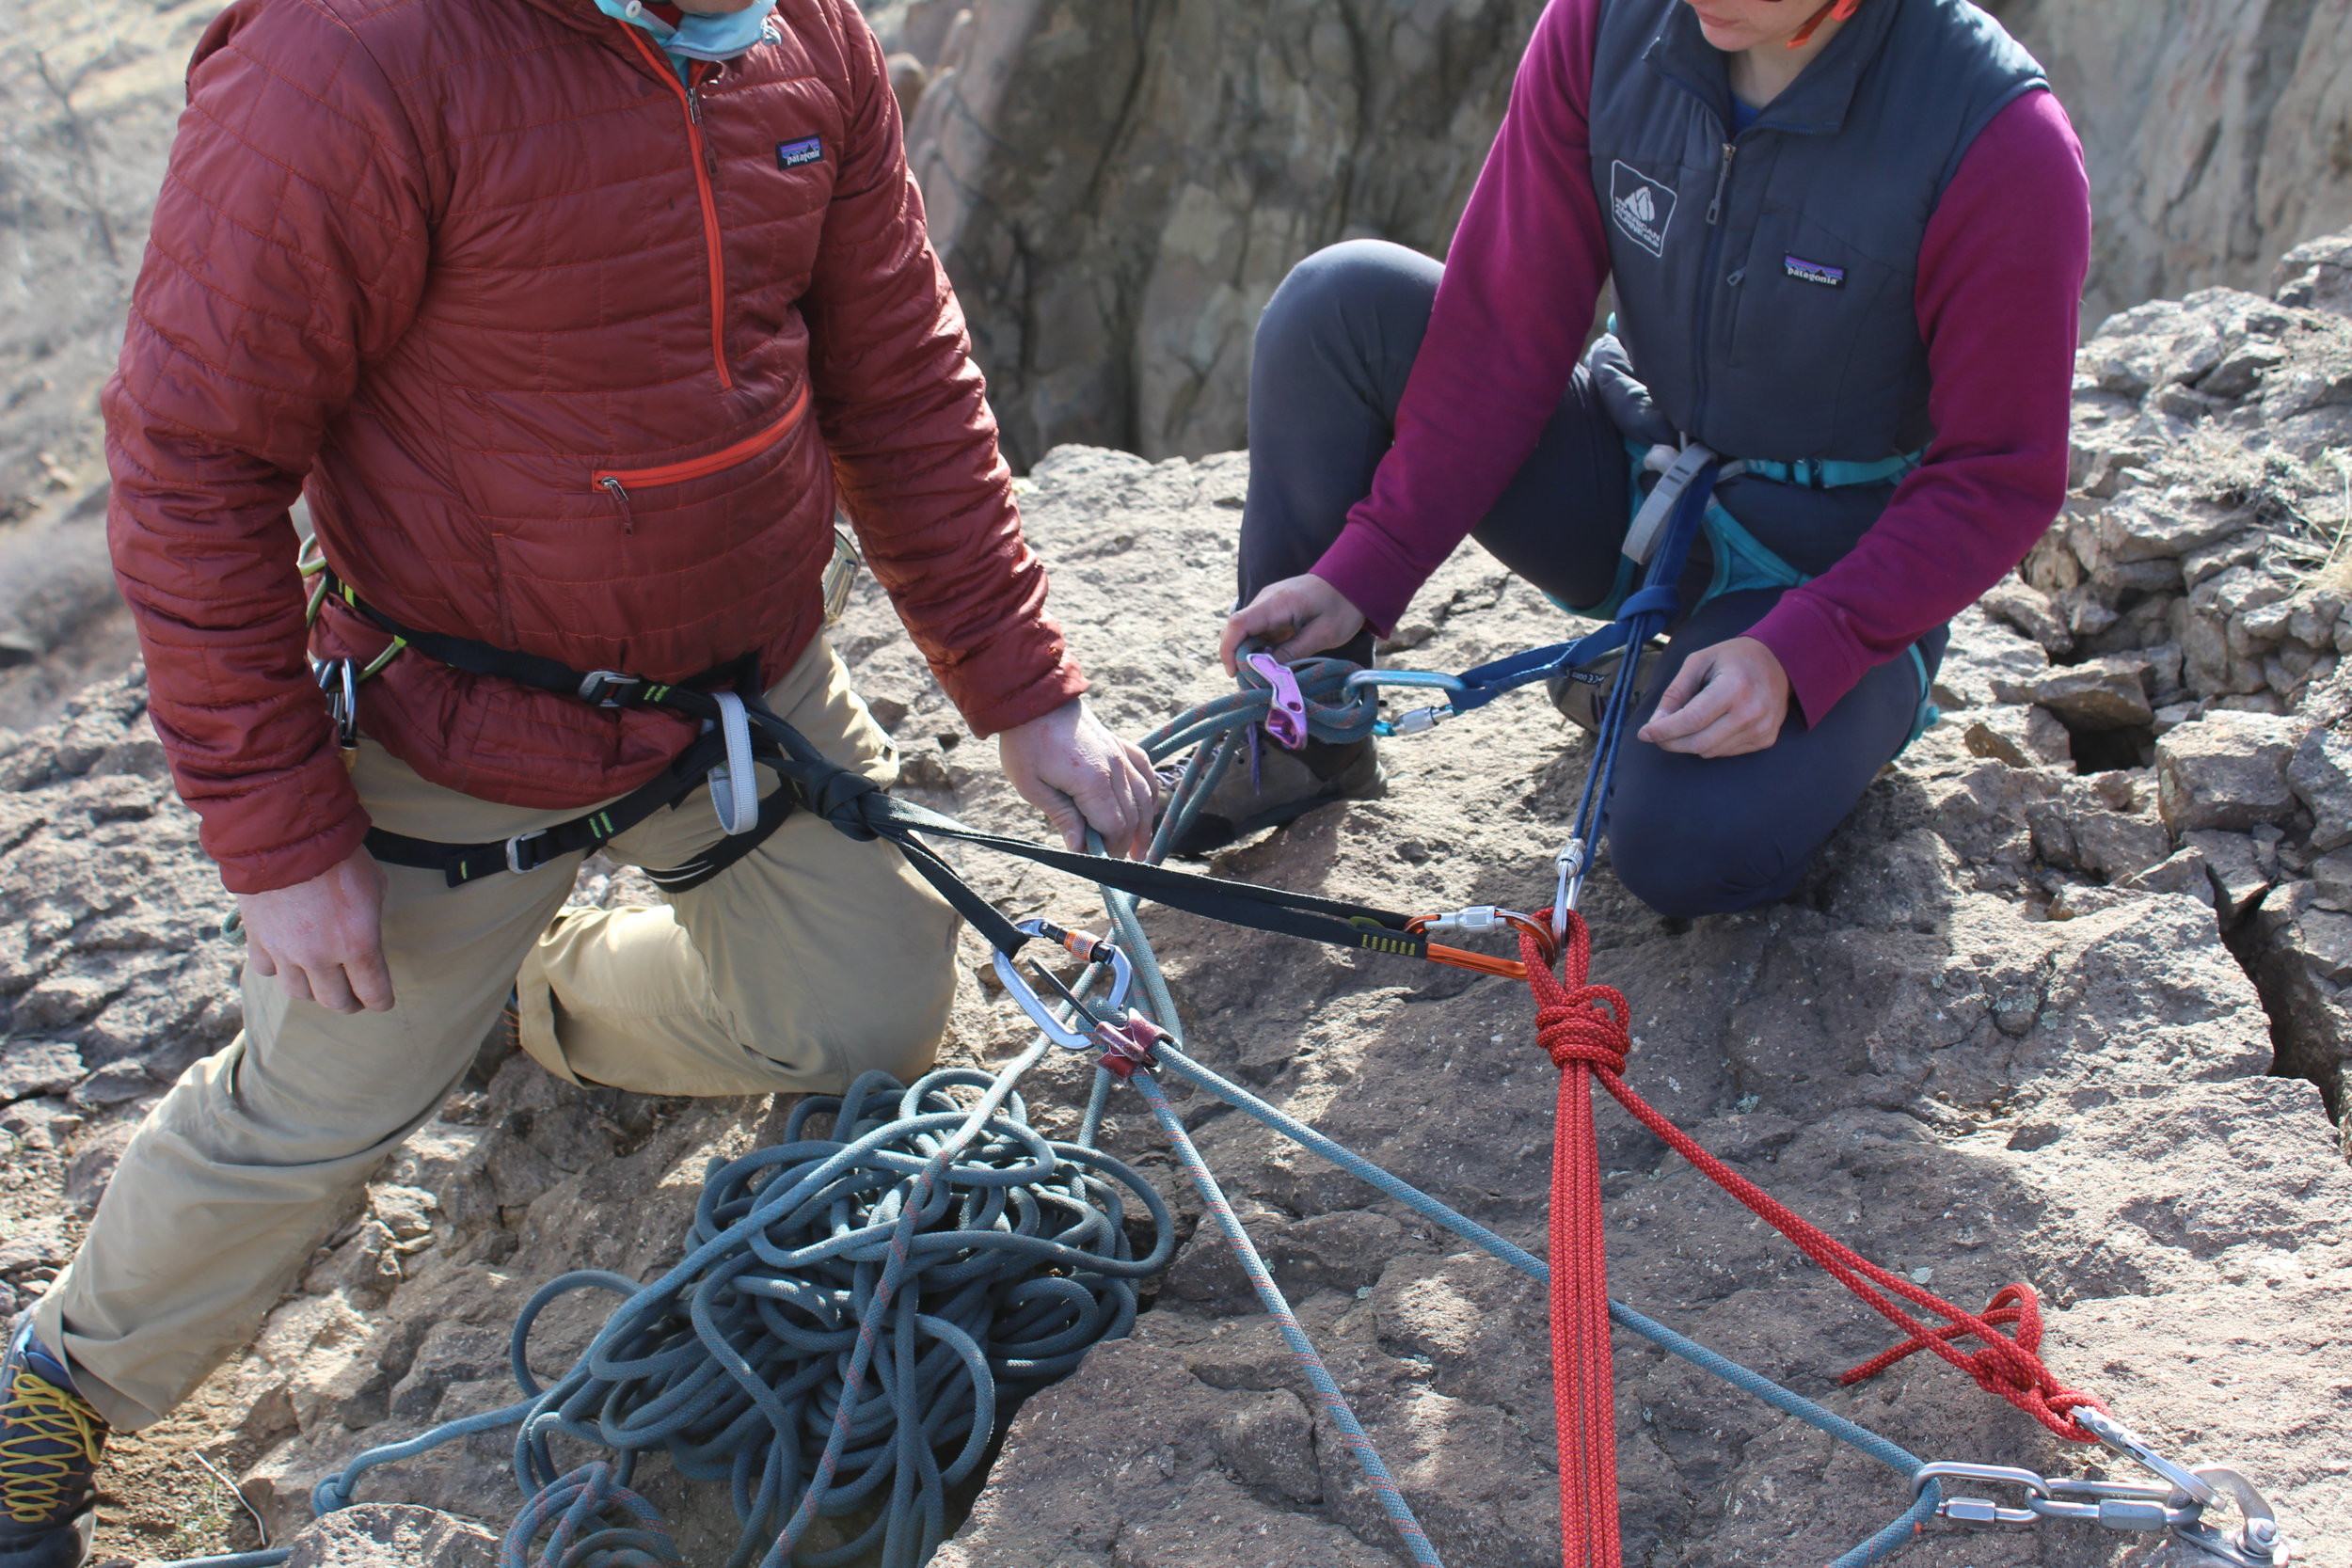
Many climbing instructors, like this one, learn to use an ABD for rope ascension. As an improvised progress capture, these tools can be effective.
5. Direct Belay. ABDs are often used by belayers to top-belay a second climber directly off the anchor. When top-belaying, direct belays are particularly advantageous. ABDs create unique challenges when belaying a leader in direct belay configurations.

Direct belay applications must allow an ABD a full and uninterrupted range of motion. If the device is laying on a slab or crammed against a protruding feature, the assisted braking function can be compromised.
Performance Characteristics.
ABD manufacturers will each try to convince consumers that their products represent the most secure, reliable, easy-to-use device on the market. The truth is that climbing has diverse contexts with diverse environments, climates, and risks. That diversity is further compounded by the number people who climb: big people, small people, big hands, small hands, right-handed people, and left-handed. Some people are missing digits or limbs, and that might make one product more advantageous than the next.
When combined with function and the need for multi-functionality, each device will also have an array of performance characteristics that depend on each individual user’s style, body type, and unique challenges. Asking the following questions of every ABD will guide a user to the right model.
Stationary Brake Hand: Does the manufacturer recommend a belay technique that allows the brake hand to remain stationary? Many devices do allow for this movement economy, and it is one of the most persuasive reasons to select an ABD in the first place.
Mechanical Braking or Passive Braking: Is the assisted braking function mechanical or passive? Mechanical Assisted Braking Devices, like the GriGri 2 or Vergo, have moving cams, clamps or swivels that pin the brake strand of the rope. They are typically bigger and heavier than their passive counterparts. Their performance can be challenged in wet, snowy, or icy conditions. They can provide smooth lowers, multi-functionality, and reliable braking, though.
Passive Assisted Braking Devices exaggerate the “grabbing” quality of any aperture or tube style belay device. The “grabbing” effect is so severe, it effectively brakes the rope, providing the belayer with a backup.
Ergonomics: Does the recommended use of the tool force the belayer to sustain unnatural, painful, or uncomfortable body positions? Test the ergonomics of a device in all the application contexts. For example, the body mechanics involved in using a GriGri 2 are quite natural and comfortable for rappelling and counterweight belaying. But, lowering with a GriGri in a direct belay configuration requires an awkward manipulation of the GriGri 2 handle.
Reliability of Assisted Braking Function: Does the Assisted Braking Function perform reliably in the widest range of conditions and circumstances? What are the known malfunction conditions? No ABD is automatic and 100% reliable. They all have quirky and unique failure mechanisms that range from interference in the braking function’s range of motion, interference caused by precipitation (frozen or otherwise), inappropriate carabiner selection, or rope entrapment. Manufacturers don’t always advertise these failure mechanisms.
Multi-functionality: Does the device perform more than one function in climbing? Do all the functions of the tool fall under the device's recommended use? Are some functions discouraged, or are they simple NOT encouraged?
Smooth lowering and rappelling: When lowering and rappelling, is the belayer able to control the rate of descent and keep that rate constant, without sudden halts or acceleration? The ability to adjust the rate and the consistency of the rate varies from one tool to the next, and it can be especially inconsistent when using ropes at the extreme ends of the recommended range, ropes that are wet, or with smaller statured people.
Ambidextrous Usage: Is the device effectively unusable by a right or left-handed belayer? Does it function equally well with either handedness? Many devices do not offer a compelling left-handed technique. Left-handed belayers often learn to use their right hands to belay because there is not a recommended technique, or the recommended technique is not as effective as simply learning the right-handed technique.
Size and Weight: How big and how heavy is the tool? Are there lighter options that accomplish the same functions and have the same performance characteristics otherwise? In climbing, the size and weight of equipment can often make a big difference to the overall enjoyment and success of the team. All other things being equal, why not have a lighter, more compact tool?
Rope twisting: Does the device alter the plane of the rope’s travel? When ropes move continuously in the same plane of travel, the rope is less likely to twist. When that plane alters, say from a horizontal to vertical plane, twisting the rope is the unavoidable consequence.
Easy to learn, easy to teach: How long will it take me to learn to use the tool? Devices that are not ergonomic, have intricate parts and setups, and operate differently than other tools can often be more difficult for a belayer to learn to use correctly. It shouldn’t take months and months of practice to learn to use a piece of belay hardware.