Besides being prime time in the high country, summer is a high-traffic season for alpine rock and long moderate climbs. This time of year, climbers of all levels venture unroped onto “easy” terrain. Every year, we also see a handful of free solo accidents. These are almost always fatal and usually take place on well-trafficked moderate routes.
A disturbing pattern emerged last year when several fatalities occurred on adjacent formations in the same area. Recently, the Flatirons above Boulder, Colorado, saw three fatalities, two within two days in mid-December.
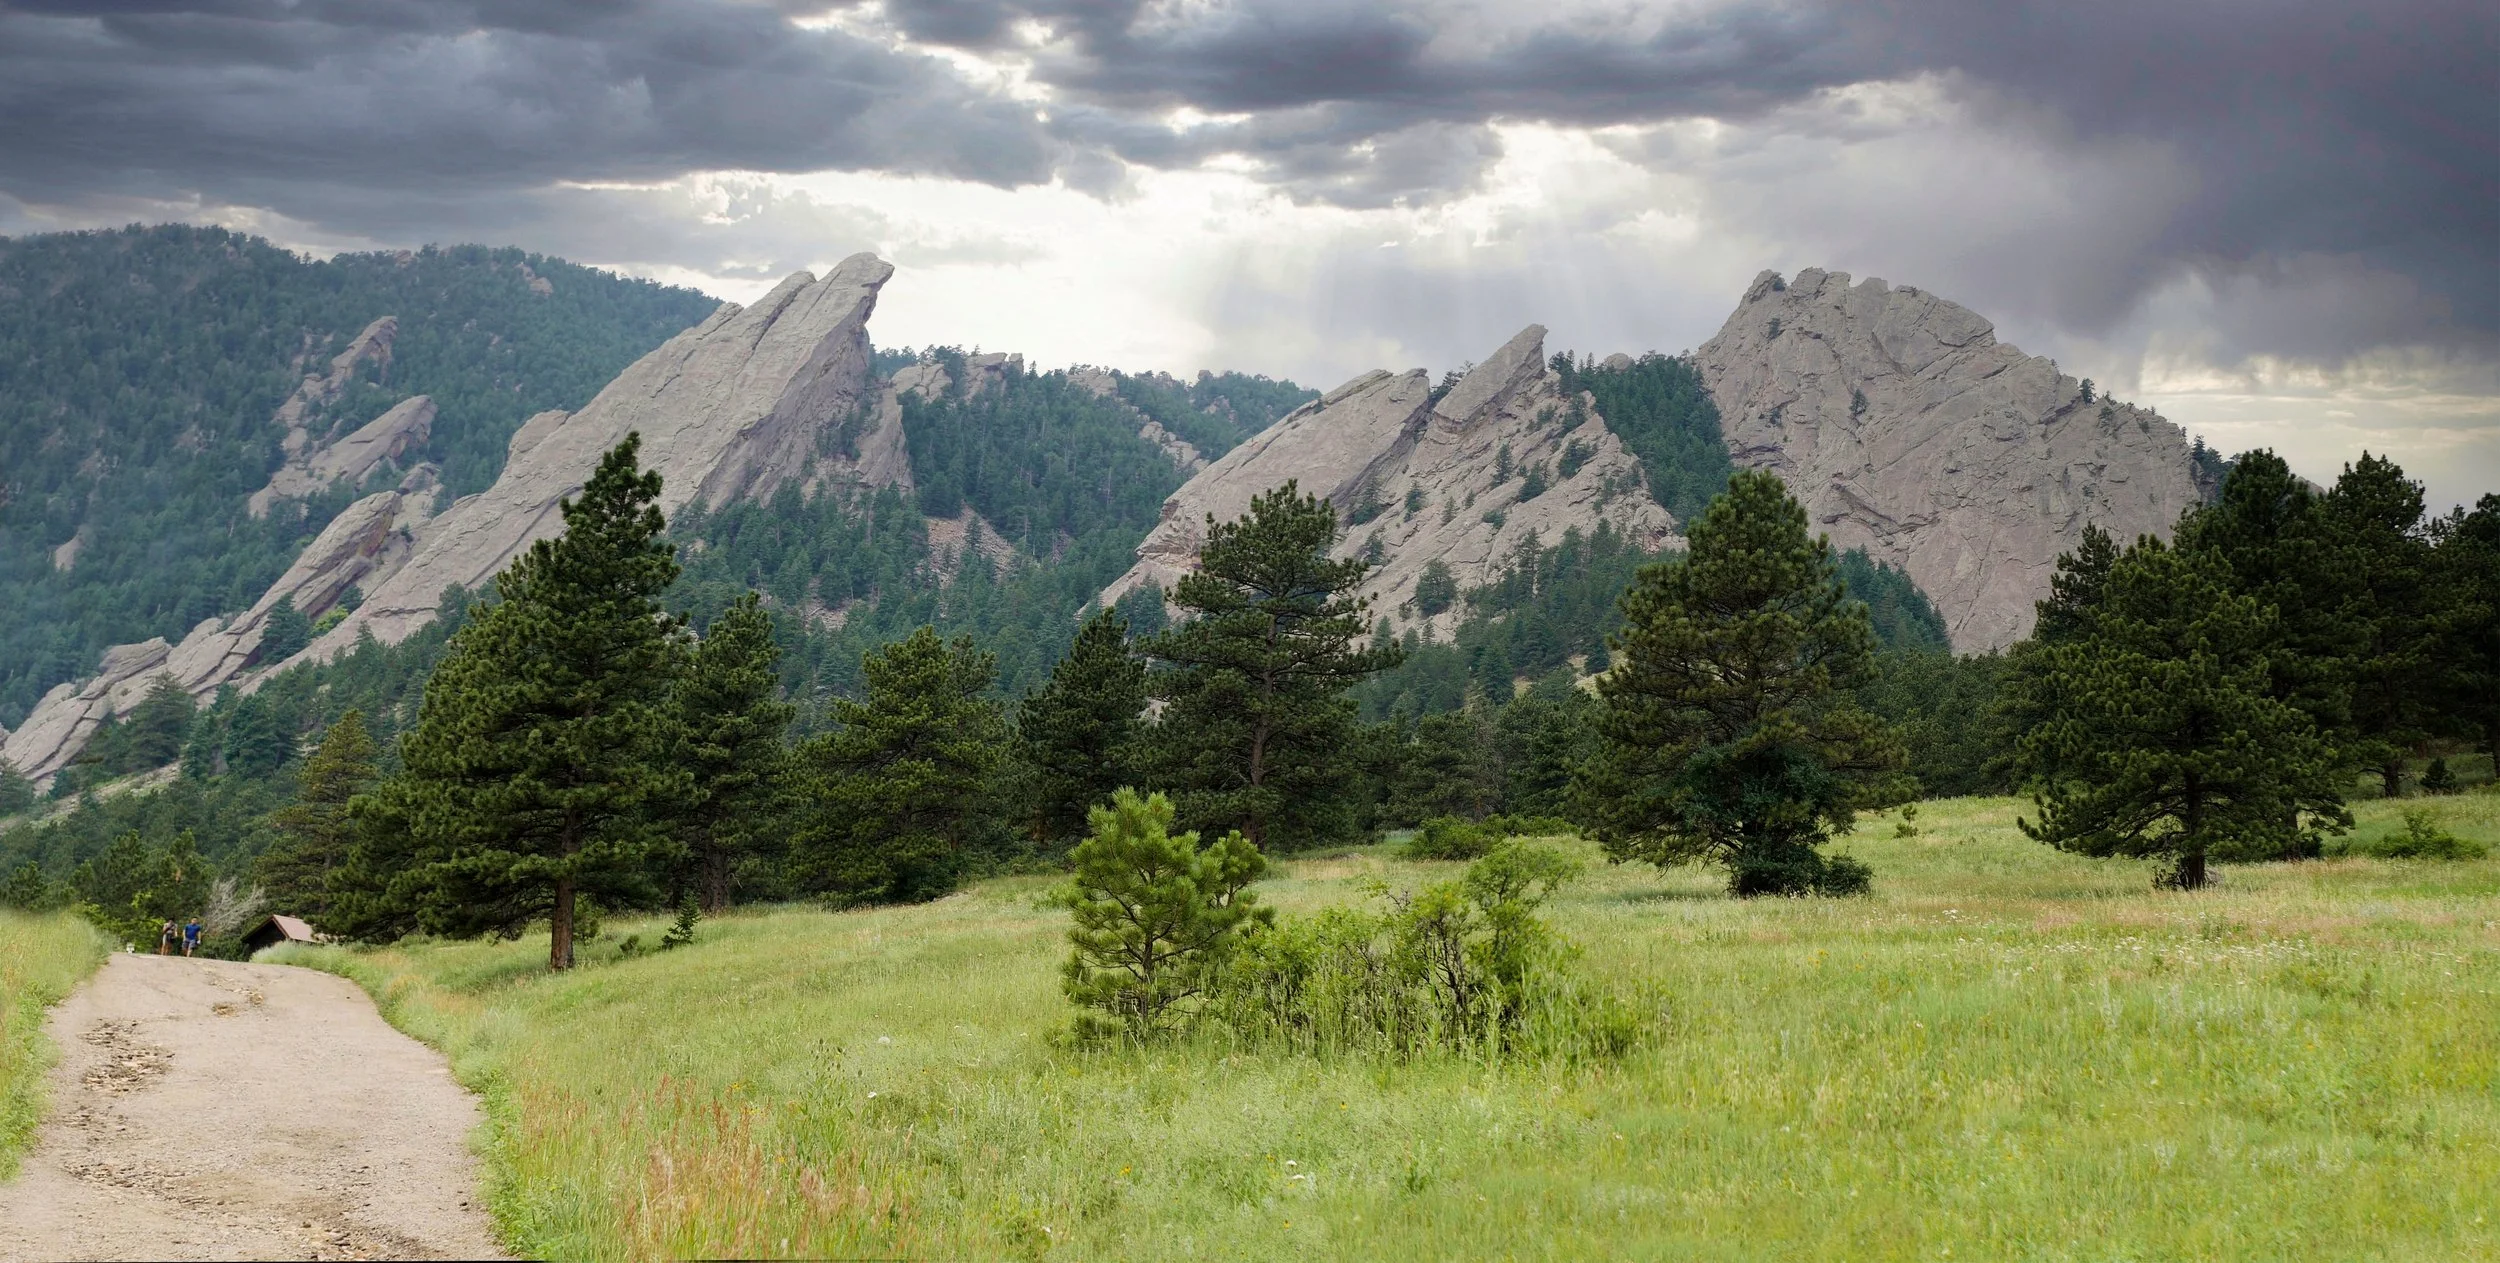
The Flatirons above Boulder, Colorado, see thousands of ascents every year, many by unroped climbers. Close proximity to the metropolitan Front Range, high visibility to the public, and complacency on technical climbing terrain can contribute to accidents. Photo from Wikimedia | joiseyshowaa
FREE SOLO FALLS
Boulder, Flatirons
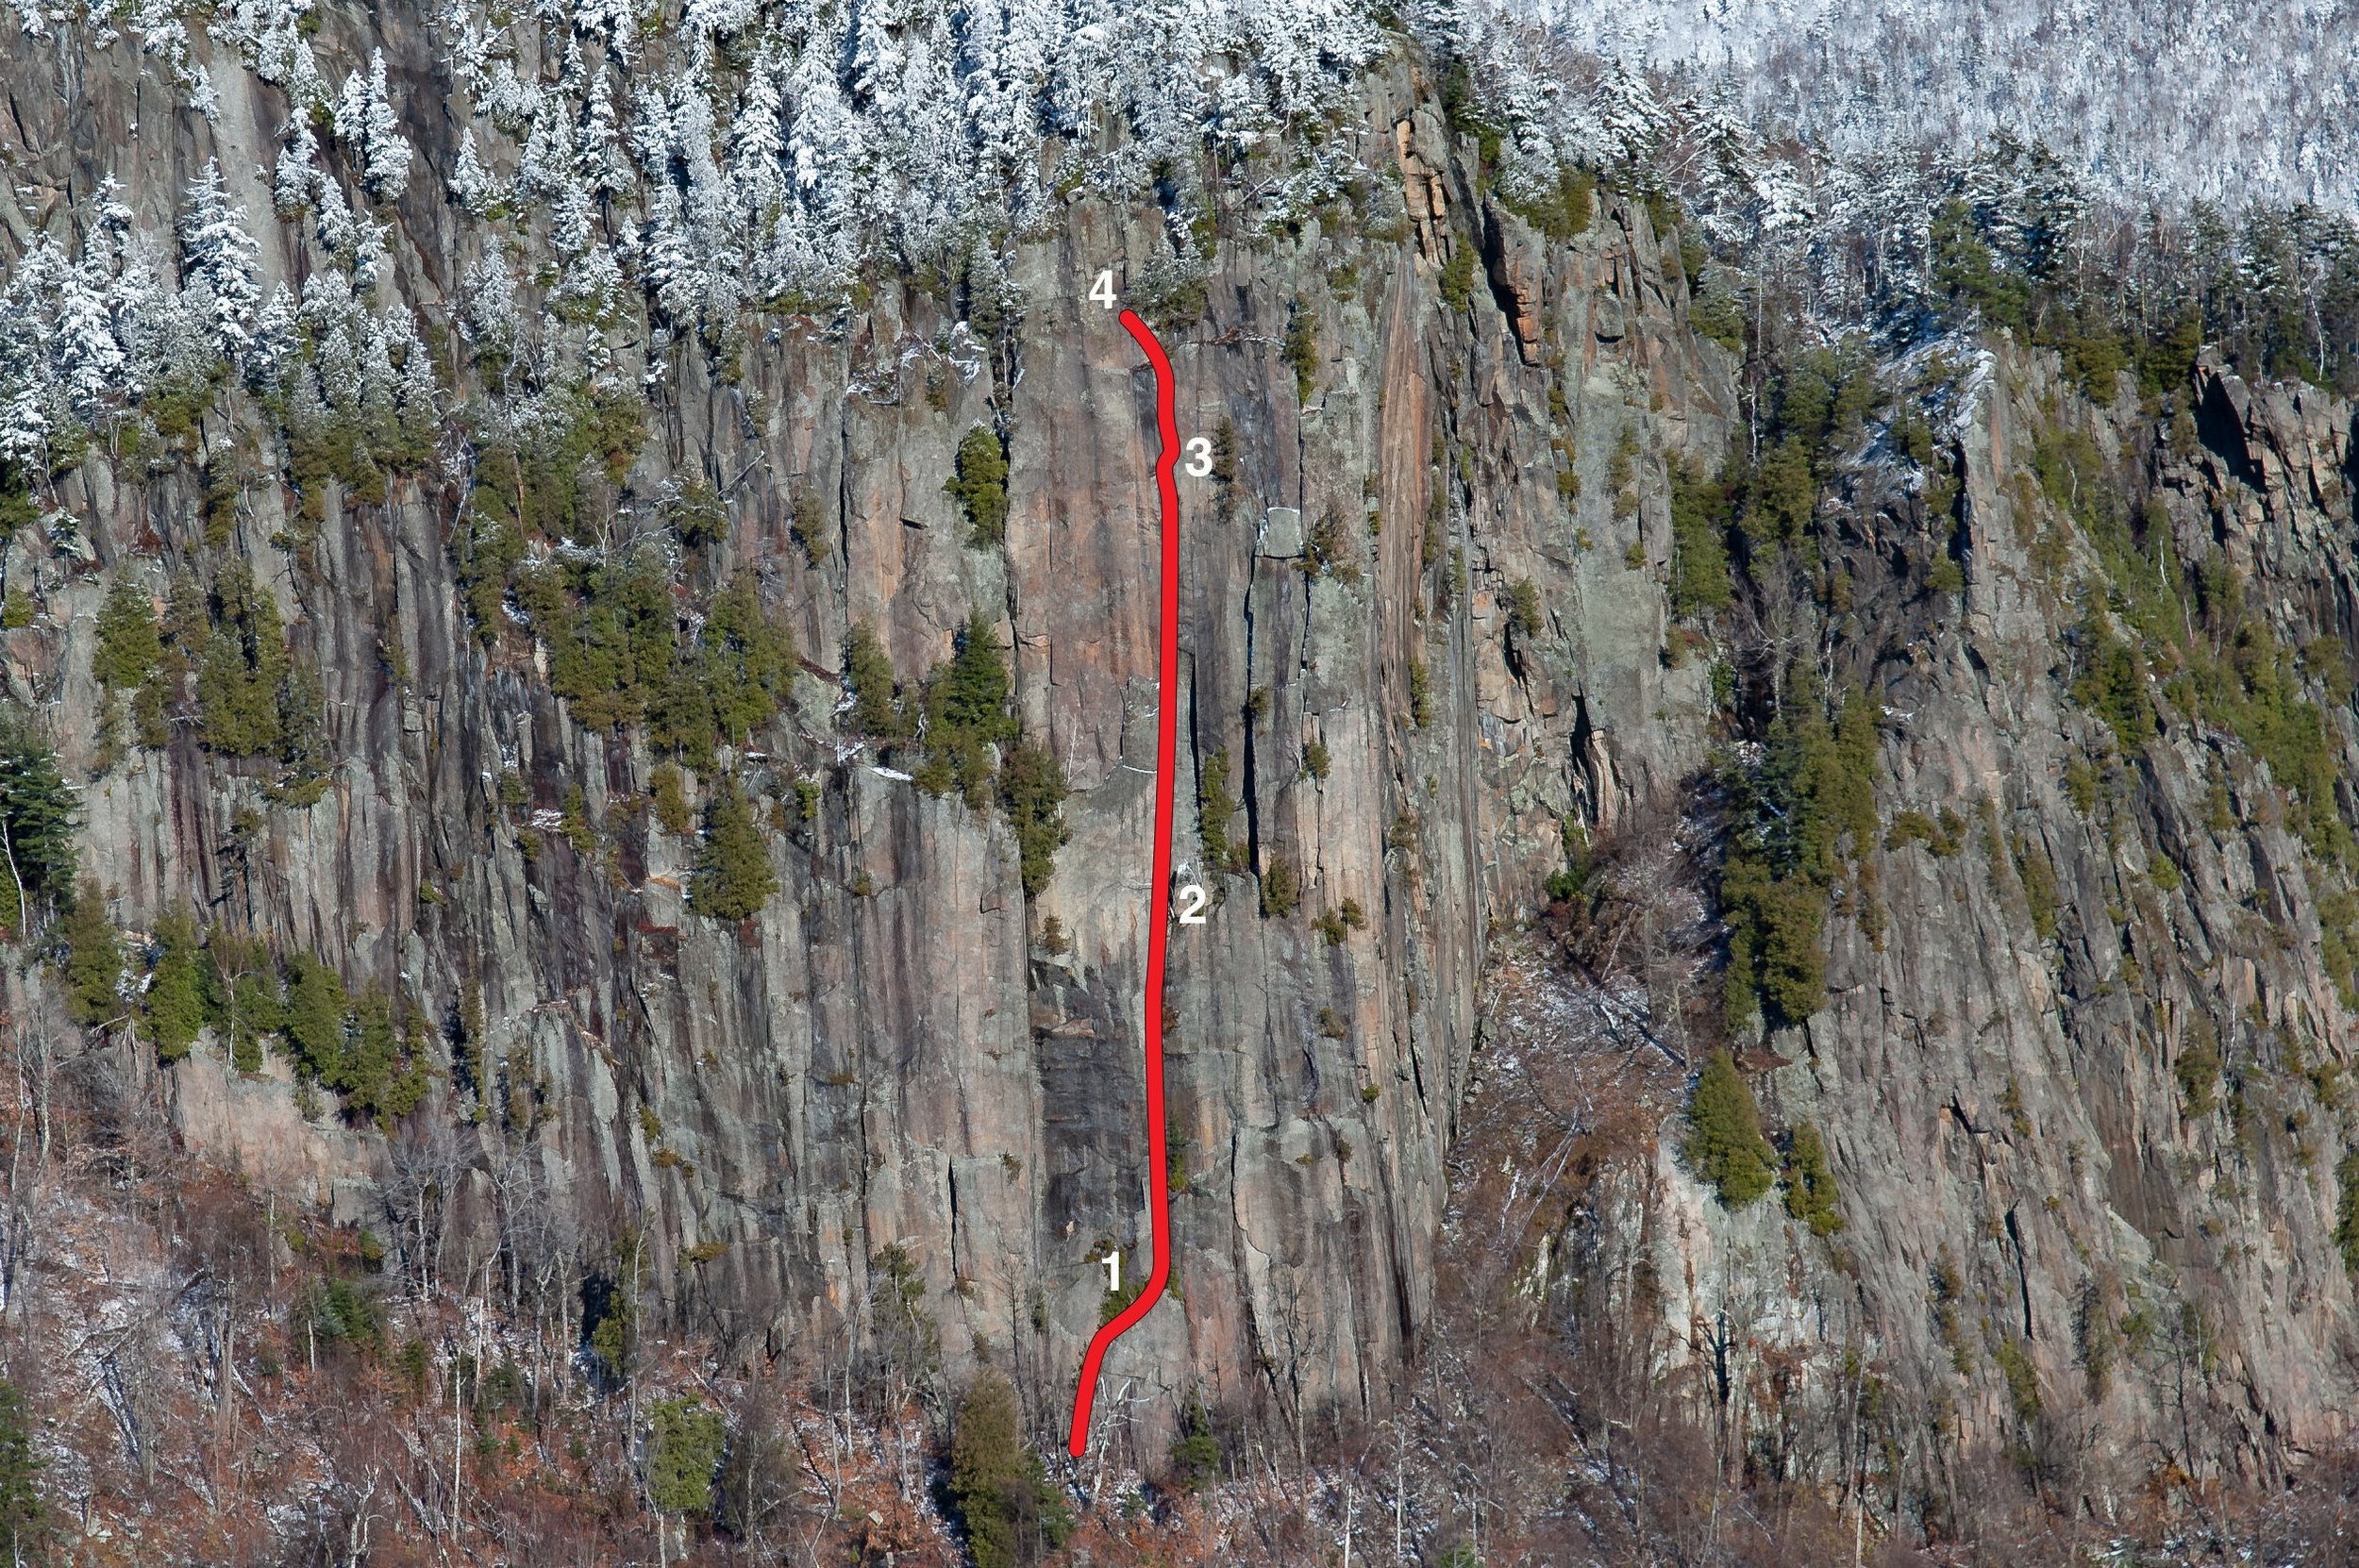
On December 16, 2024 the Boulder County Sheriff’s Office received a report that 42-year-old Keith Hayes did not return home that evening. Around 9 p.m., friends of Keith found his body near the top of Second Flatiron after he presumably fell while unroped from Freezeway (5.7). Friends of Hayes report that there was no sign of snow or ice on the route and that there was no sign of broken rock contributing to the fall.
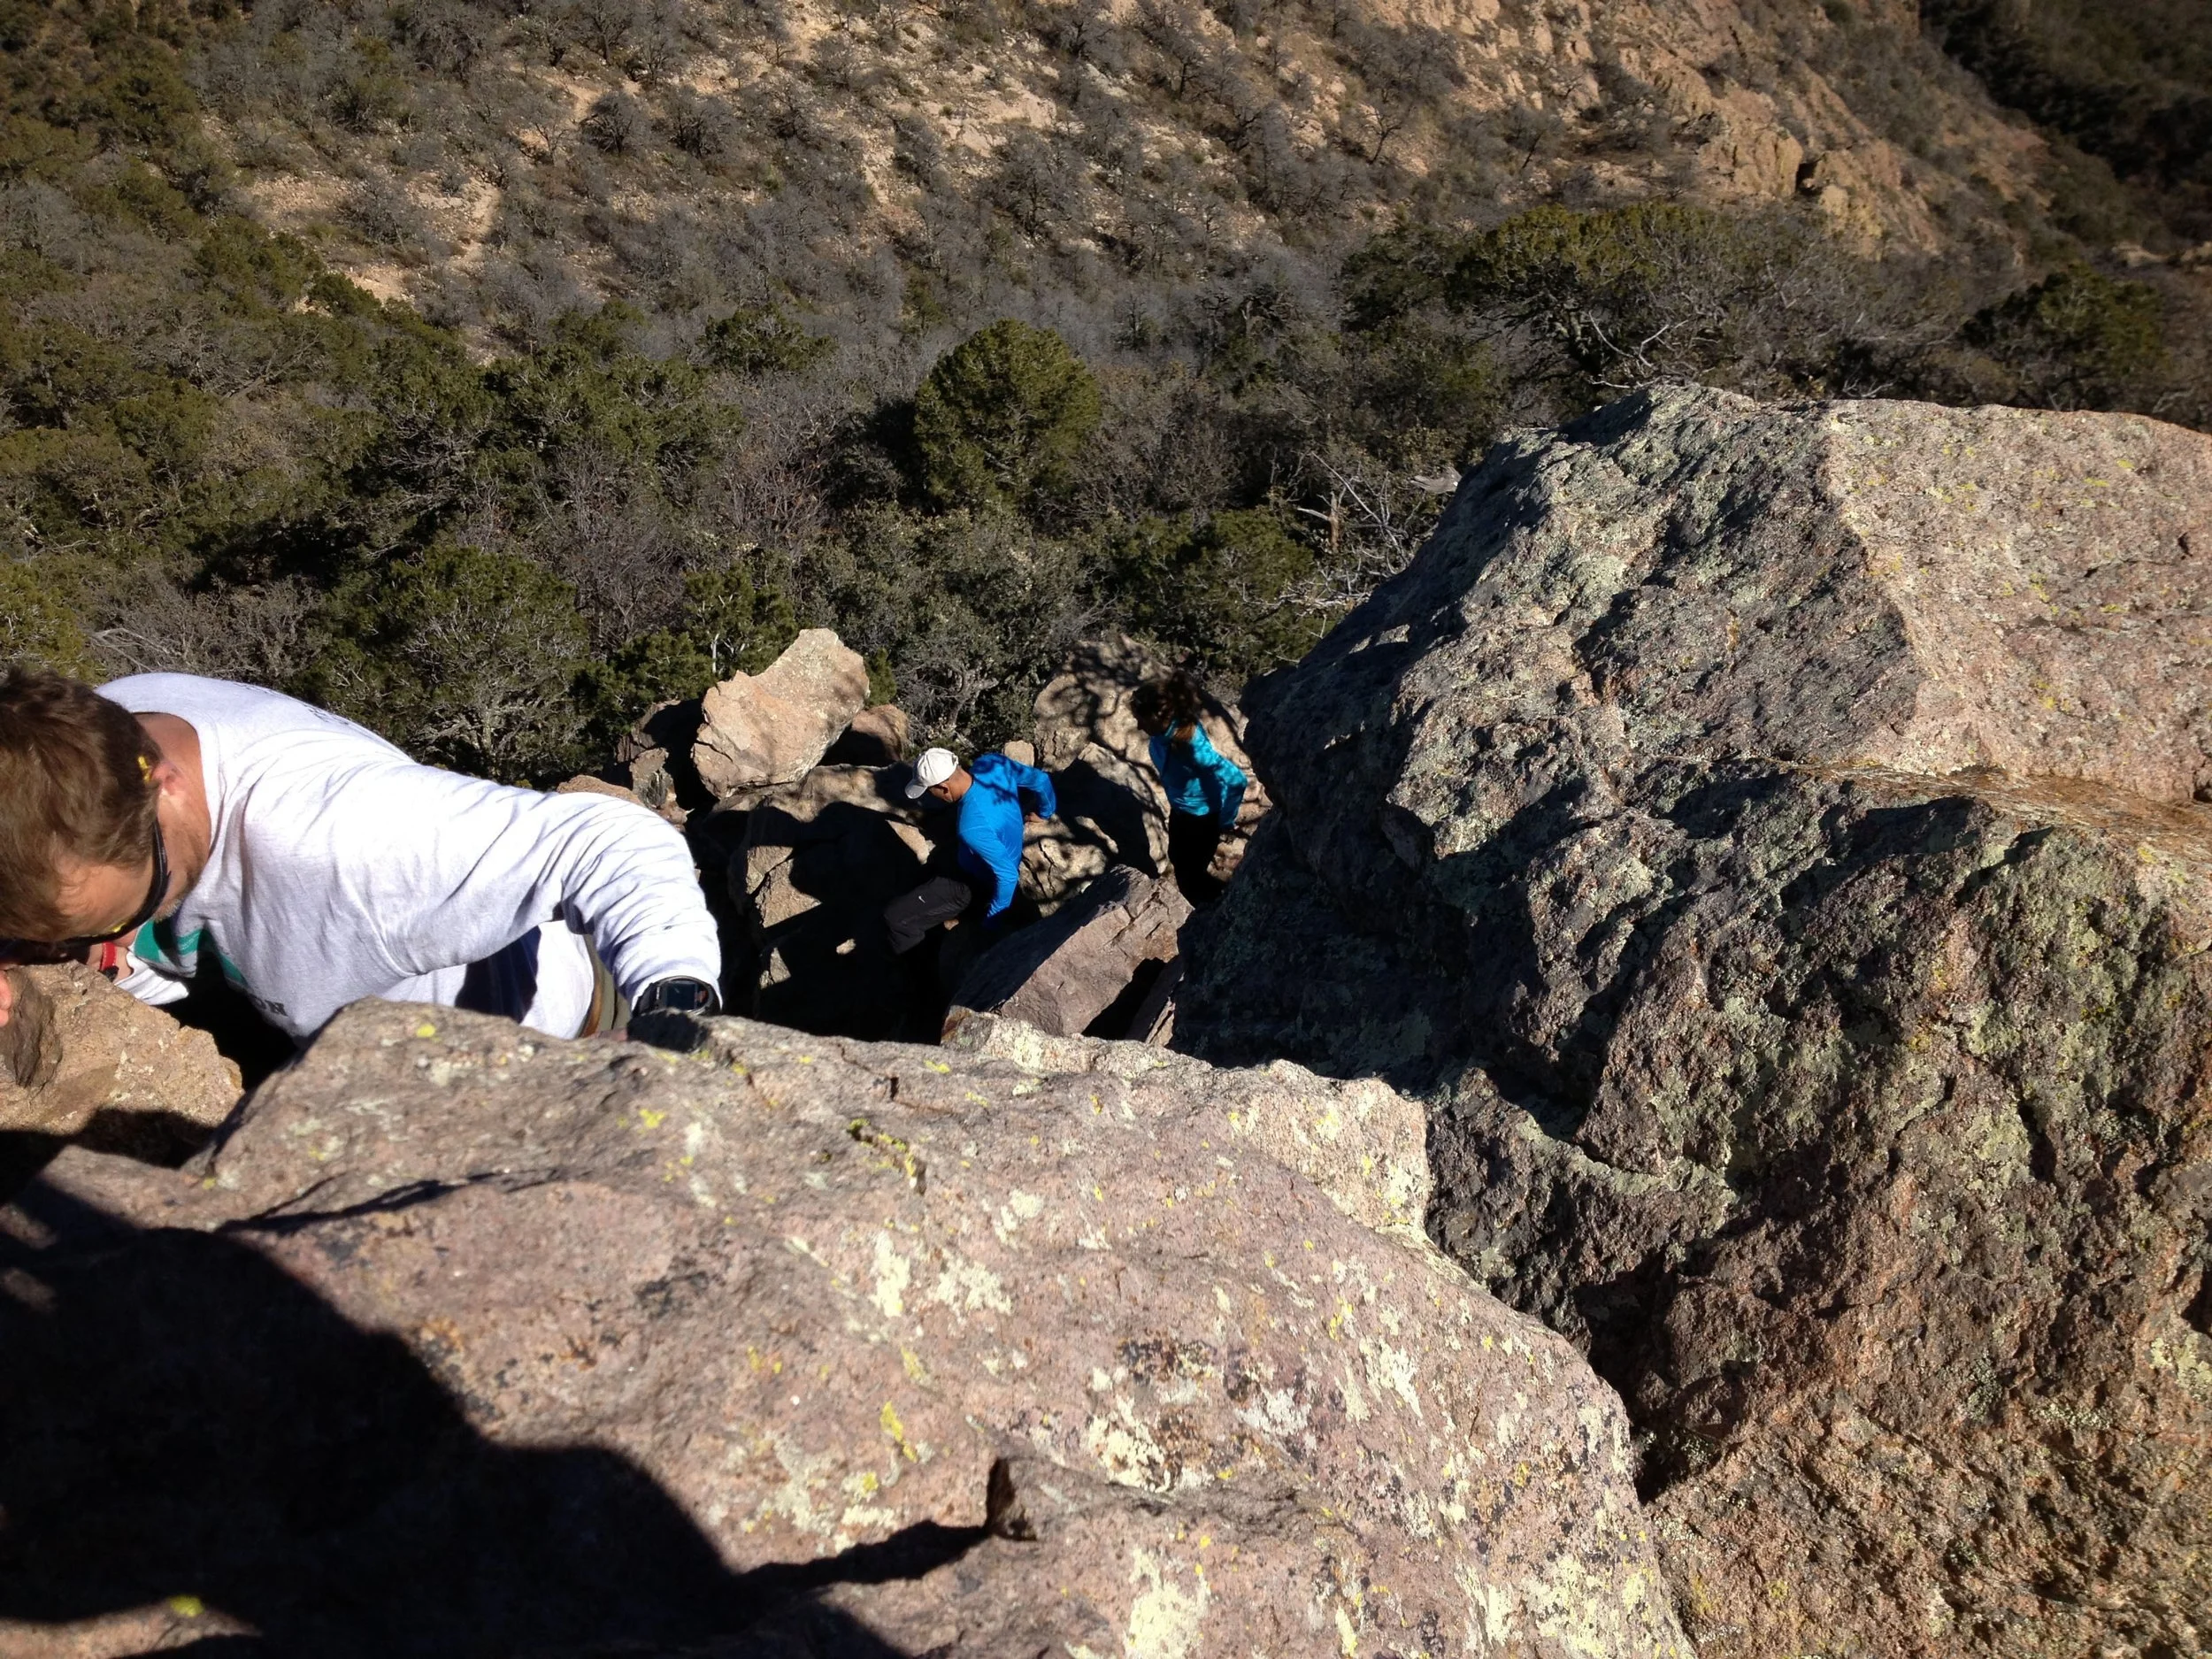
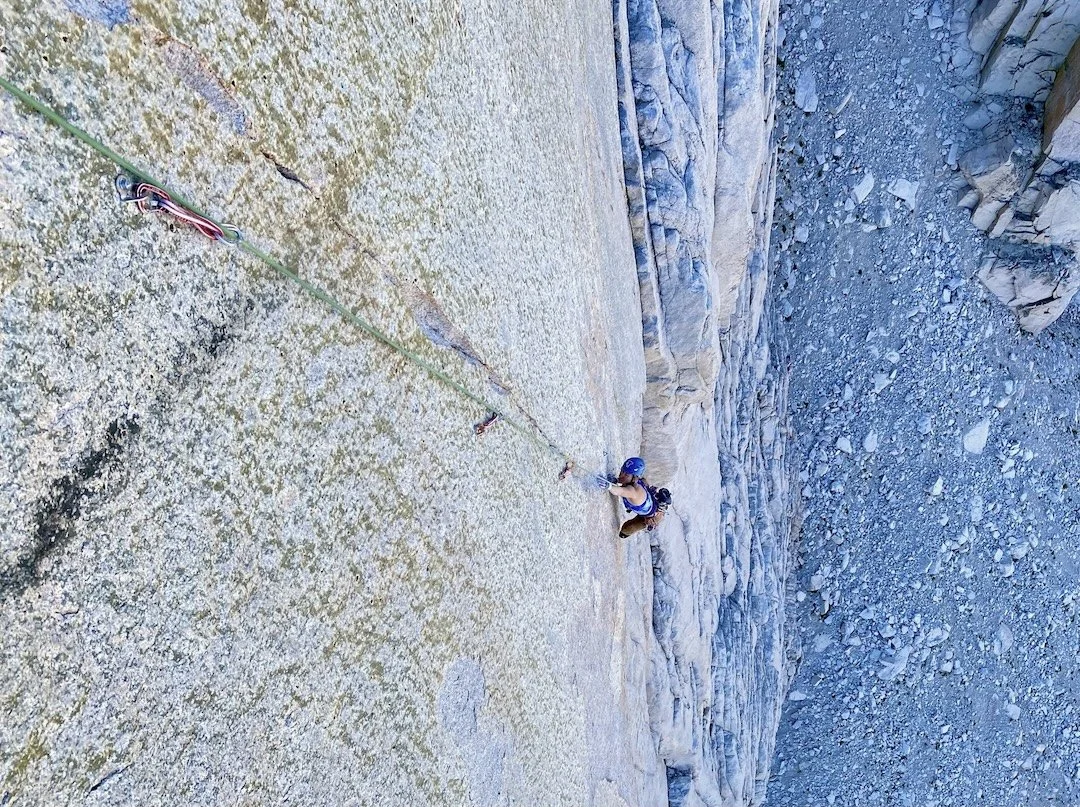
Here we see a group scrambling high above the ground in Big Bend National Park. Loose rock, dirt/gravel underfoot, inattention, and haste can trigger fatal falls. Photo from Wikimedia | Yinan Chen
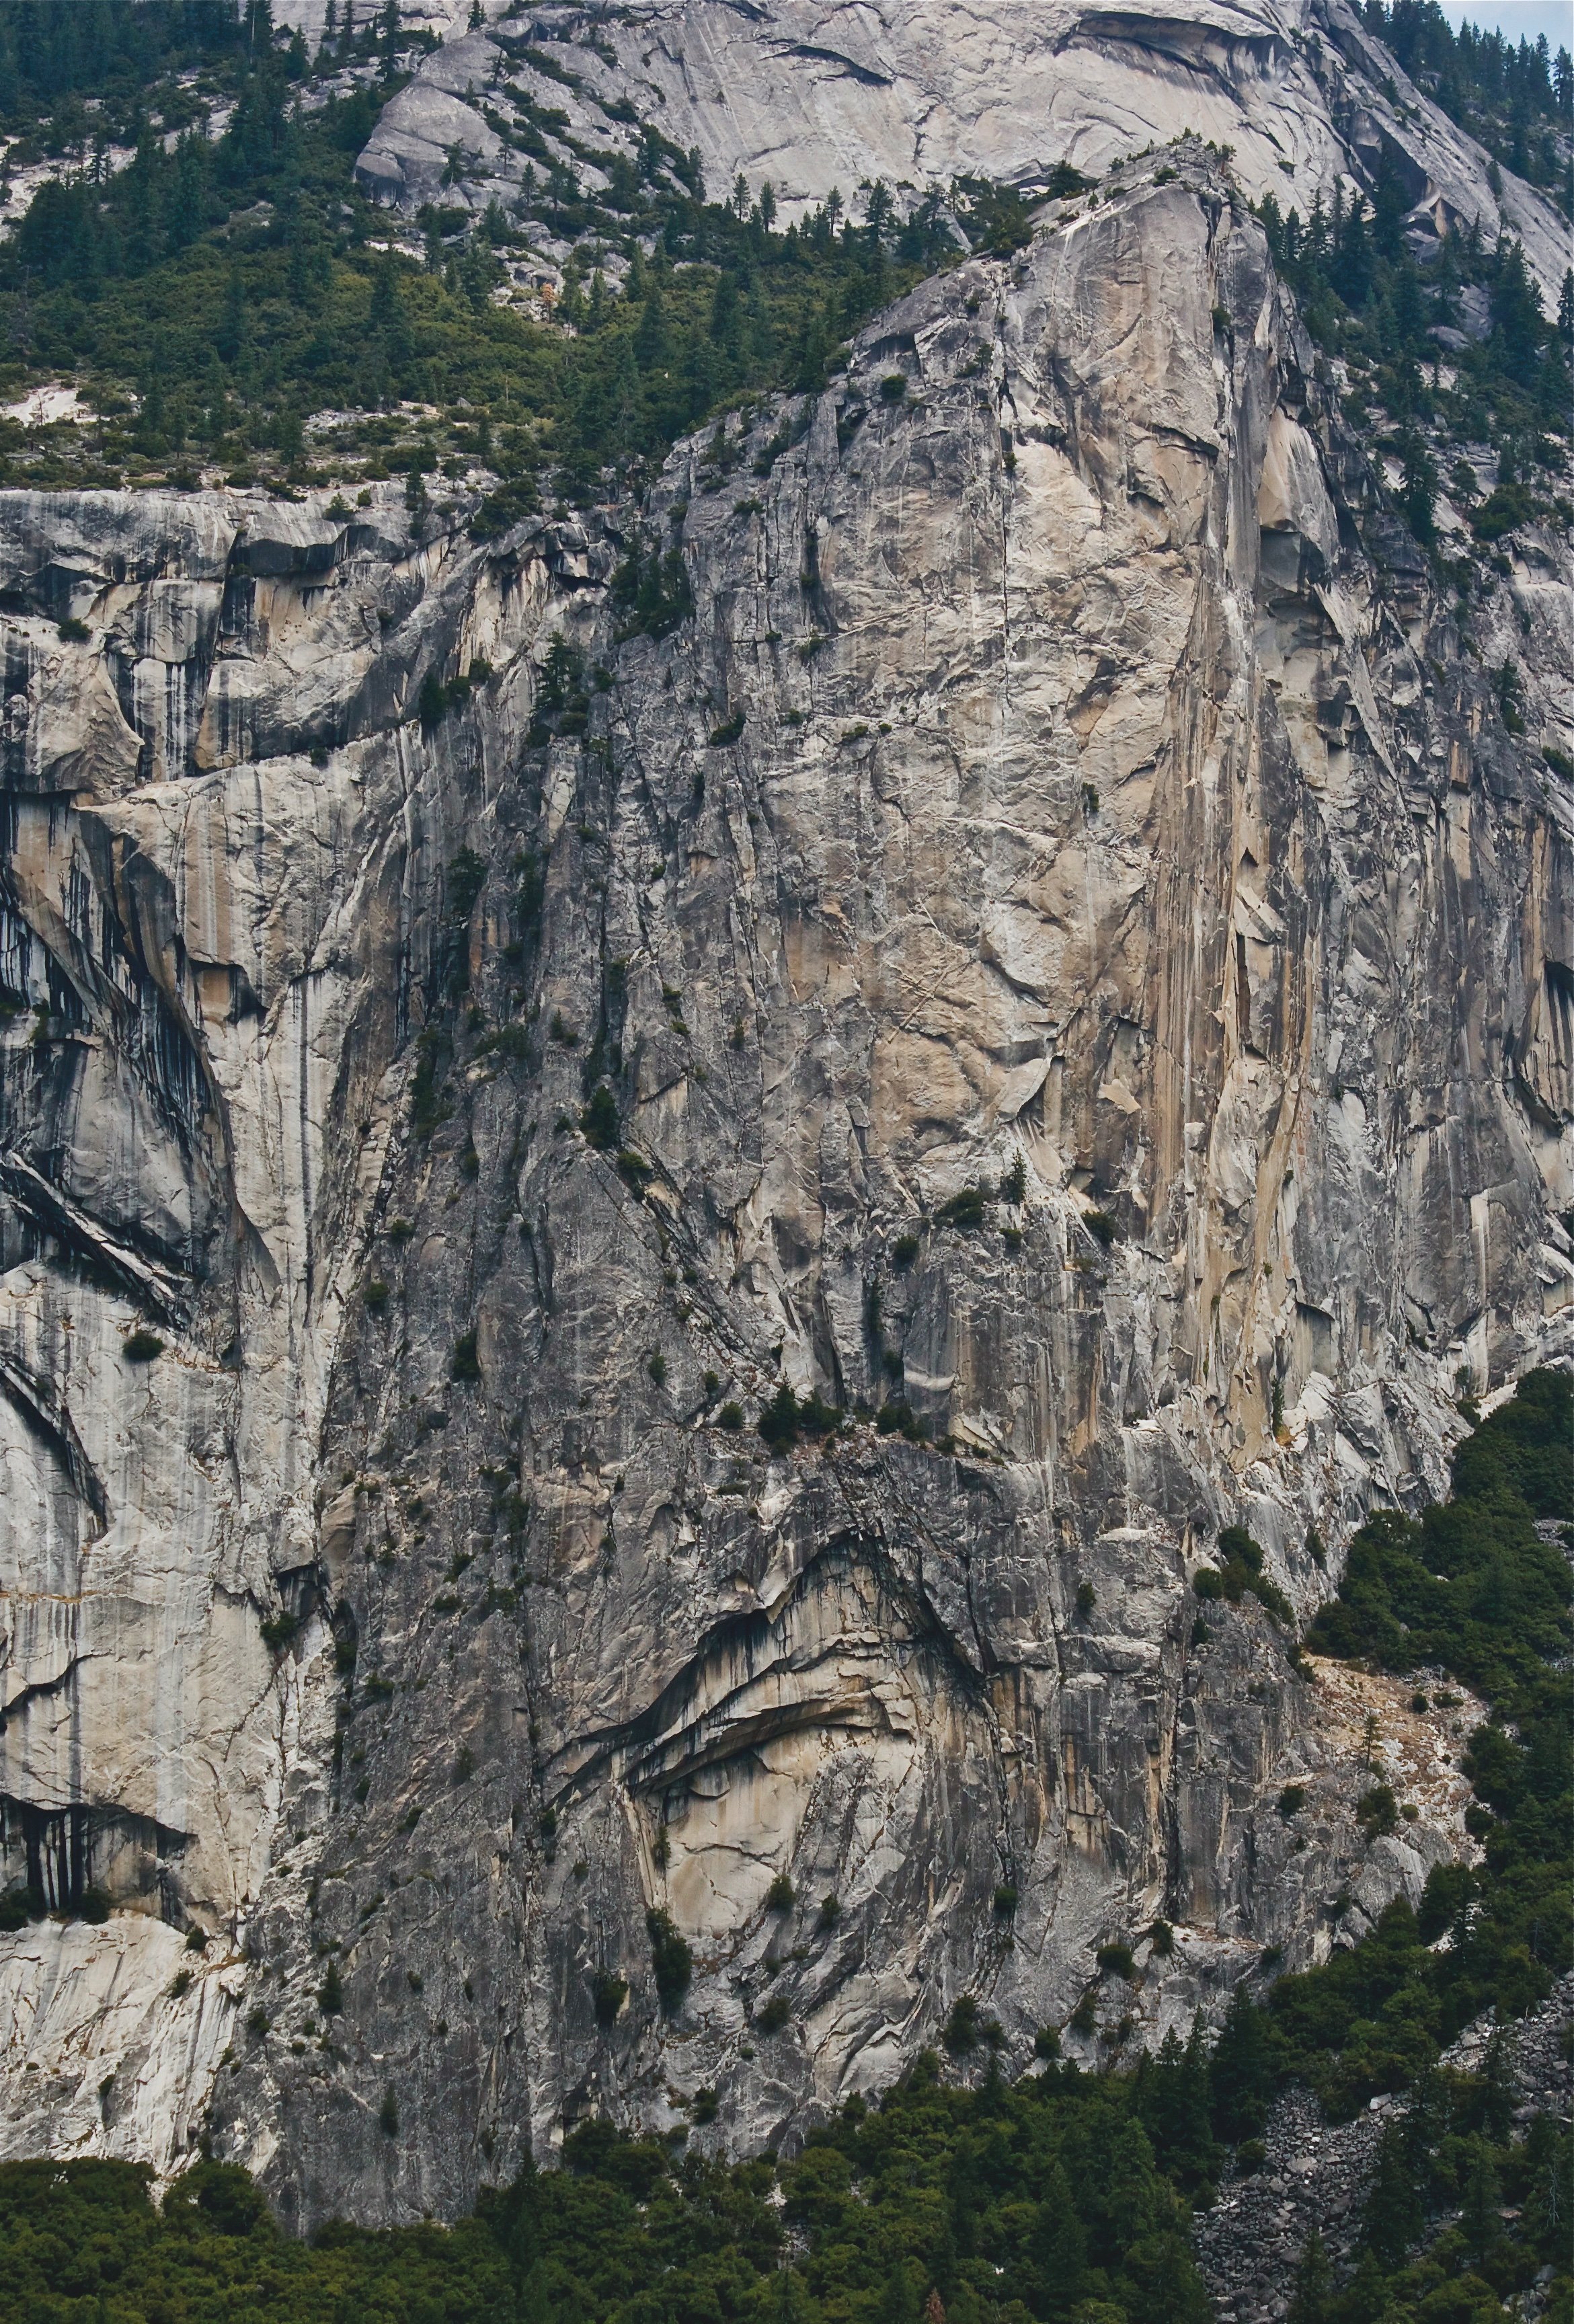
The day after, December 17, a 27-year-old male was reported missing after not returning home in the evening from a Flatirons climb. The Boulder Emergency Squad found the body of the missing male the next day on the Standard East Face route (5.4) on the Third Flatiron; he was presumed to have fallen unroped. Rocky Mountain Rescue Group recovered the body after an eight-plus-hour operation.
“Scrambling” blurs the line between third-class (easy unroped climbing) and fifth-class technical climbing. While the grade of the actual climbing is often anywhere between 5.0 and 5.6, the terrain is climbed unroped and is usually accompanied by consequential fall potential.
Video Analysis—Free Solo Fall
A search of the Accidents archive reveals 33 accidents in the Flatirons described and analyzed by the editors (including 11 deaths) since the 1950s. Many of these were the result of unroped climbing.
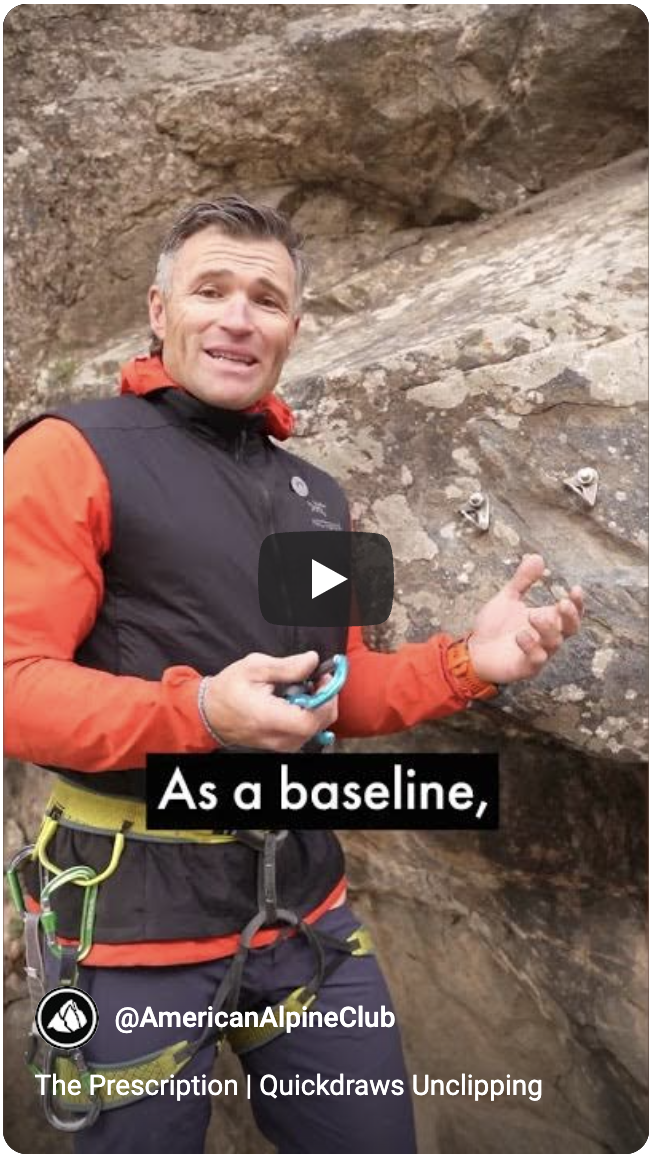
The editor of Accidents in North American Climbing, Pete Takeda, walks us through why free soloing or scrambling accidents are so prevalent in this area.
Pete Takeda, Editor of Accidents in North American Climbing; Producers: Shane Johnson and Sierra McGivney; Videographer: Foster Denney; Editor: Sierra McGivney; Location: Flatirons, Boulder, Colorado.
ANALYSIS
Freezeway is a steep, alternate finish to gain the summit of the Second Flatiron after completing one of several low-angle east face routes. Keith Hayes was very experienced and had climbed this route without a rope many times before his fall. The Standard East Face of the Third Flatiron is one of the most popular beginner climbs in the U.S. and is frequently climbed unroped.
The accidents shocked the local community, and the timing and proximity of both fatalities gained national attention. These tragedies serve as a reminder of the inherent risks of free solo climbing. Experience and fitness do not guarantee survival, and familiarity can degrade attentiveness. (Source: Friends of Keith Hayes and Bill Kinter.)
Powered By: